Happy Camper Scenes
From the Simon Says Stamp Happy Camper release.
I’ve been posting a few things so far from this release on my Instagram feed, but here is a card that I wanted to be able to show a few process photos with.
You can take a look at the complete new release from Simon Says Stamp HERE!

Techniques:
For this card, I wanted to have the little cat roasting a marshmallow sitting with a friend at the campfire. There is only one marshmallow-roasting critter in the set, so I created a friend with this technique.
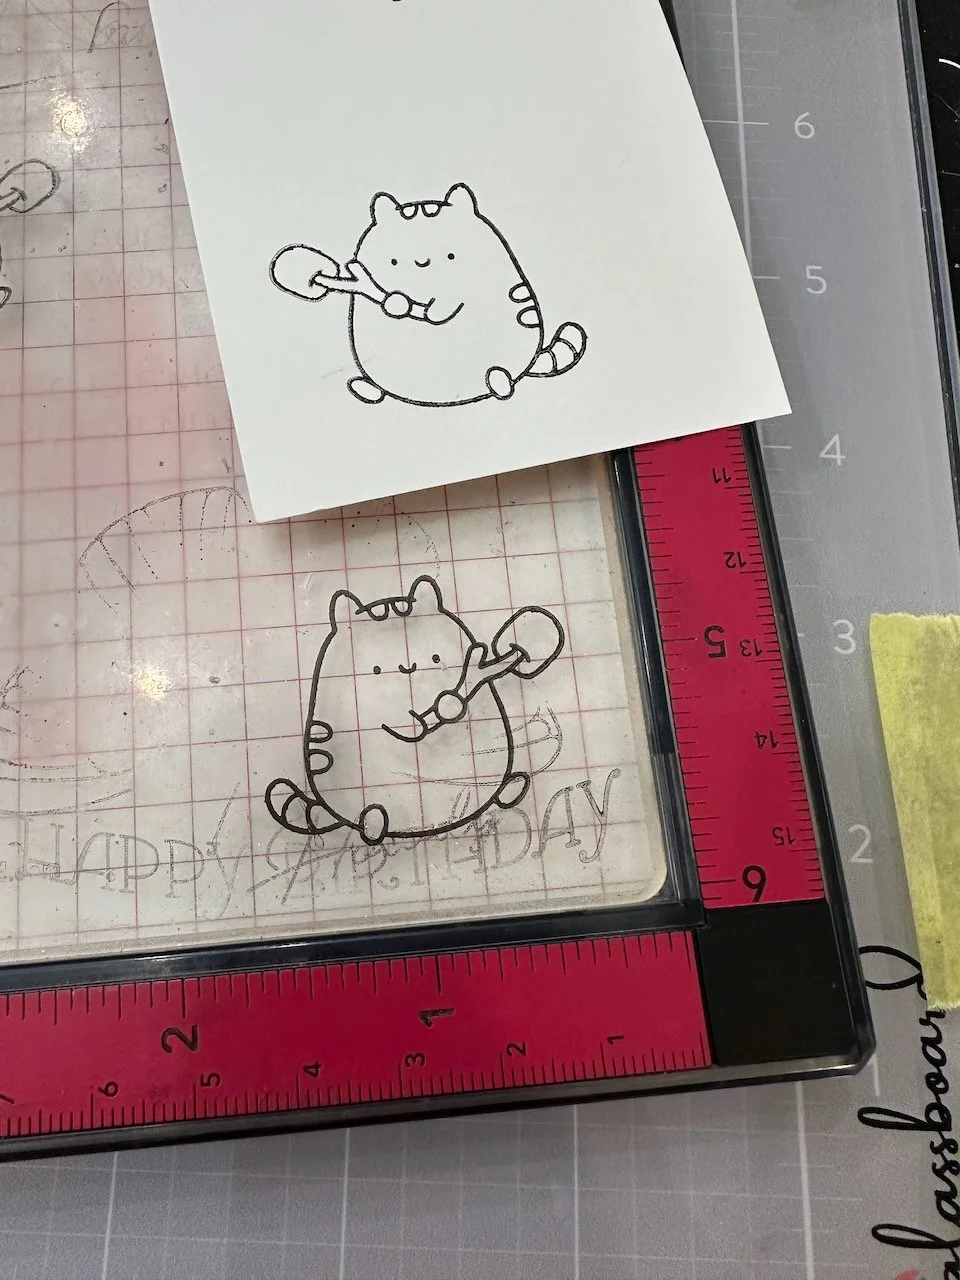
Basically, it is just creating a mirror image of the stamp. You need a stamp platform/positioner and a photopolymer grip mat.
I positioned my stamp where I wanted it, made sure I had paper the right size for it, and then removed the paper. Also make sure you have your photopolymer grip mat in the stamping platform. (I keep one in this, but if you don’t be sure to add it here and take off the top protective acetate.)
I inked up my stamp well (I used Versafine Clair Nocturne) and stamped it directly on the photopolymer grip mat. I repeated this a couple of times, but be sure not to press any harder than you do on paper or the stamp will squish and lines will get uneven.
As soon as I lifted up the door that last time, I quickly positioned my paper in that corner and pressed it down firmly. I rubbed on the back of it to be sure it made contact. Effectively, it makes a reverse print of the stamp. (Feel free to repeat that sequence if you want better coverage or a darker print.)
Being sure the paper is all the way in the corner helps if you want to ink and stamp again to get it darker. I think I did it twice for this one.
This works because the grip mats (from Waffle Flower, Simon Says Stamp, Gina K, or Altenew) are made from photopolymer like our clear stamps are made out of.
If you want to die cut your reverse-stamped image, you’ll need to place the die on the BACK of the stamped image so it lines up. I usually do this against a window if it is daylight (so I can see through and see the lines of the stamped image) and tape the die in place. If you’re going to color the image, definitely die cut it before you color or it will be more challenging.


Colors:
cardstock: Concord & 9th Blueberry, Wheat.

Thank you for visiting!
Links are below if you’re interested in any of the products I used.
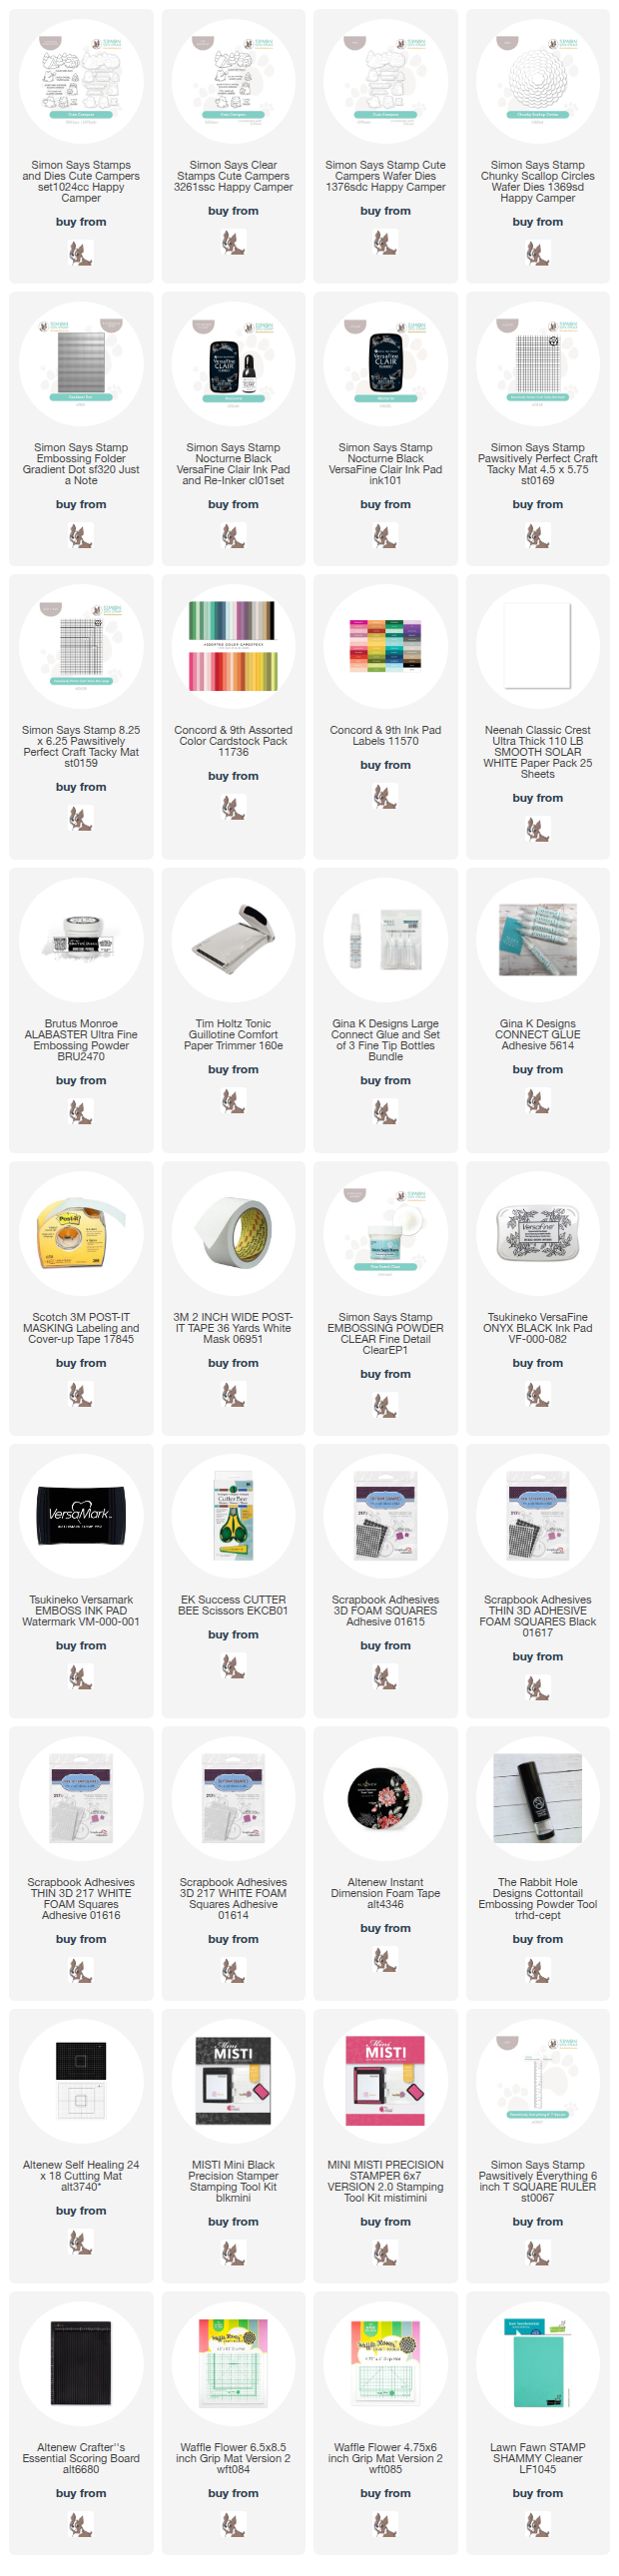
*Affiliate links do not cost you any more when you shop, but it is beneficial to creators when you use them, so thanks in advance!
