Granny Squares - from Paper!
October 2025 Concord & 9th
I have a daughter and a good friend who love to crochet. (Actually, I think I have a number of friends who do.) I prefer to stick with paper-based projects for creating, but one of the new bundles from Concodr & 9th has a fun way to enjoy the patterns and color from granny squares - with stamps and dies instead of yarn!


Techniques:
Concord & 9th Turnabout stamps are amazing! Have you tried them? They are such a fun way to create multi-step patterns for backgrounds. The Granny Square stamps include a turnabout that makes easy work of creating a series of granny squares.
I loved the pattern, but really wanted to add some texture, so after the stamping was finished I embossed it lightly* with the Basket Weave Card Front die.
I thought the greeting I chose would fit well in the larger granny square stamp, so I stamped just the outer border of it in Lilac, to match the cardstock background, and then stamped the greeting on that. I rounded the corners to mimic the stamp shape, making sure the layer was sized to fit over the four stamped squares it was going to be covering. Using foam tape to add that adds some nice dimension.
*If you use a cover die to emboss and don’t want deep texture, or the cut pattern that comes from a die like this, just change up your plates/mat in your die cut machine so it is less thick, which will give lighter pressure.
Colors:
cardstock: Concord & 9th Lilac. White.
ink: Concord & 9th Aqua Sky, Aqua, Grape Soda, Eggplant, Black


Techniques:
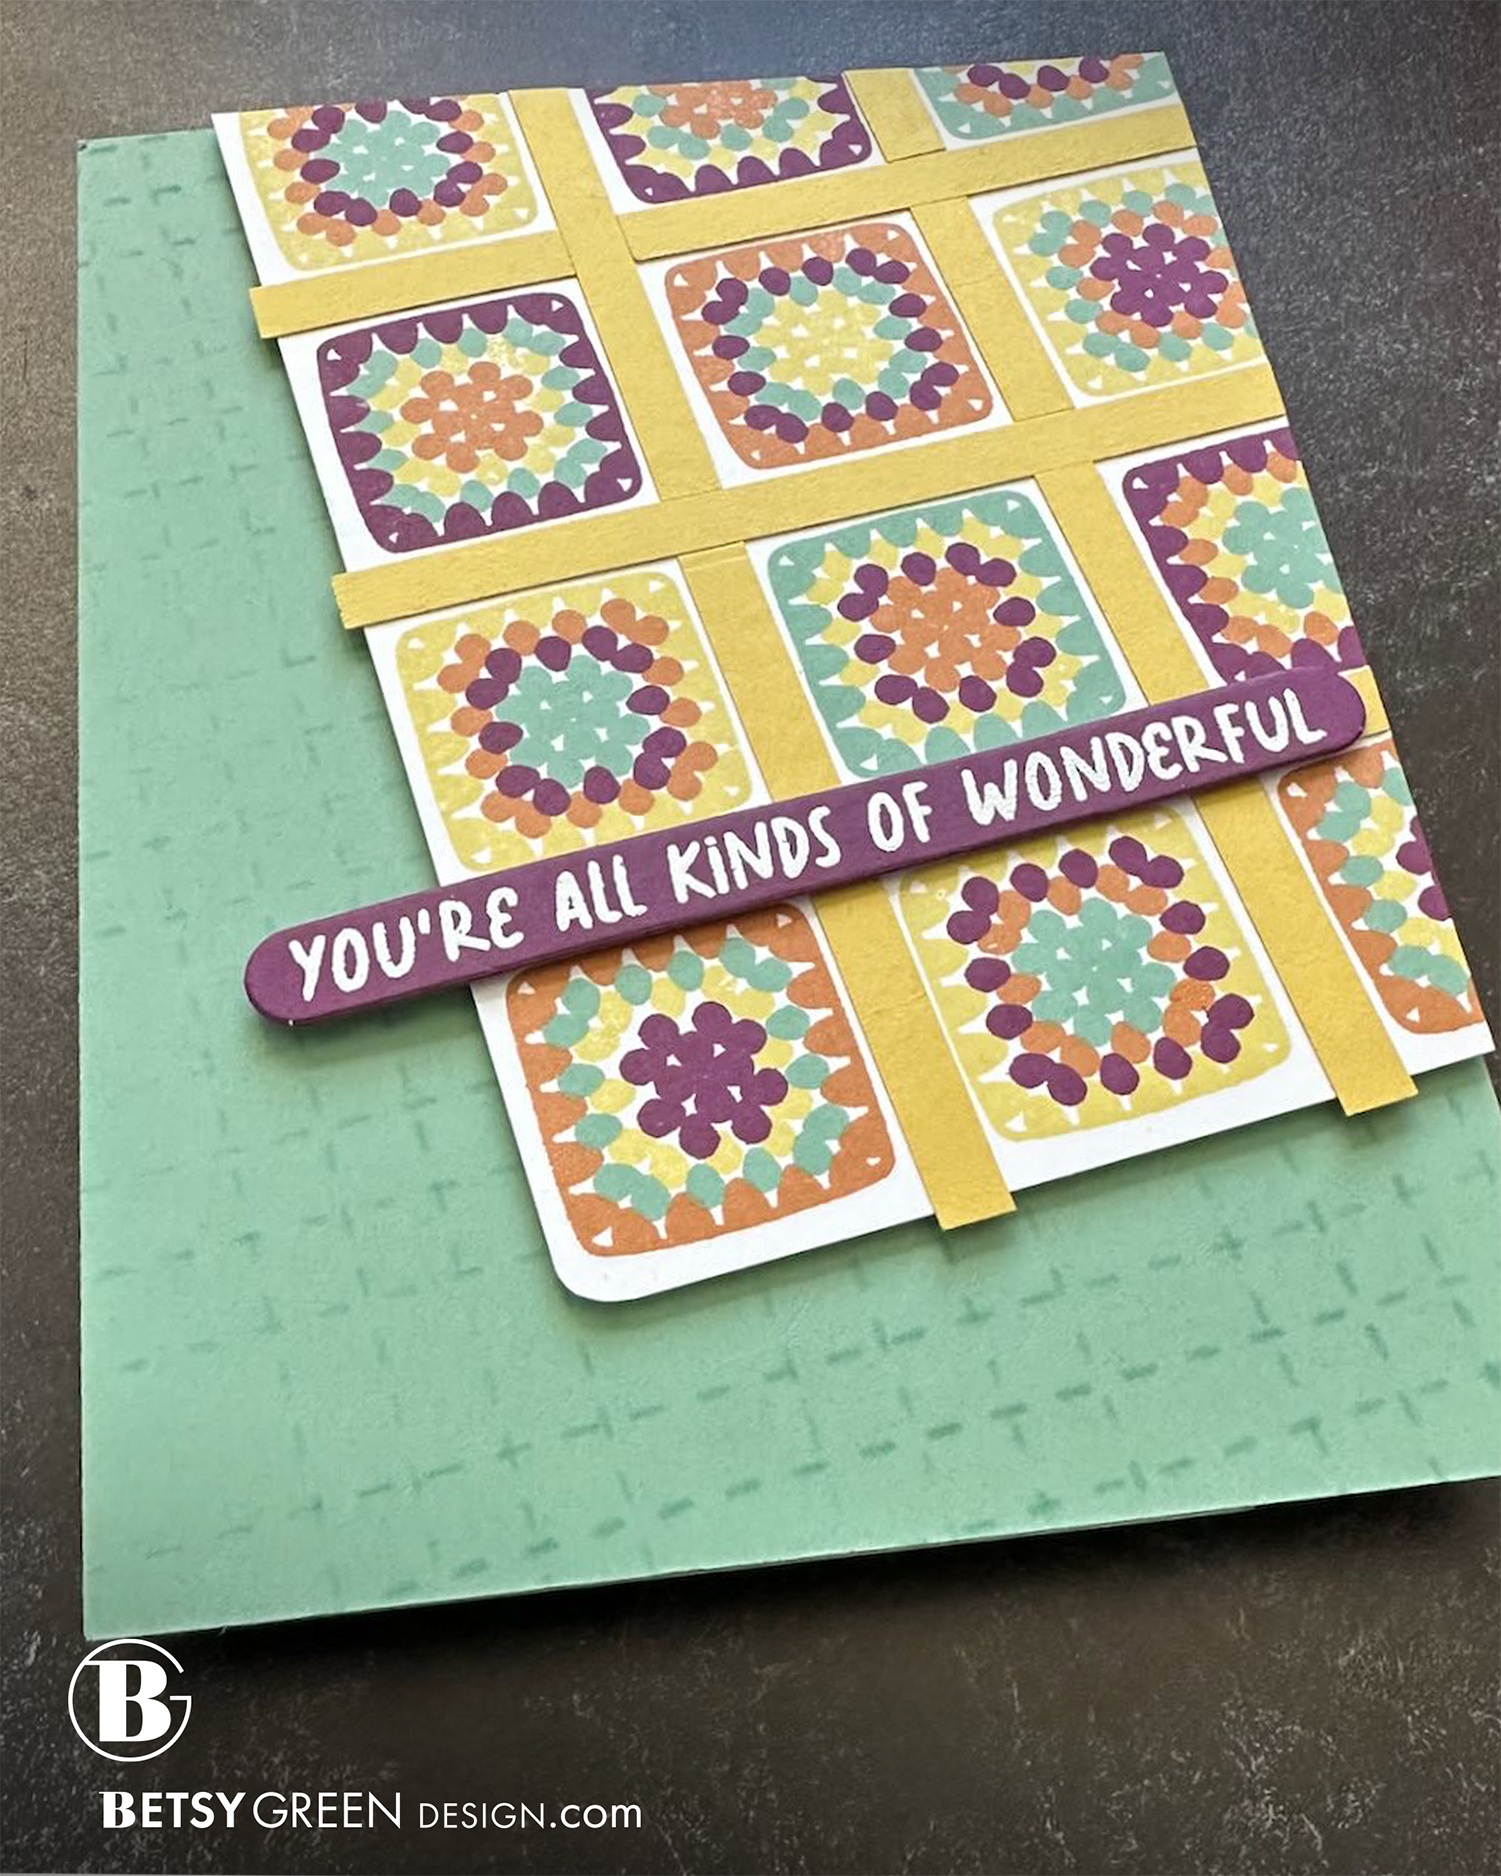
For these next two cards, I chose one color palette and wanted to create two different looks with it. I created an afghan with the Turnabout stamp for this one.
When I did the Turnabout stamping, I set up two jigs so each had a cardstock panel and did two the exact same way. It is definitely a more efficient process, especially if you want to use the same colors for more than one.
I trimmed it down to a 3x4 granny square panel, trimmed the outer edge close to the squares, and rounded the corners to mimic the stamp shape. I wanted to fill in the wide white gaps, so used colored strips (in Honeycomb, one of my four colors) to lay over that.
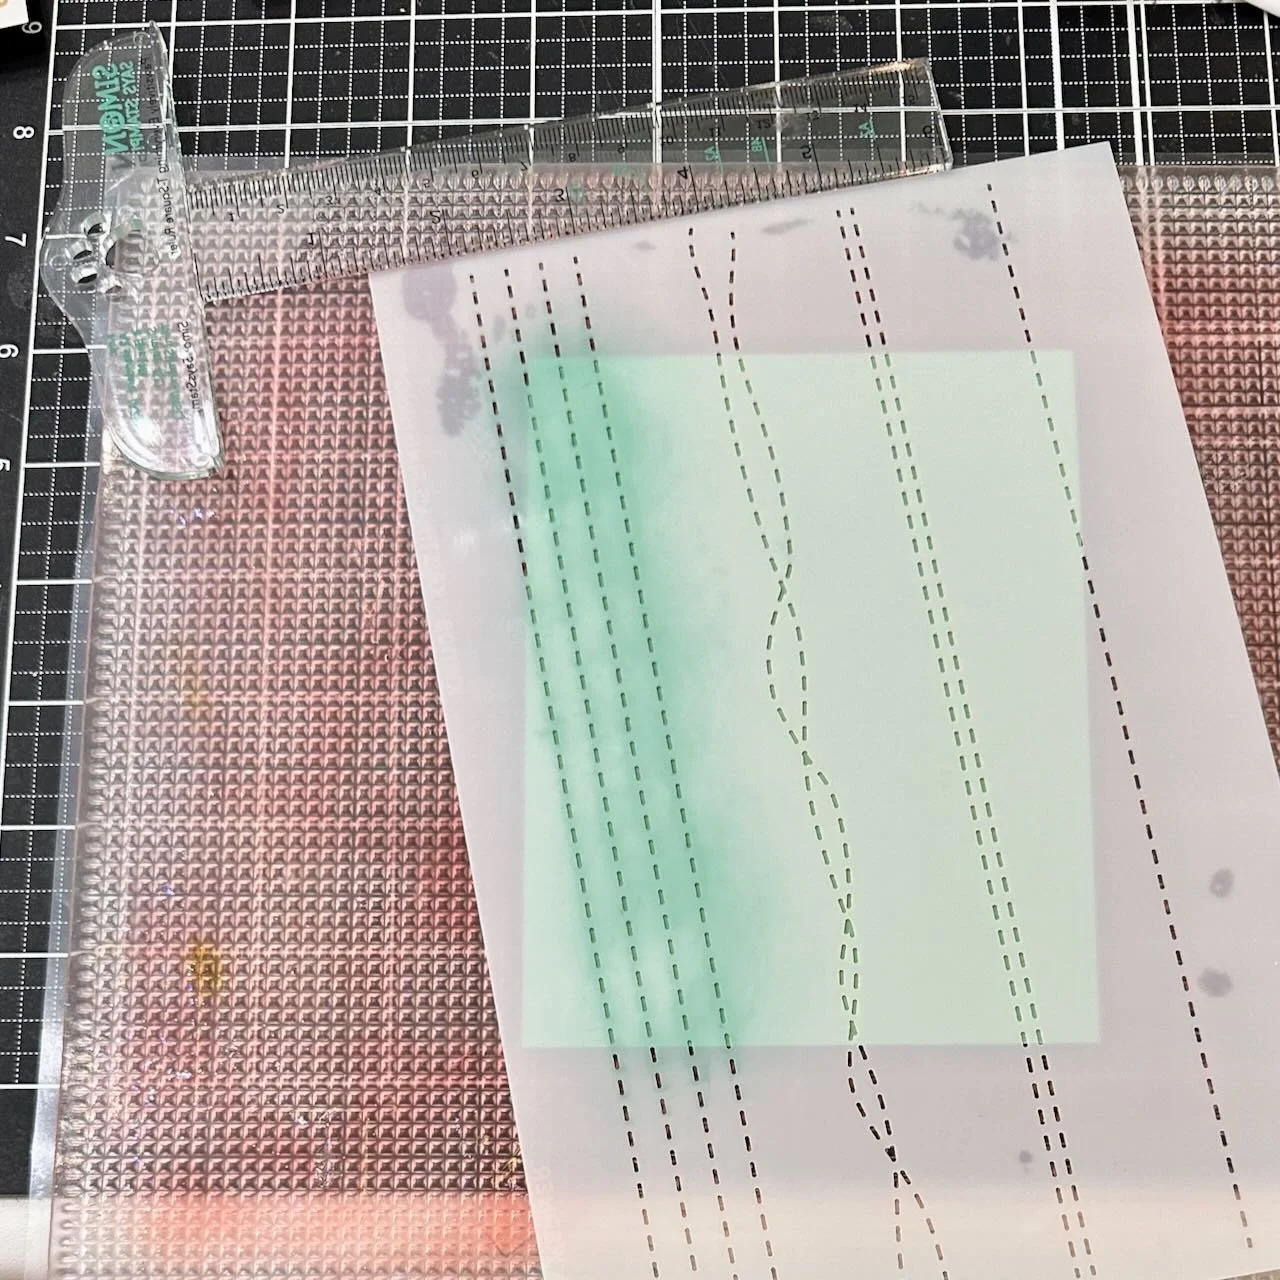
As I looked for a background pattern for the card panel, I was searching for something that felt right thematically, something that was a scale that would complement the granny squares (so either smaller or larger shapes) and something that I could do on an angle that would coordinate with how I wanted this afghan piece to lay over the corner. I found a die I was going to use, but then thought of these Finishing Touches stencils from Kristina Werner.
Because these stencils are so large, I could place them at any angle and they’d still cover my paper panel.
To keep that angle placement more consistent, once I figured out where the first stencil would lay, I placed my t-square ruler along the edge of that stencil as a guide. By placing the t-square upside down, the long part of it stuck nicely to the grip mat I was stenciling on, and I was able to slide my stencil along that edge for each pass, keeping it parallel.
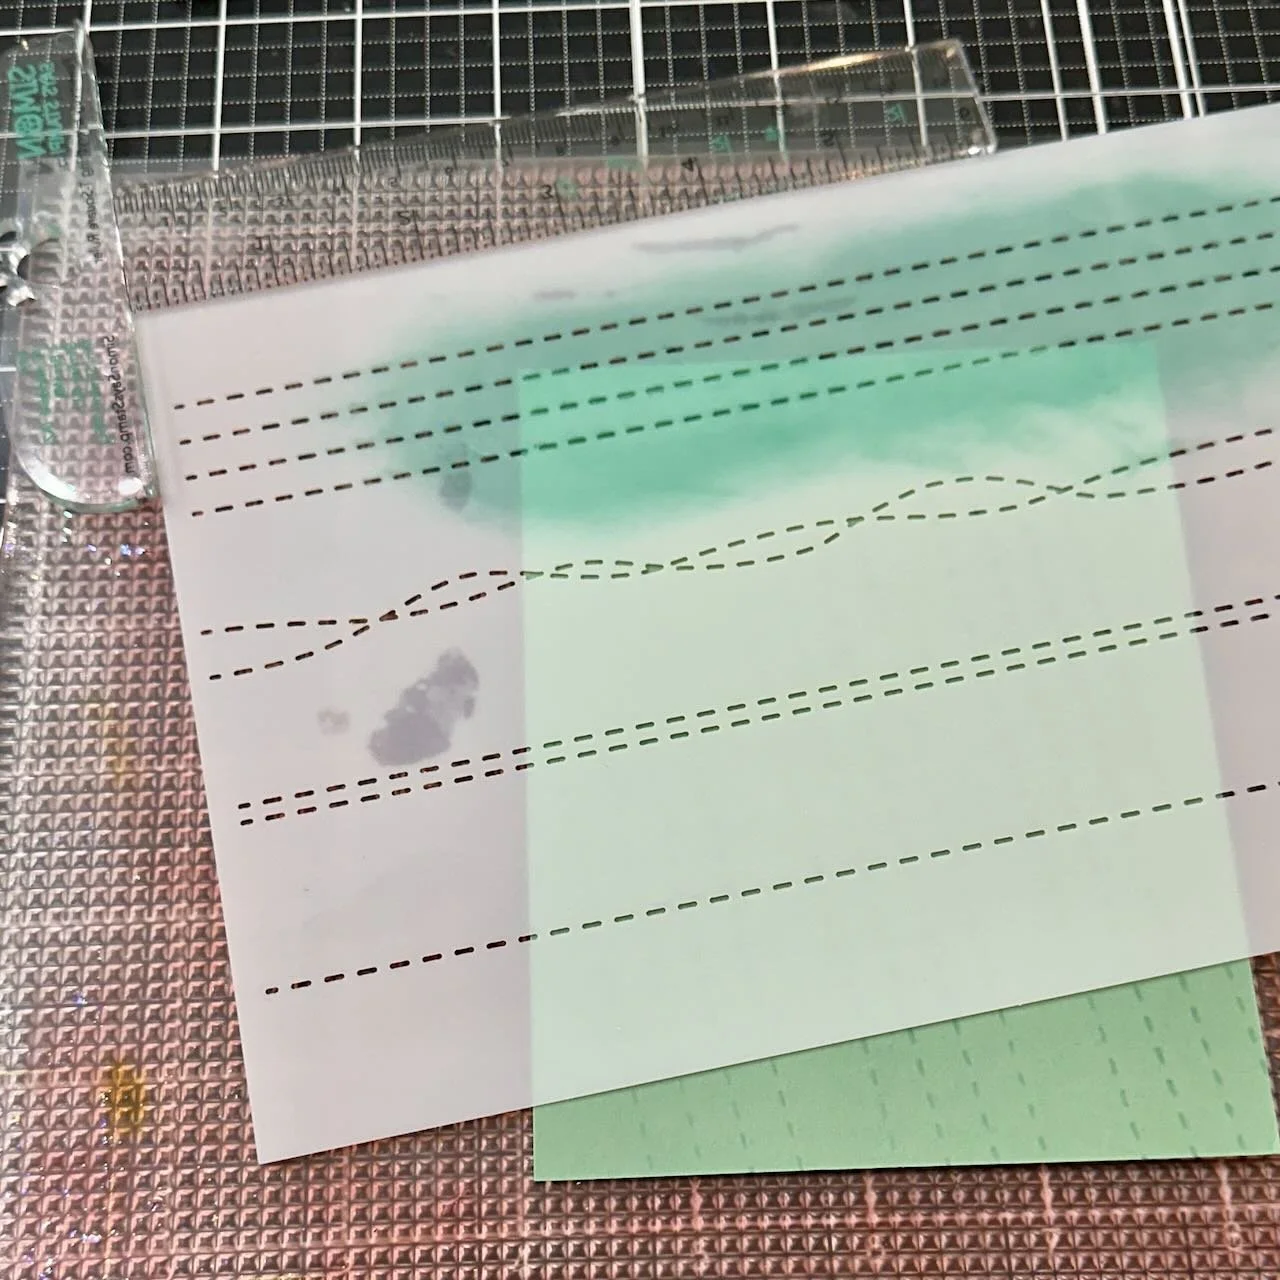
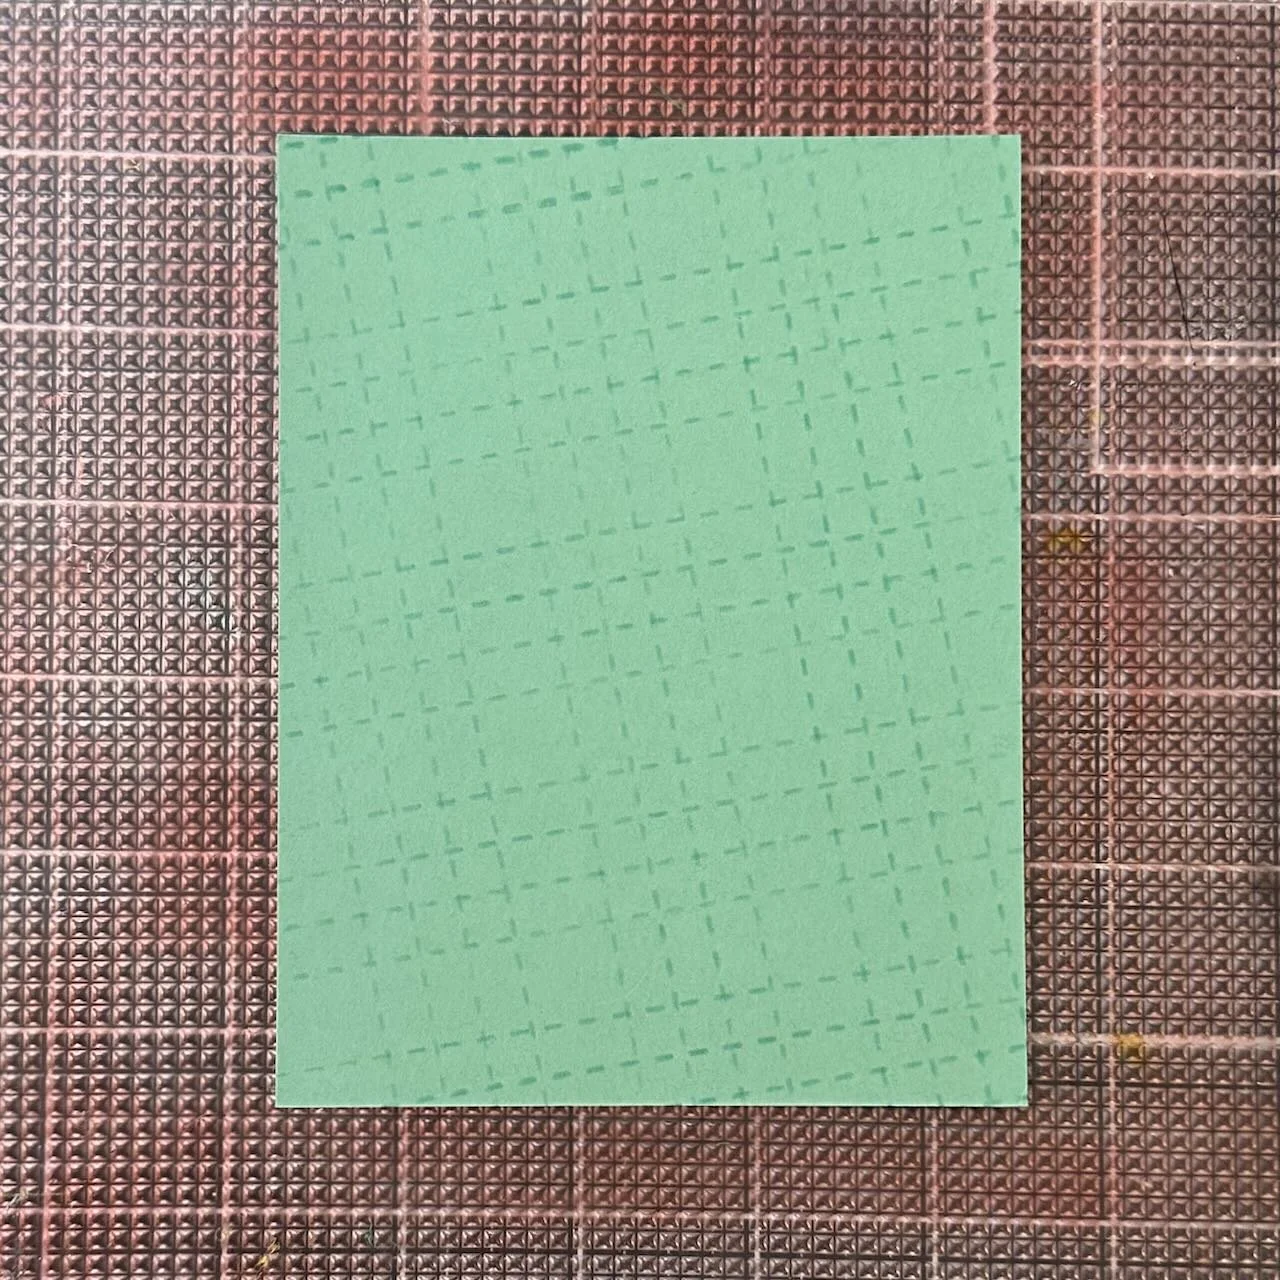
I ink blended Eucalyptus ink through them for a tone-on-tone stitched look.
Once I finished the vertical lines and my first placement of the horizontal ones, I did move the t-square over to the left edge of the stencil and was able to shift it down the card panel that way.
I added the afghan piece on top of that with foam tape, keeping it in line with the stenciled background pattern.
The greeting is embossed in white, and lined up with the Honeycomb strips.
Colors:
cardstock: Concord & 9th Plumberry, Honeycomb, Eucalyptus.
ink: Concord & 9th Plumberry, Spiced Cider, Honeycomb, Eucalyptus.
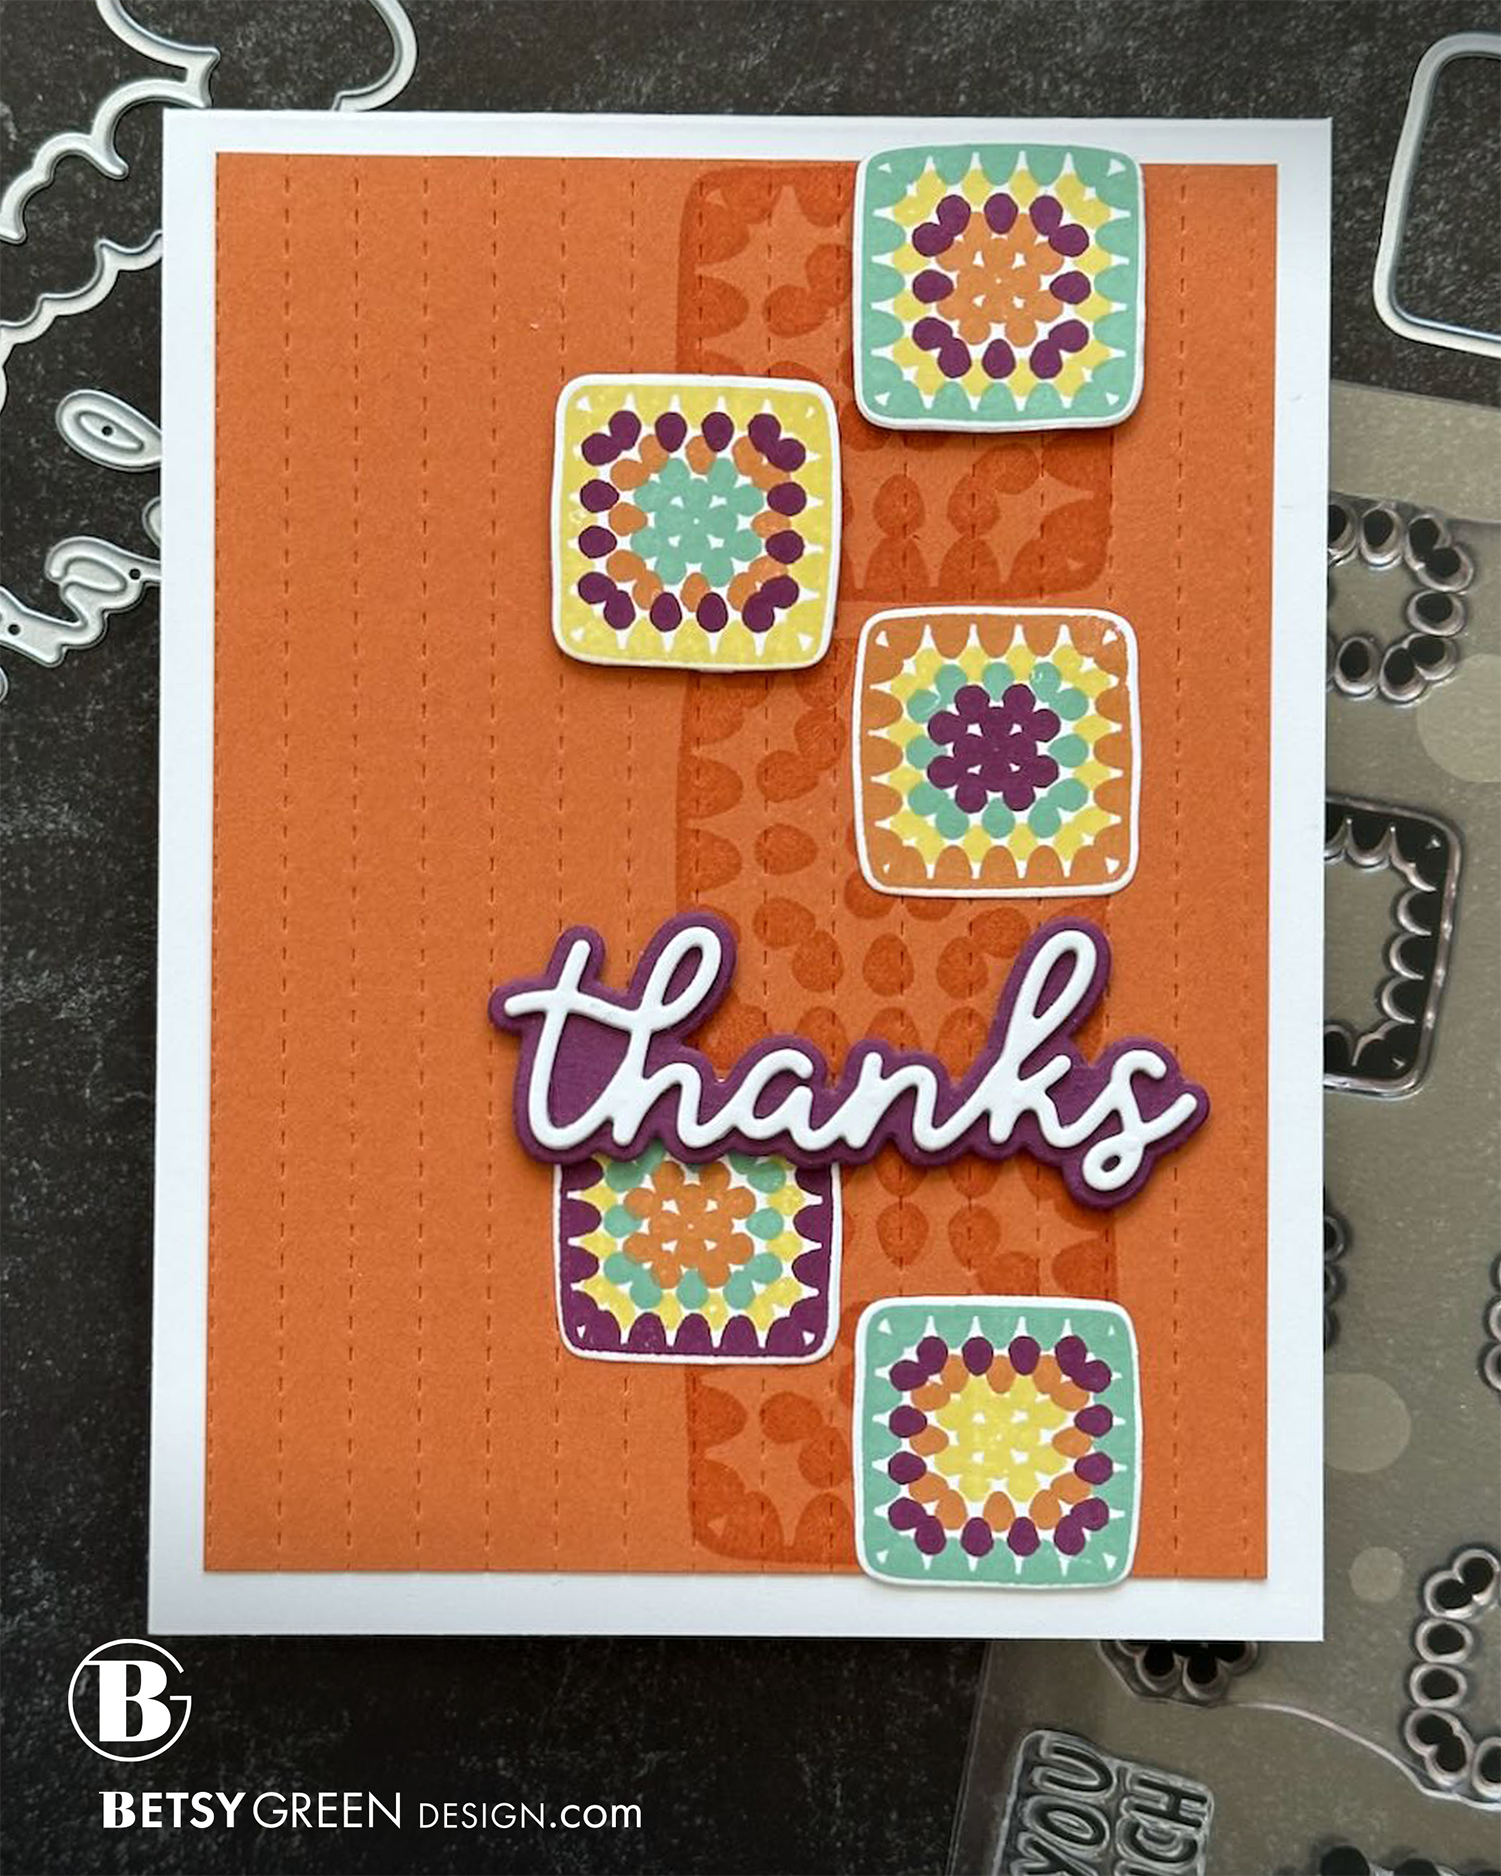
Techniques:
This card uses the same color palette as card 2, but I wanted a bolder look so I used the Spiced Cider as the main cardstock color.
I used some of my squares from the extra Turnabout from card 2, and cut them out with the coordinating die.
I used the series or larger granny square single stamps, and stamped those three times up the cardstock panel using only embossing ink, for a tone-on-tone look. After stamping that, I used the Double Card Front Die on it to create the effect of vertical stitched lines. (Note: that cover die is now retired, but I’ve included a very similar one in the links below.)
I created a pattern of the die cut granny squares based around that stamped row. Adding foam behind a few of them creates some good dimensional interest that both complements and contrasts with the smaller scale pattern and interest of the background lines.
The layered greeting (Plumberry and white) die cuts continue that dimensional pattern, while also mixing in some more organic shapes with the curved lines of the letters.
Colors:
cardstock: Concord & 9th Plumberry, Spiced Cider.
ink: Concord & 9th Plumberry, Spiced Cider, Honeycomb, Eucalyptus.

Thank you for visiting! I hope you get some time to create something soon.
Links are below if you’re interested in any of the products I used.
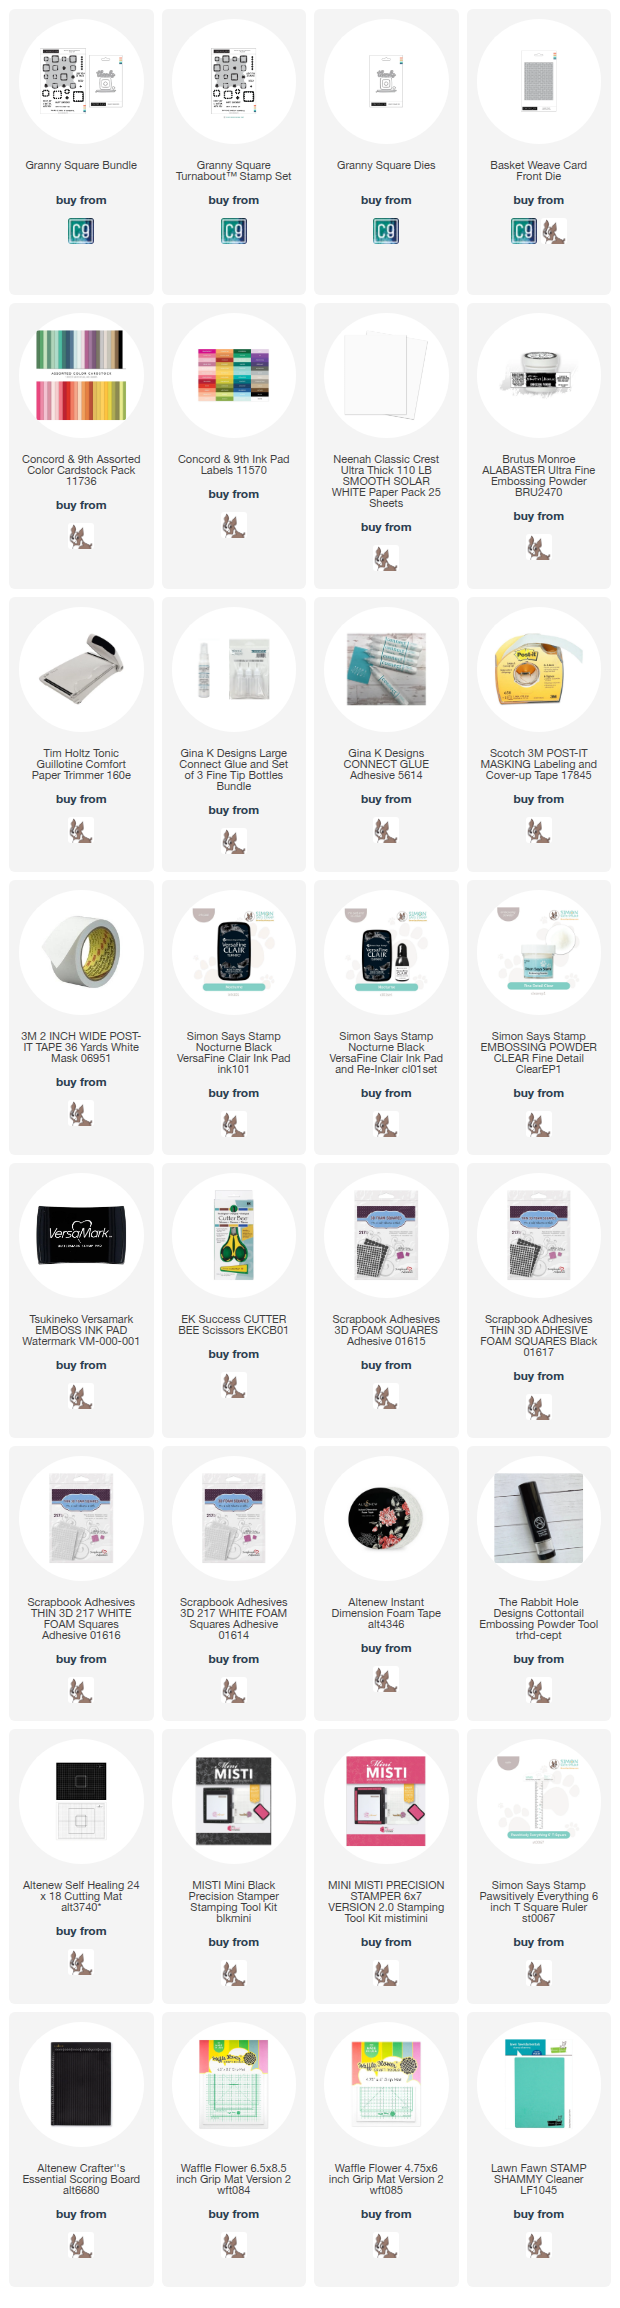
*Affiliate links do not cost you any more when you shop, but it is beneficial to creators when you use them, so thanks in advance!