STAMPtember is Here… and Spooky
Happy STAMPtember!!! Simon Says Stamp always celebrates fall (and Heidi’s birthday) with a big release celebration in September. As always, this year’s STAMPtember release includes some wonderful new basics, some autumn themed products, and of course - Halloween also. This blog post will collect some of my Halloween themed projects. I’ll be making other posts this month also.
You can take a look at the complete STAMPtember release from Simon Says Stamp HERE!


Techniques:
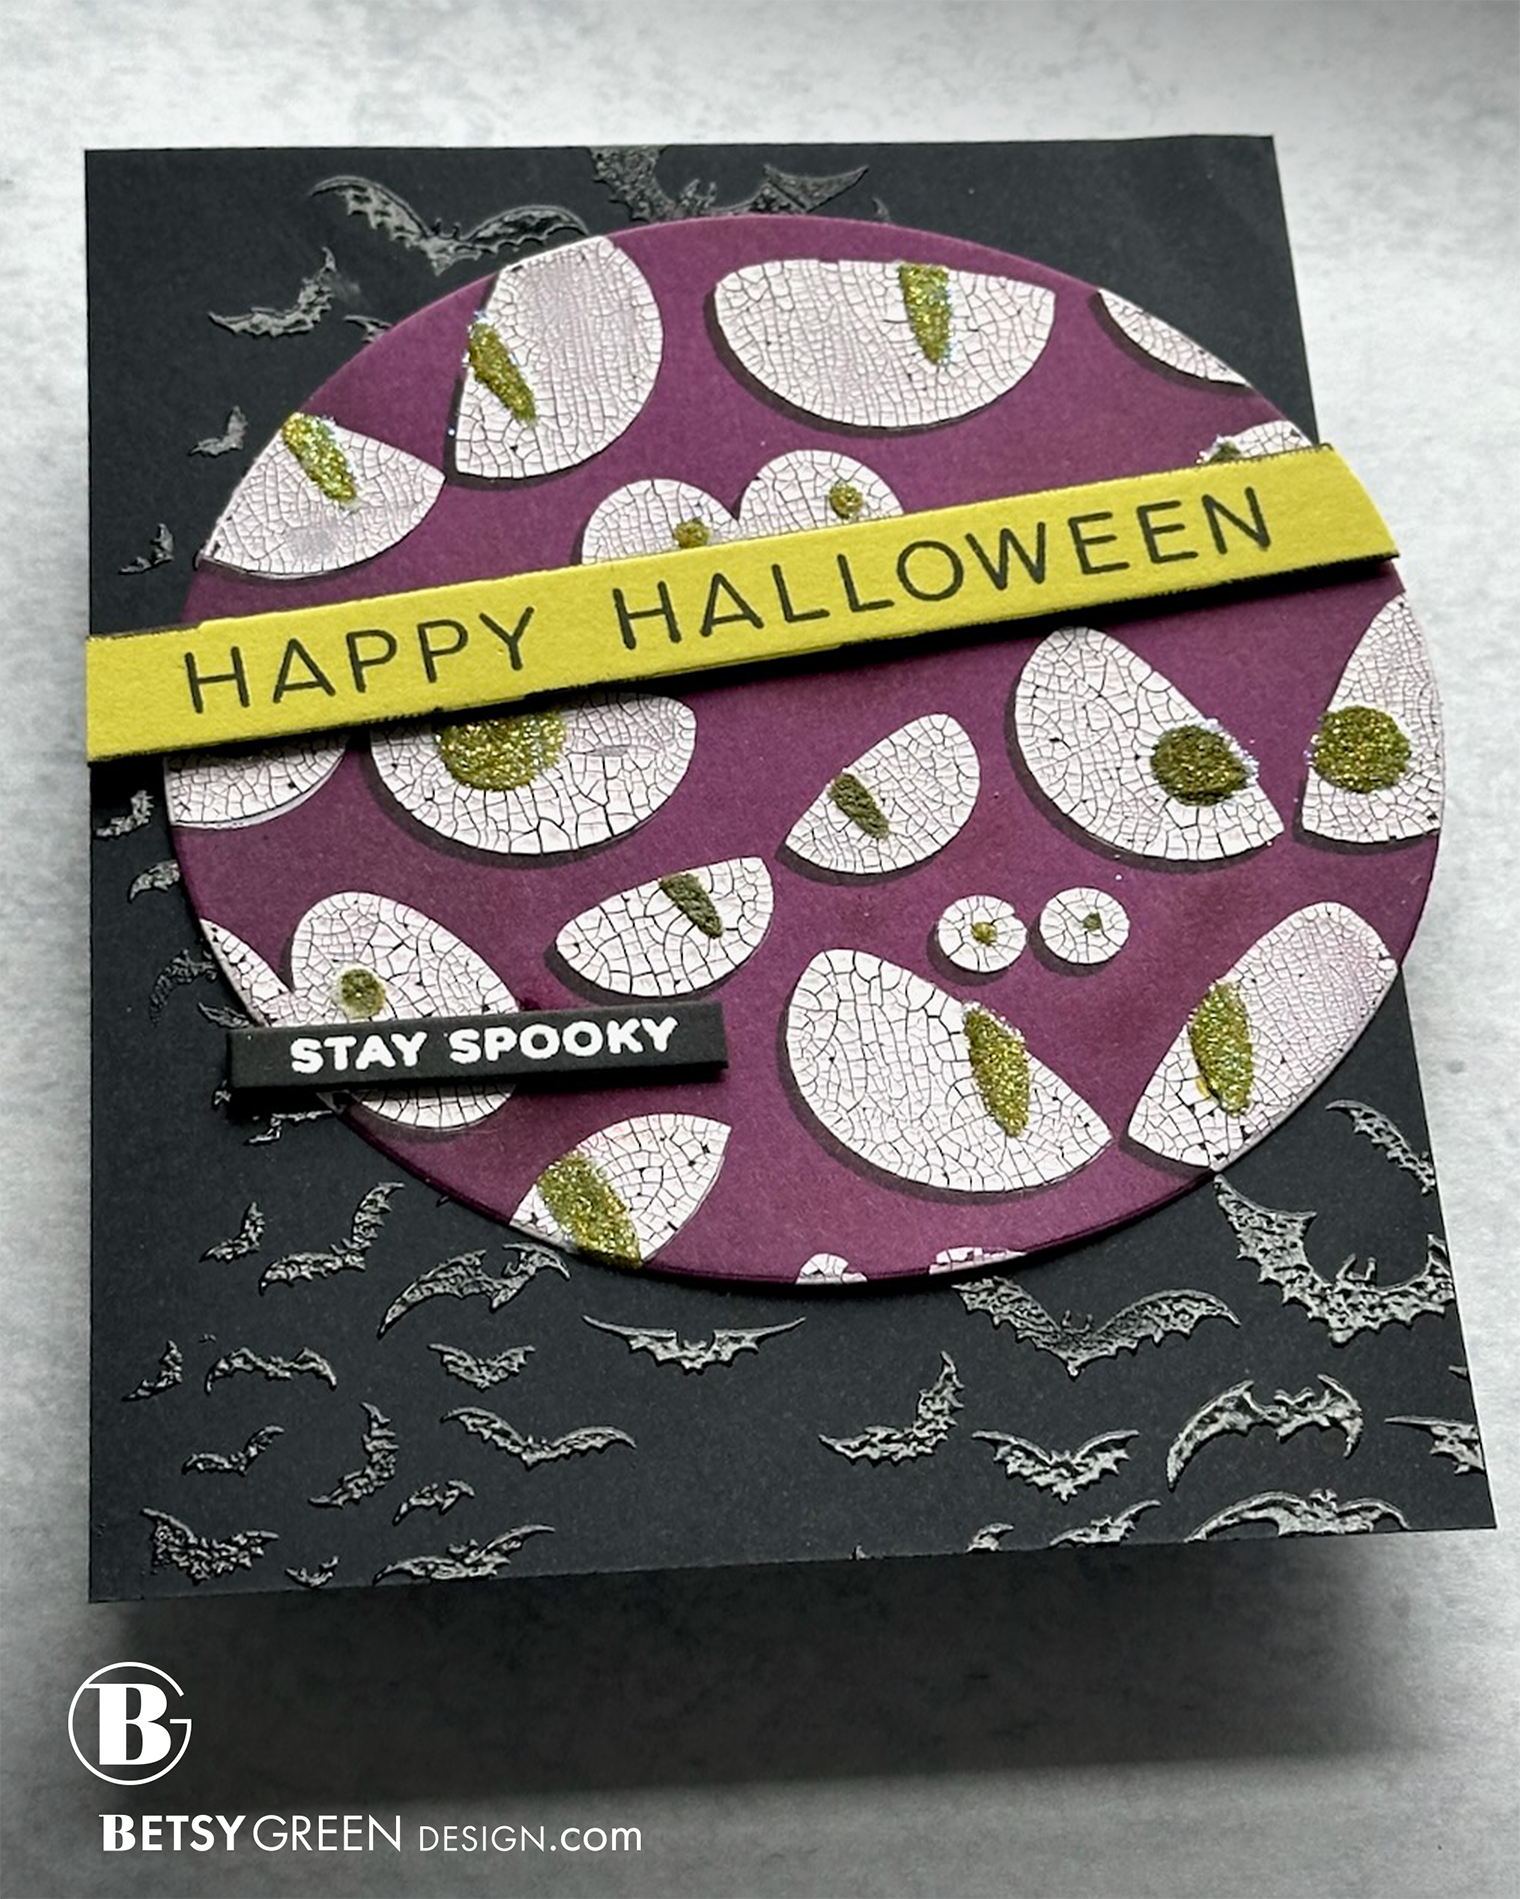
I chose a dark plum cardstock for the main focus of the card, thinking it would look suitably dark and creepy, but stand out well from the black base I planned.
To add to the layers and textures - both actual and visual, I wanted to give the eyes from the Spooky Eyes stencil a dimensional look.
1. I ink blended black ink through the main eye part of the stencil.
2. After cleaning the stencil, I offset it just a bit, and spread opaque Distress Crackle paste through that same stencil. I thought the crackle would create a fun effect for the eyes - what do you think?
3. I then used Glow Grit Paste through the other stencil for the pupils. Spoiler alert - that didn’t work. It actually looked great when glowing in the dark, but didn’t have enough contrast under light. Darn. The texture was still cool, so I just used some watercolor paints to add a deep yellow-green color on top of that grit paste, along with a little clear glitter.
Once that panel with the eyes was completely dry, I used a large circle die to cut it out.
The background panel for the card is the large group of bats from the CZ Halloween Basics, stamped twice with embossing ink, and with clear embossing powder on it. That gives it that slight bit of dimension and fun touch of shine to stand out just enough behind the feature of the eyes.
The words on the card are all from that same CZ Halloween Basics stamp set. I stamped the Happy Halloween one word at a time so I could put the words in a row horizontally rather than stacked. I used one of the Sentiment Label dies to cut it out, and trimmed it so it looks “wrapped” around that circle of eyes.
Colors:
ink: Black.
cardstock: Concord & 9th Plumberry, Lemongrass, and Black.

Techniques:
This card has some things in common with that first one -the Spooky Eyes stencil, clear embossed bats on black, and I used Distress paste on the eyes. But this one takes all that and combines it with an accordion structure for some great dimension.
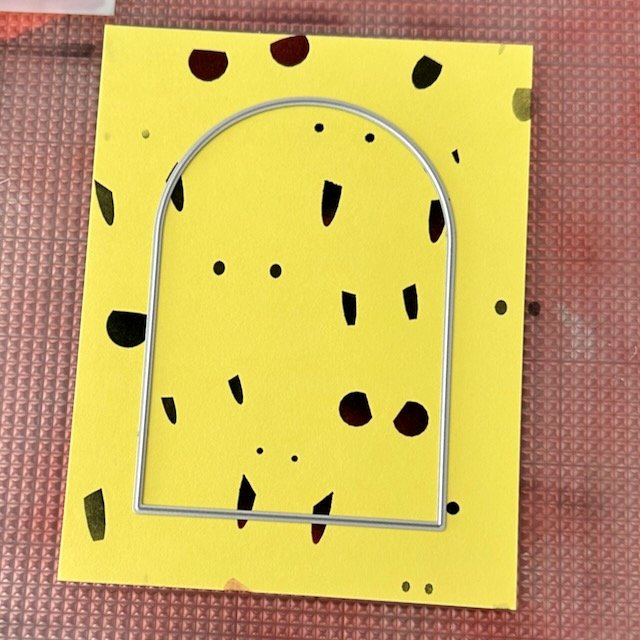
On the bright yellow cardstock, I first ink blended the dark pupils of the eyes.
I then used an arch die for position so I knew where I wanted to add orange ink blending. I planned to cut the front panel with the arch, and wanted to have some orange ink blending creeping in from the sides to increase depth and interest, so a few pencil lines to mark that arch area helped me know where to do that blending.
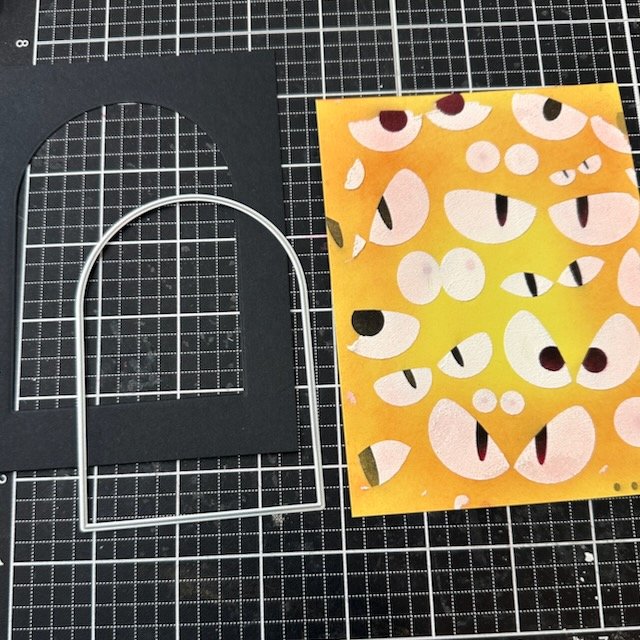
I next spread Opaque Distress Grit Paste through the other stencil. (there was a bit of bleed-through as the ink seeped in thanks to the wet paste, but I actually thought it was a fun almost blood-shot touch. Once that was dry, I added black gems on the eyes with smaller round pupils.
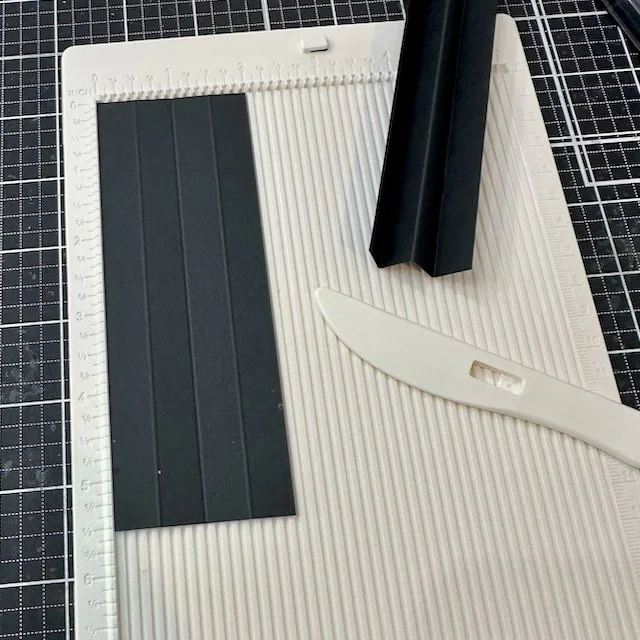
I created the accordion sides but cutting a 2”wide strip of cardstock (mine was 5 1/2”h because it is for a vertical A2 card), and scoring it at 1/2”, 1”, and 1 1/2”, and folding it accordion-style. I repeated this for the second side. There are some dies out there that do this as well, so you can use that if you have one, and cut it the width that gives you the depth you want.
I stamped and embossed the bats on black, and then die cut that front panel with that arch die I used earlier for ink blending position, and attached it all together.
A greeting on the front (die cut with a smaller arch from the set) finishes off the card!


Thank you for visiting!
Links are below if you’re interested in any of the products I used.

*Affiliate links do not cost you any more when you shop, but it is beneficial to creators when you use them, so thanks in advance!
