
Scenes with Dimension
August Release from Concord & 9th
There’s a new release out now from Concord & 9th !
I have created a few cards with scenes out of some of the products, and since they aren’t standard flat cards I thought you might be interested in more details than what I share on Instagram. I’ll be adding the other card images and details this week, but wanted to get this first one posted.
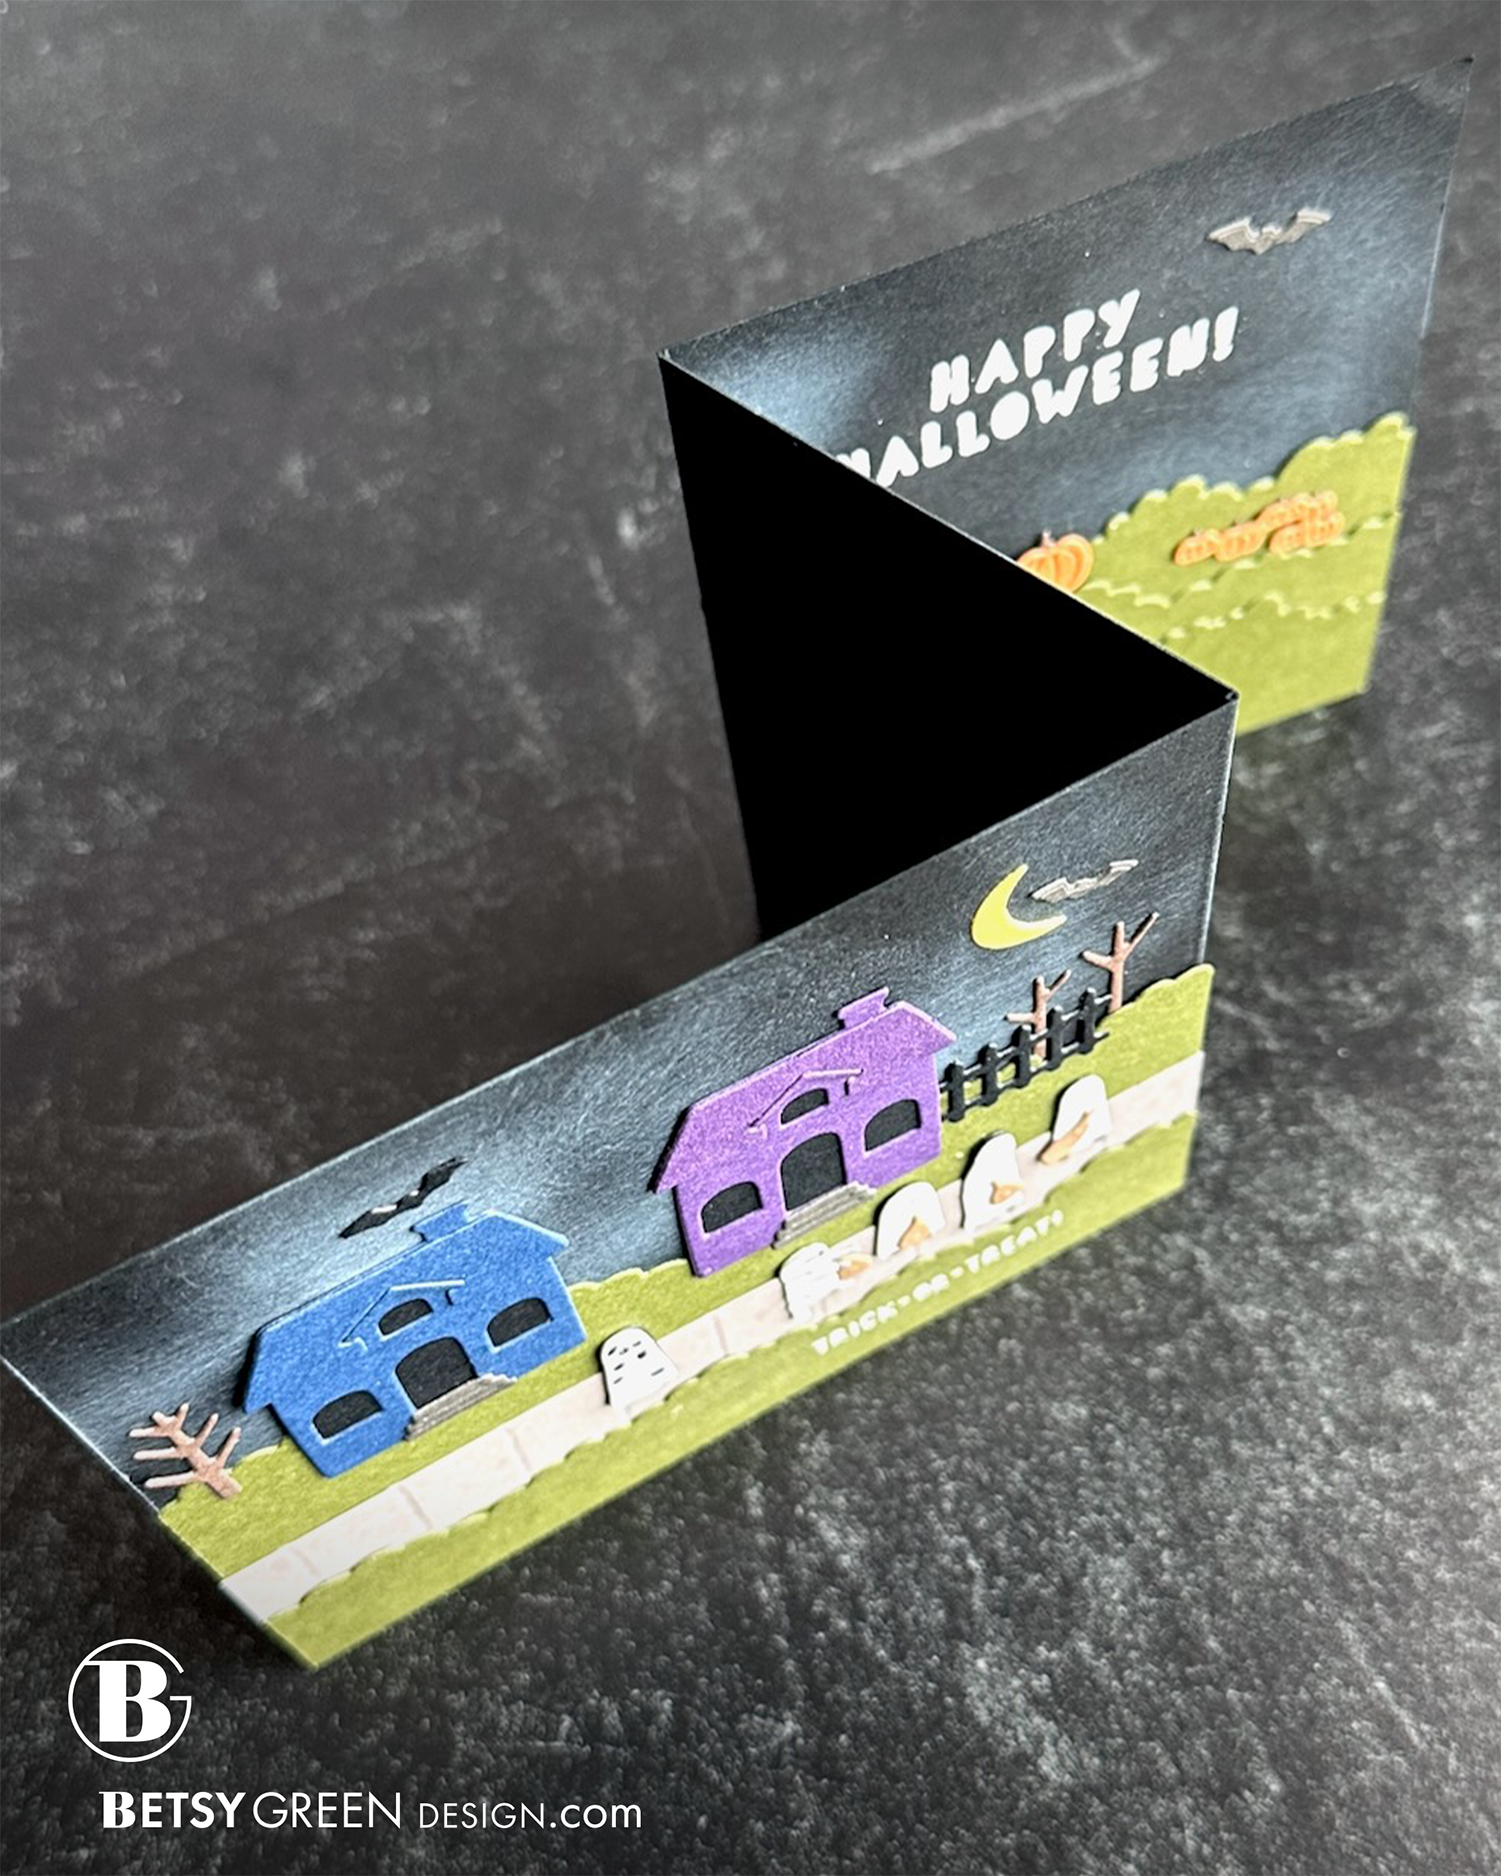
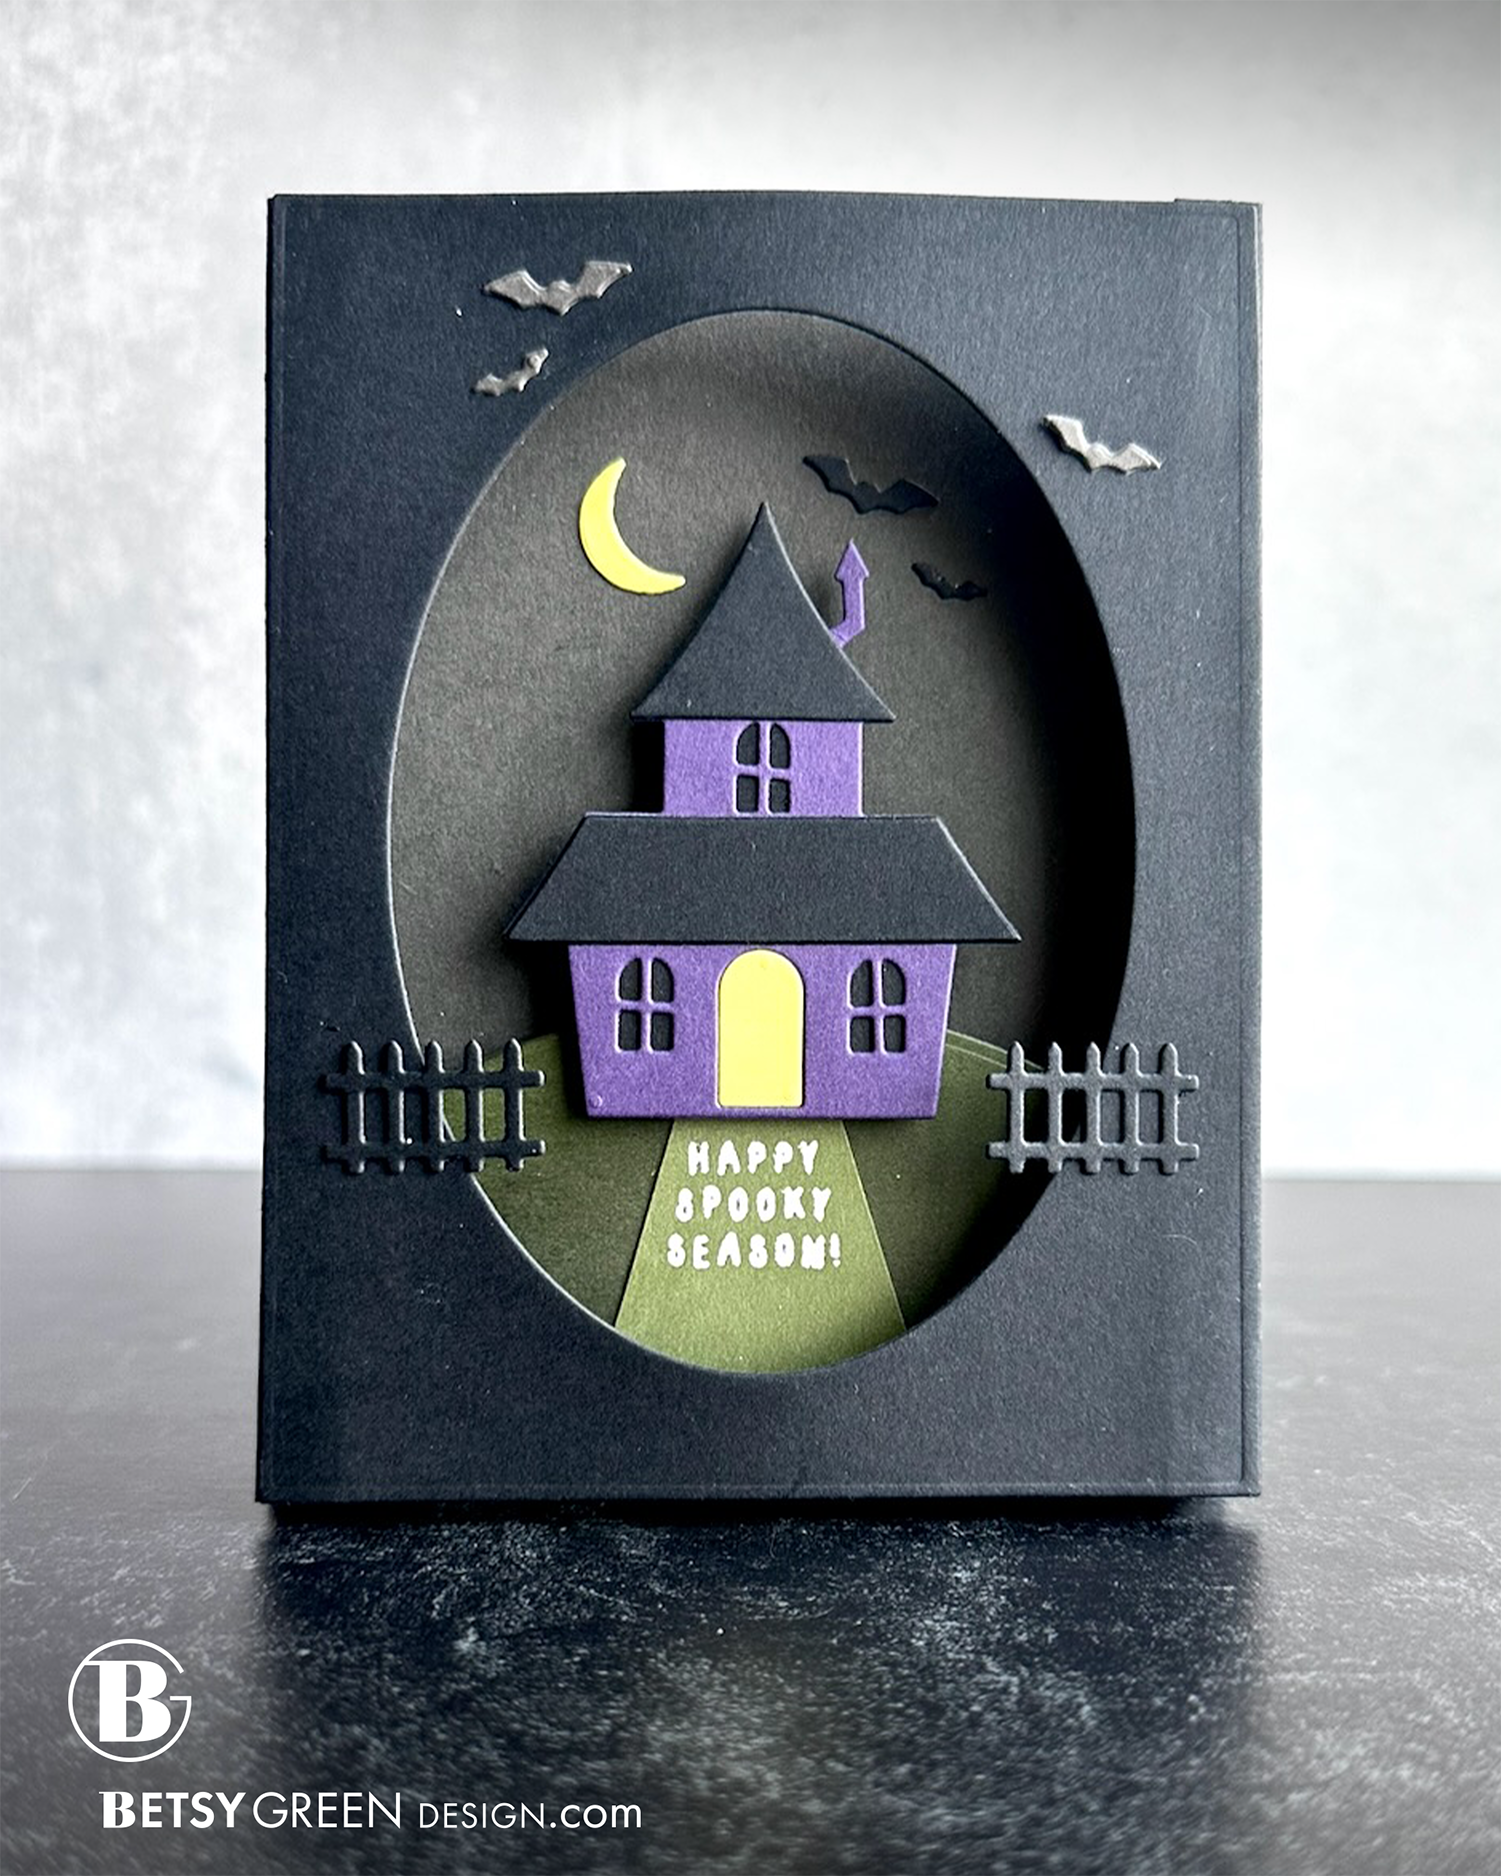
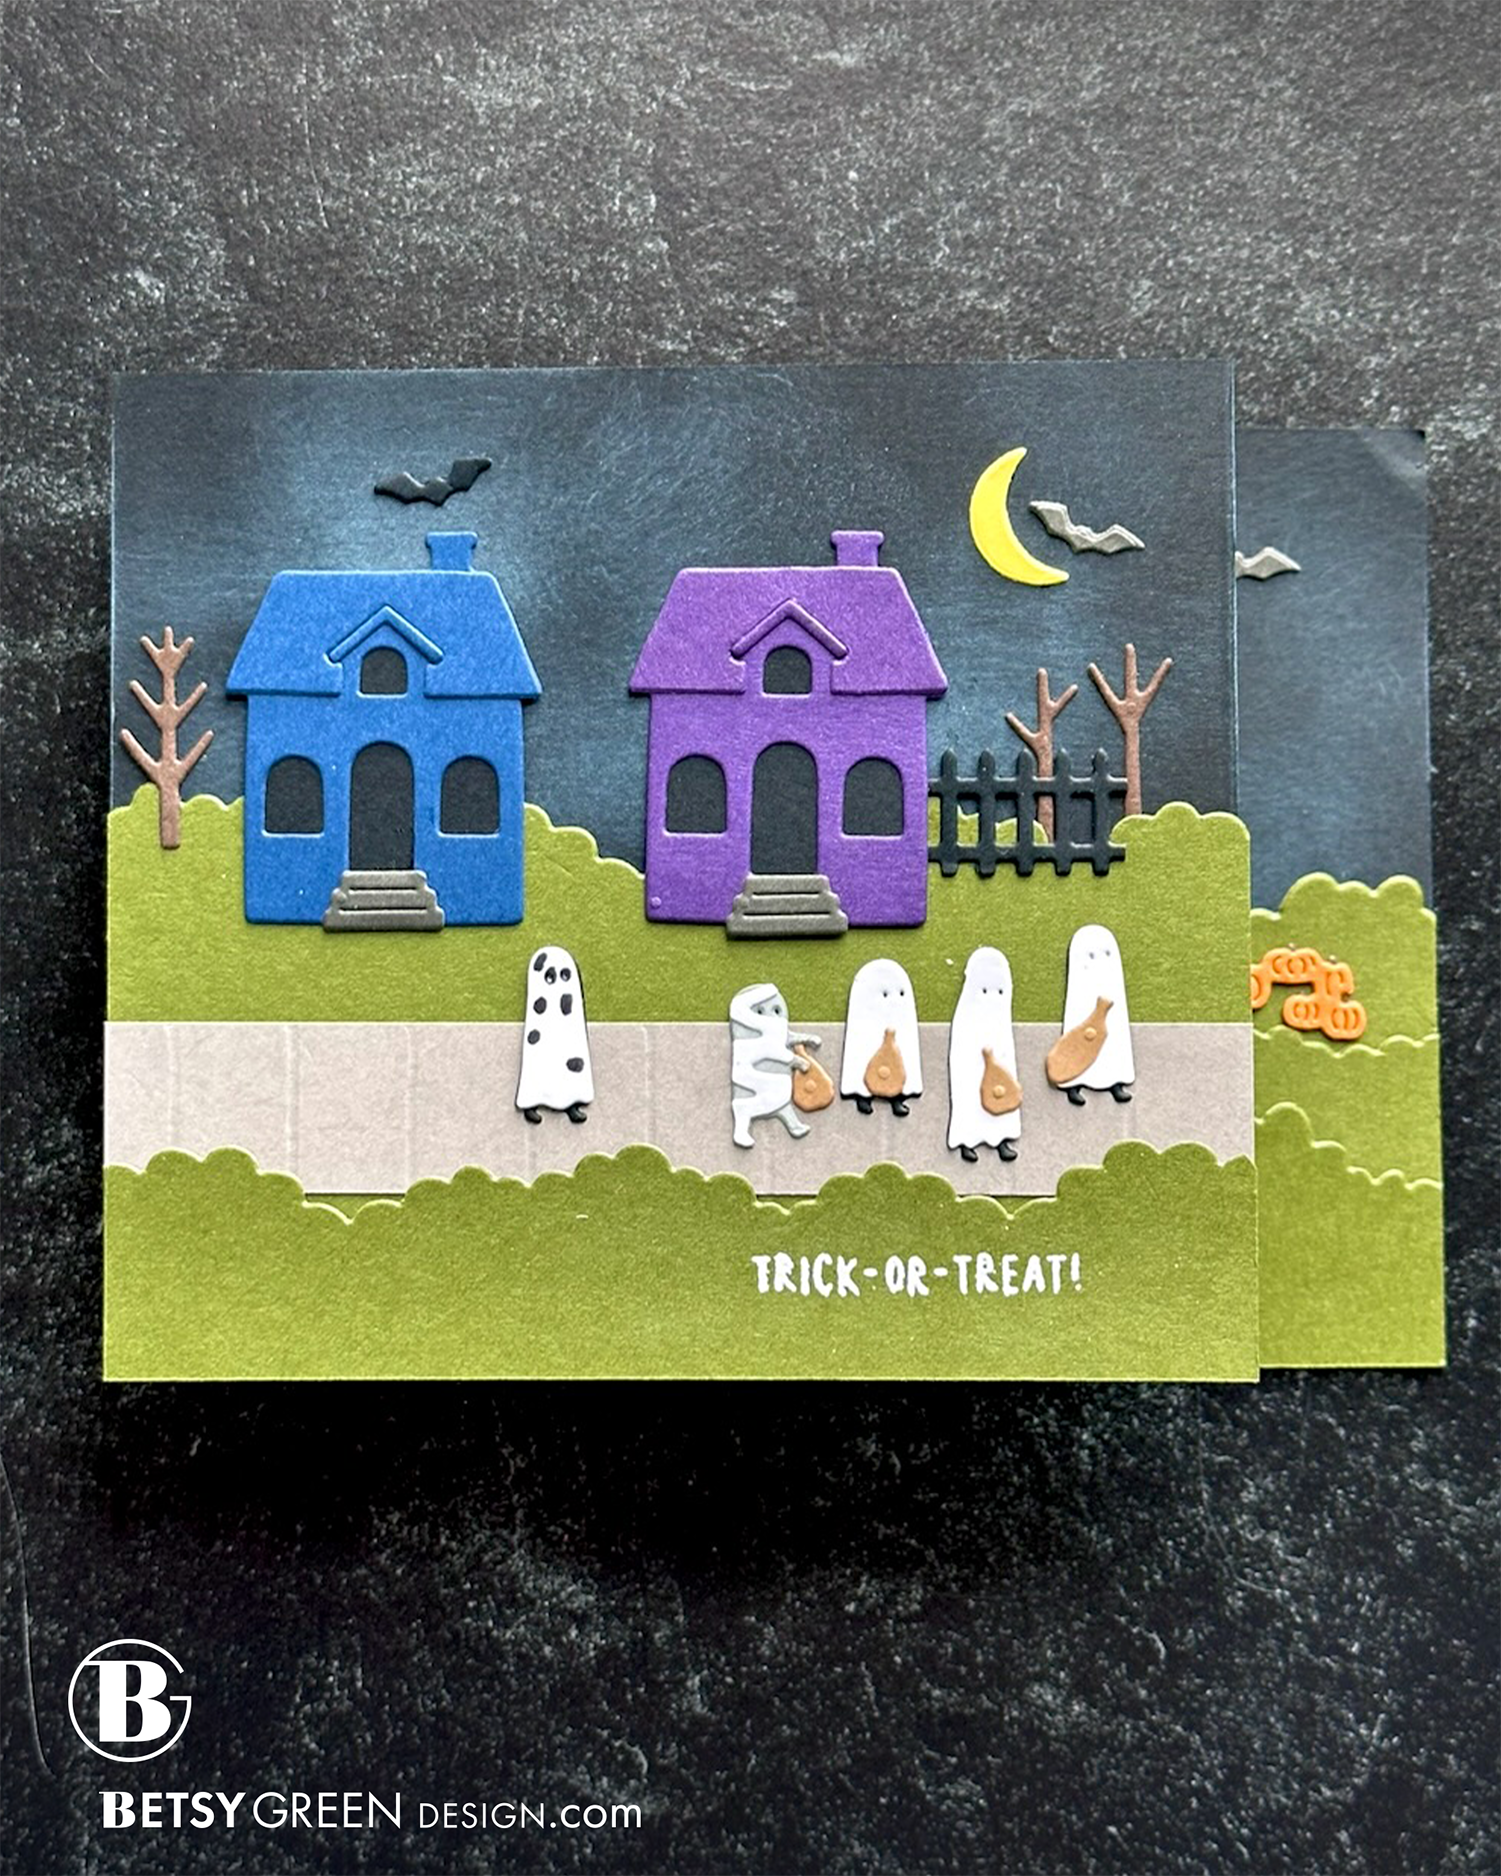
If you’re a Peanuts fan like I am, hopefully you realize which scenes from the classic inspired this card. As soon as I saw a peek of this set, I knew I had to use the dies to create this. I’ve been a big Snoopy/Peanuts fan since I was a kid. It’s the Great Pumpkin, Charlie Brown is a favorite and I still love to watch it every year.
NOTE: I did a live with Jennifer McGuire on her YouTube channel on August 11, 2026, so you can see my demo making it there. (It was a crazy day and ended up being less organized than I’d intended, but there was a lot going on. We got it done!)
Techniques:
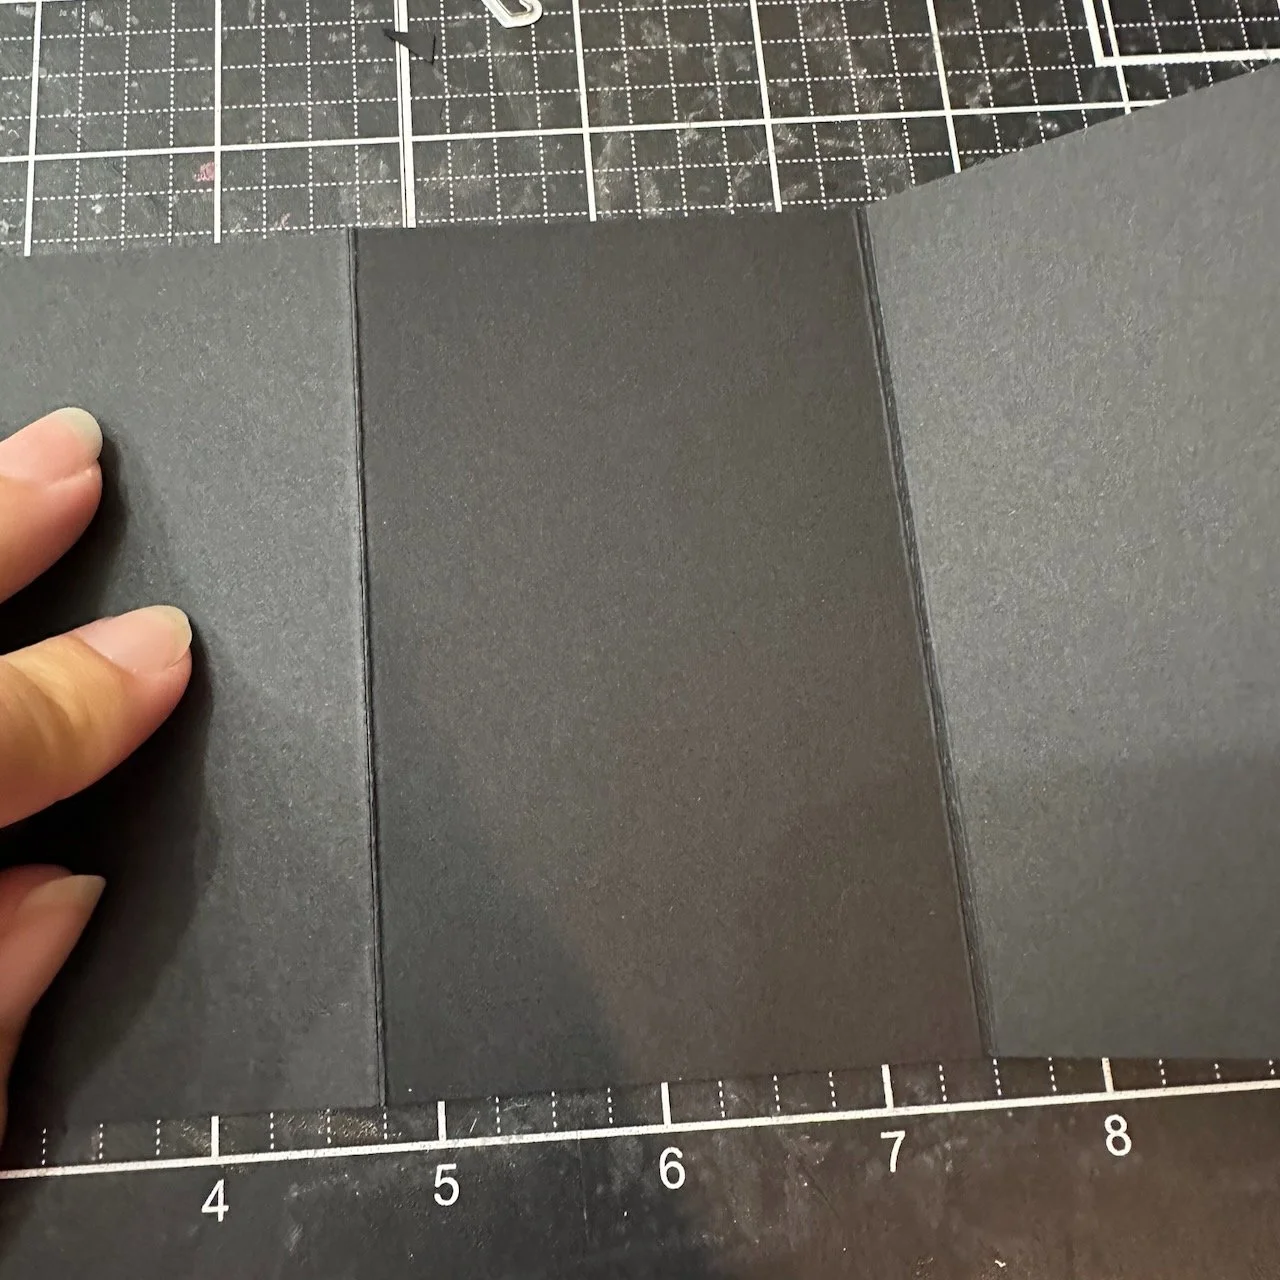
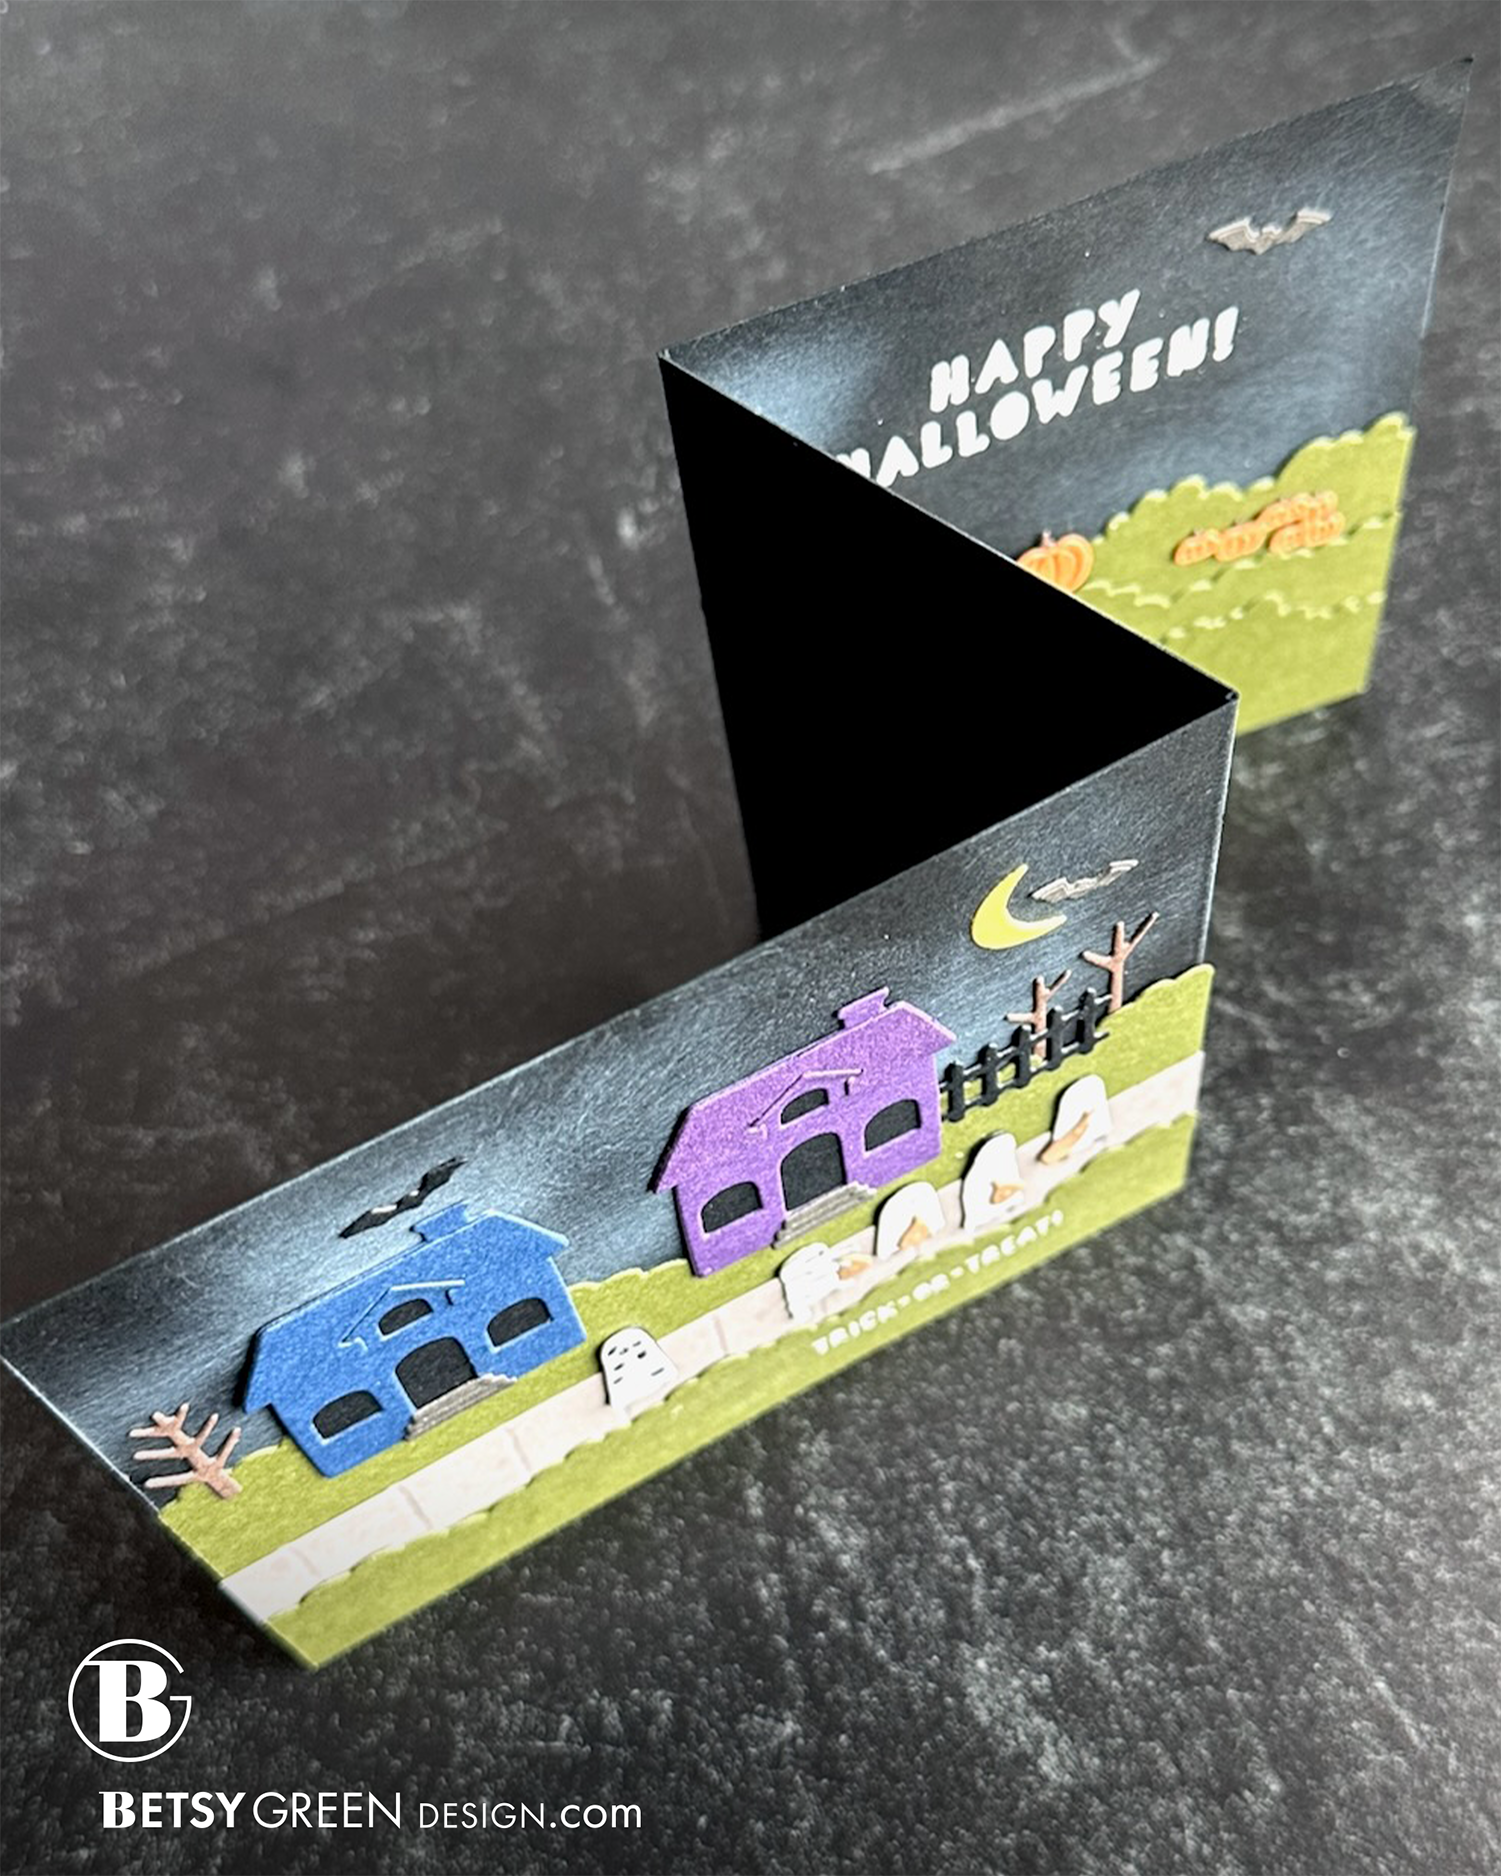
The card base is an 8.5”x11” piece of black cardstock, cut lengthwise into a 4.25”x11” piece.
I created this card to fit within an A2 footprint (and envelope), but it is a horizontal orientation, so the 4.25” dimension is the height of the whole card, and I scored the 11” length of the cardstock to create the folded card.
Score it twice to make a z-fold. For this card I scored it at 4.75” and 7.5” from the left side. Or, if your score board is small like mine you can score from the left at 4.75”, then rotate it around and score in 3.5” from the new left (which was the right originally). You should end up with a center area that is 2.75”wide
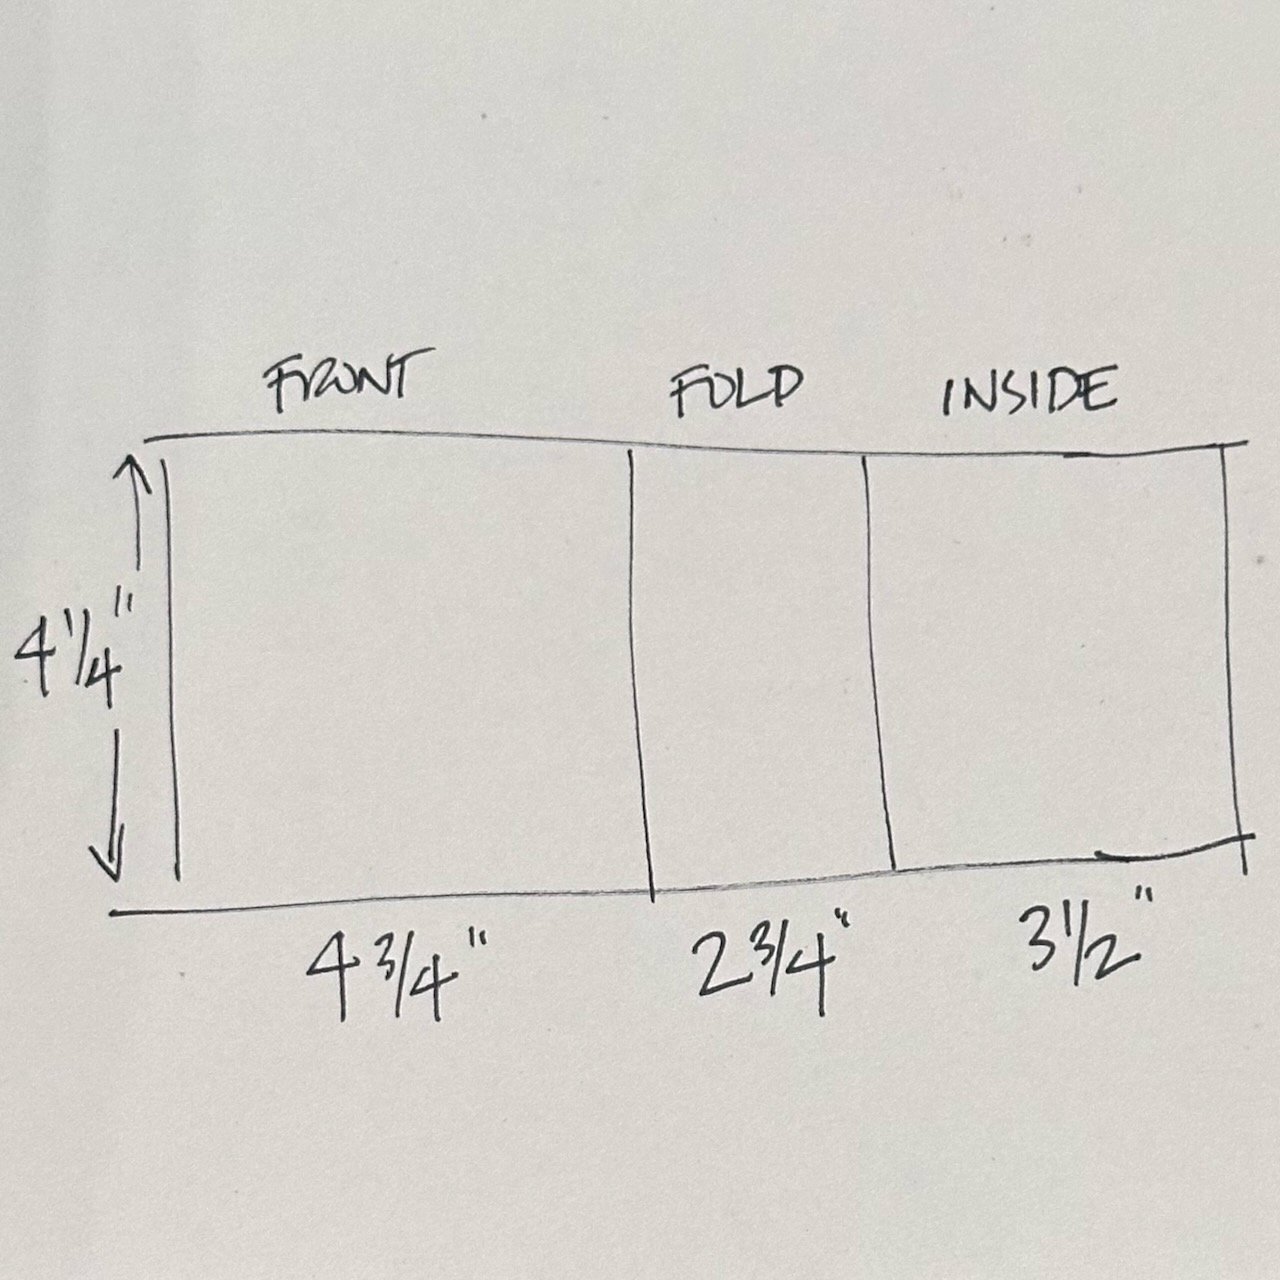
This image is not to scale, but is a quick sketch of what the dimensions are for each of the sections. Overall flat dimensions are 4.25”high x 11” long.
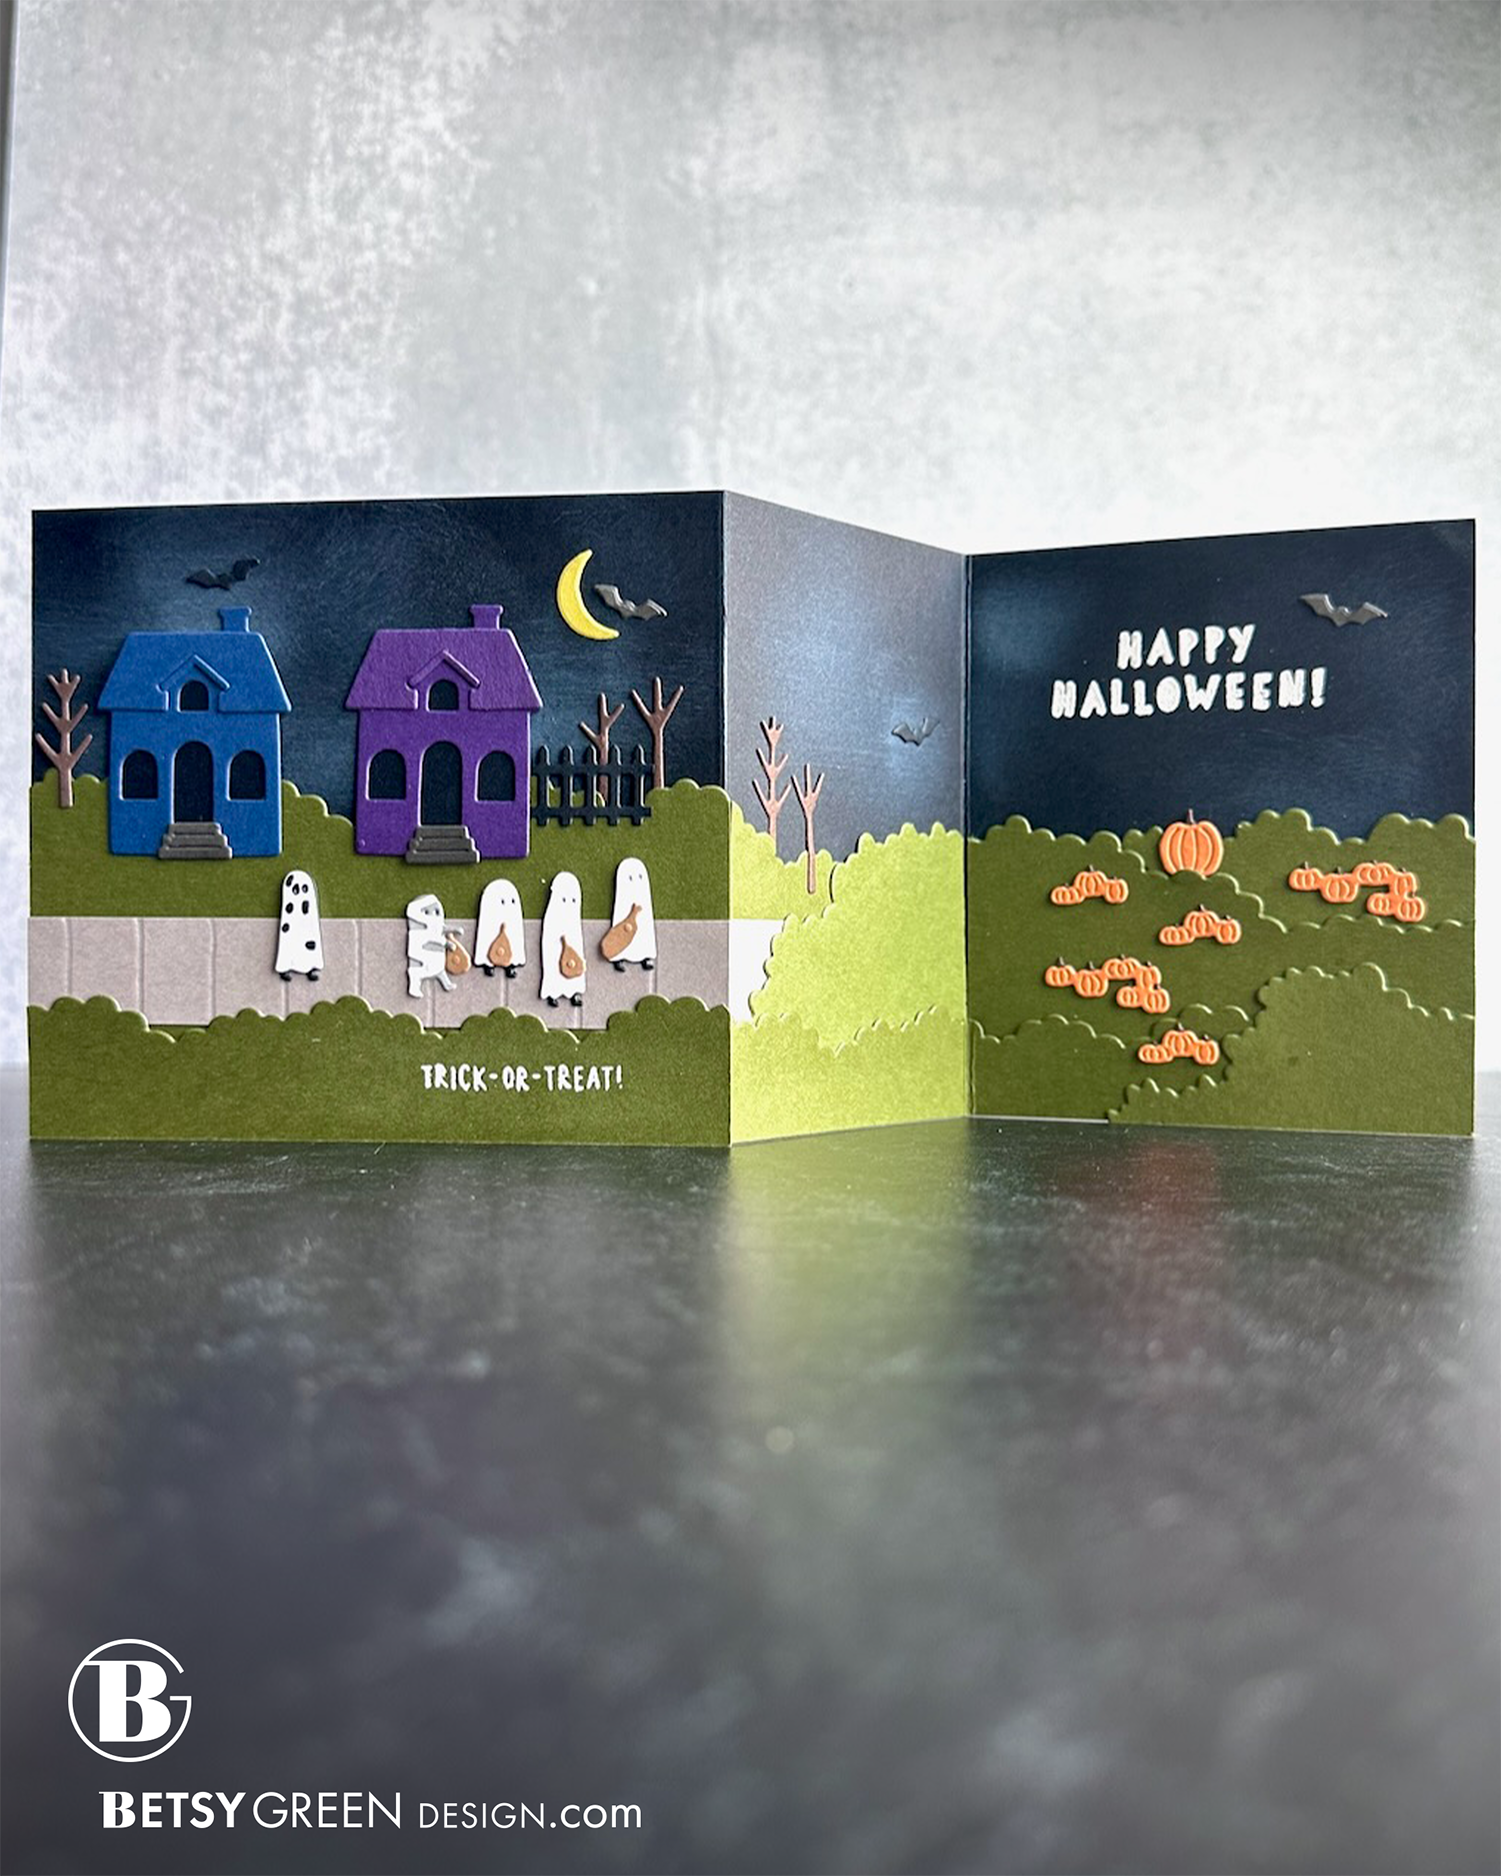
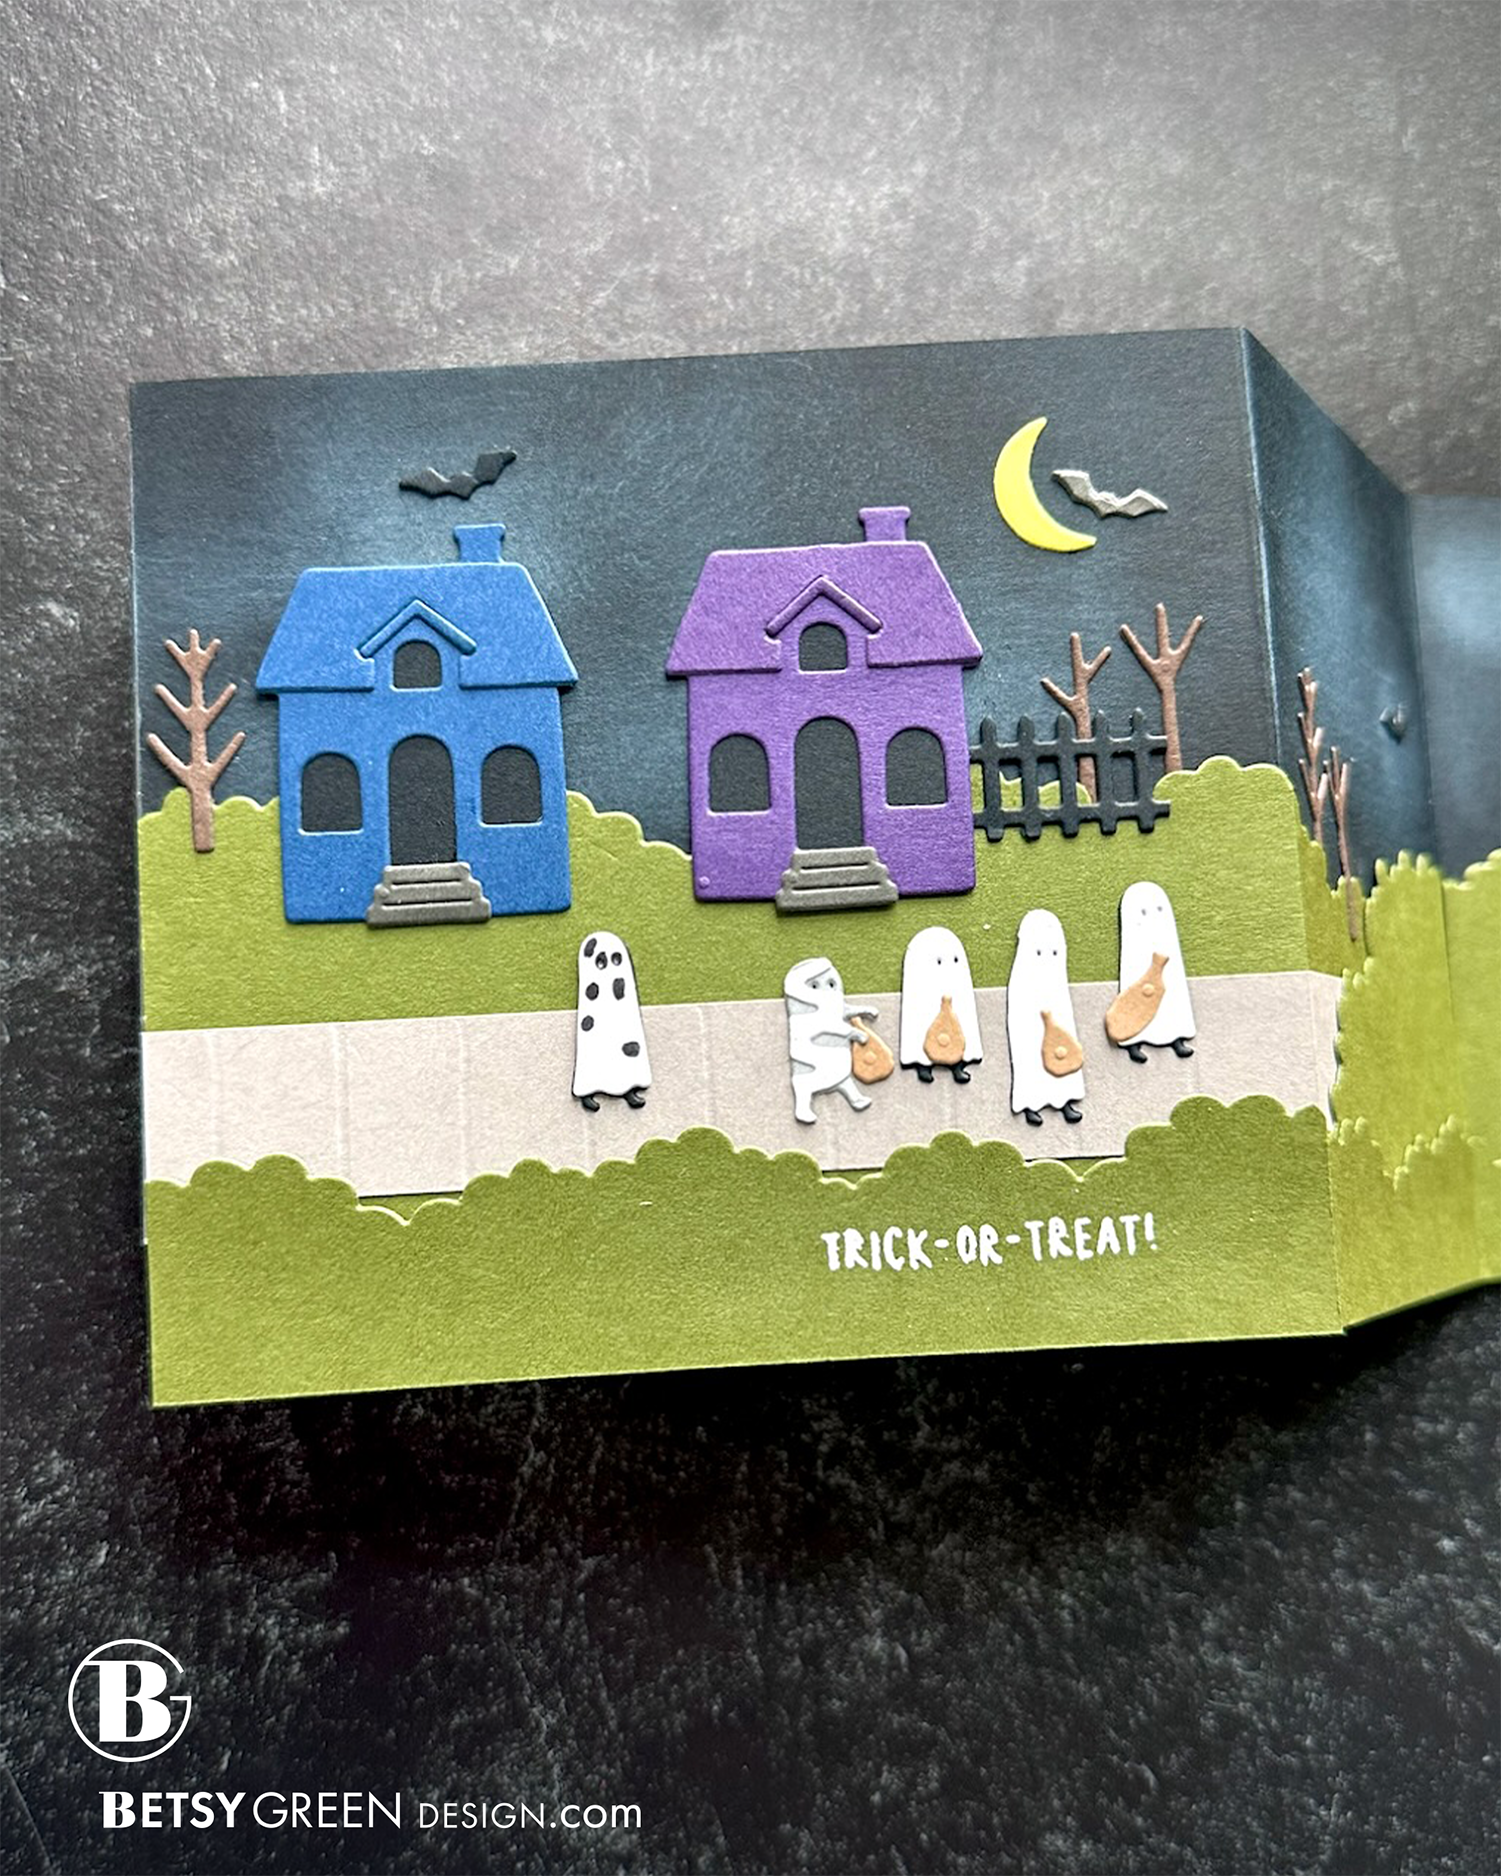
All of the greens (grass and shrubs) are cut from Avocado cardstock. You could choose to ink blend on the edge or get more detailed, but I wanted the focus to be on the trick-or-treaters and pumpkins, and so keeping the other areas simple helps create that focus.
The sidewalk is a 3/4”h strip of Cobblestone cardstock that I scored at 1/2” increments to create the pavement seams that are common - and this makes it clear it is a sidewalk and not a wall or something.
Like with the greenery, the houses are simple, just enough to reinforce the trick-or-treat idea as the crew of kids is heading down the sidewalk to the next stop.
If you’ve watched the “It’s the Great Pumpkin, Charlie Brown” episode (maybe annually, as I have) you likely noticed that Charlie Brown had a hard time cutting the holes and ended up with them all over his ghost… so that’s him lagging a bit behind. (Whether this is before or after he got his rock is for your imagination. Watch the show if you don’t know that line. ;)
But instead of seeing more trick-or-treating, we shift scenes to the pumpkin patch. The fold is a perfect transition. Here we have lots of pumpkins, and one larger one. I used a moon on the first scene, so didn’t add a full moon here like I considered, but instead let the bold white greeting take that placement.
Note: before adding the houses and trees, I added some white ink smudges to the sky to create that spooky cloudy look.
Colors:
cardstock: Concord & 9th Clementine, Starfruit, Artichoke, Midnight, Eggplant, Black, Mushroom, Cobblestone, Peanut, White.
ink: White (in the sky)
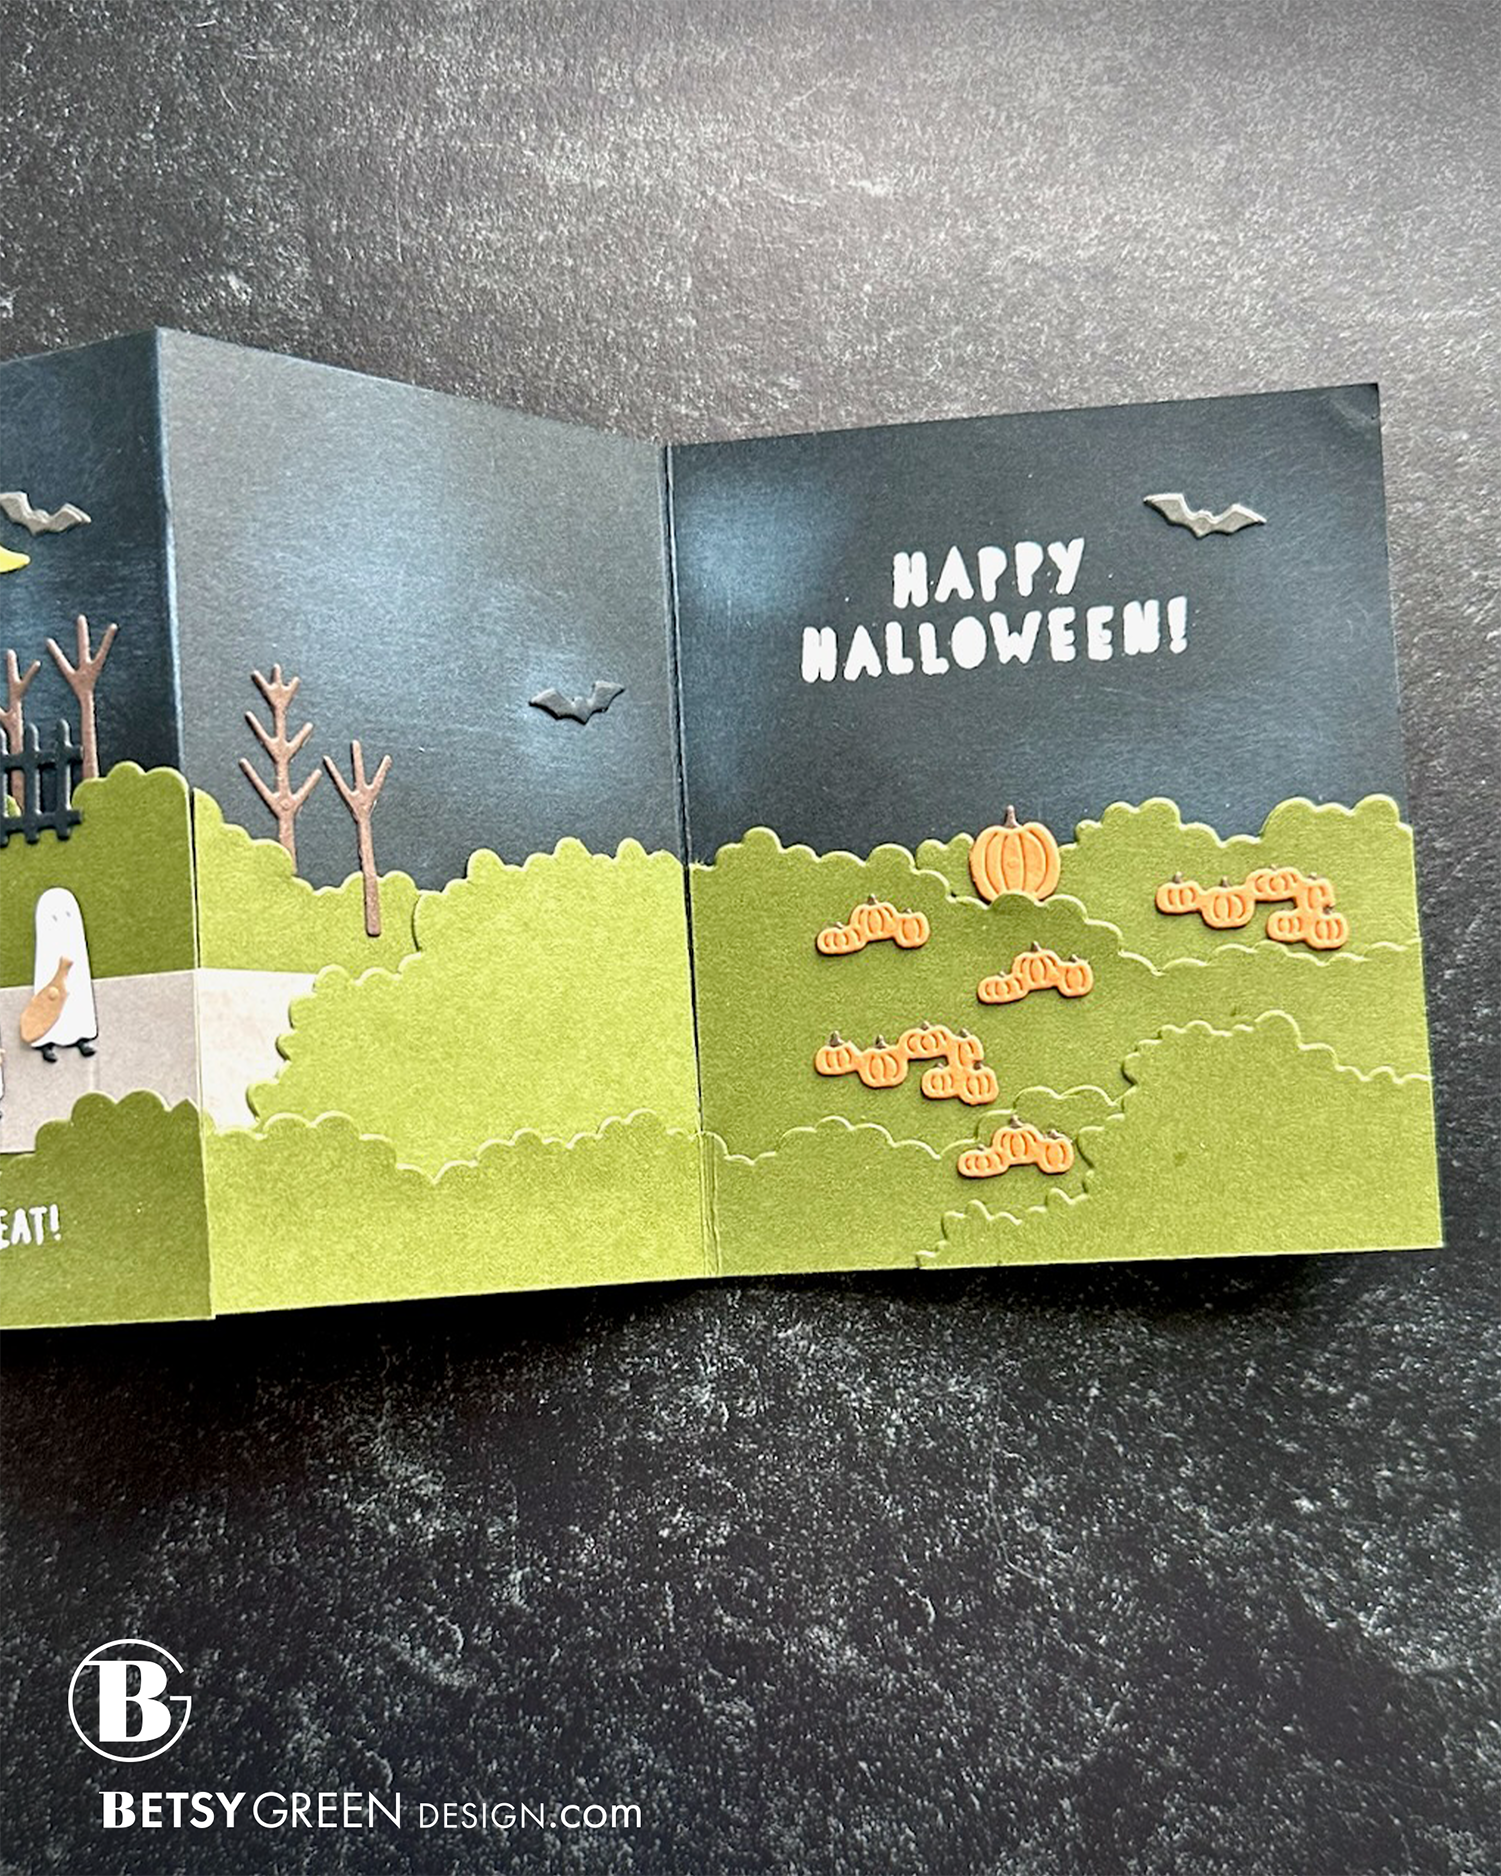
If you watched Jennifer’s live on August 11, 2026, I felt like I should have explained the third panel better. (I was die cutting in a hurry and didn’t have the right parts, and got out of my groove.) What I did worked out fine, but I know it was probably hard to follow (which I feel bad about), so here are some sequential images on a 3.5”wide x 4.25” high panel using the two leaf/shrub dies from the Countryside die set, and the one long edge from the Woodland Accordion dies. (Remember - you can always just use a straight edge or wavy edge in place of that.)
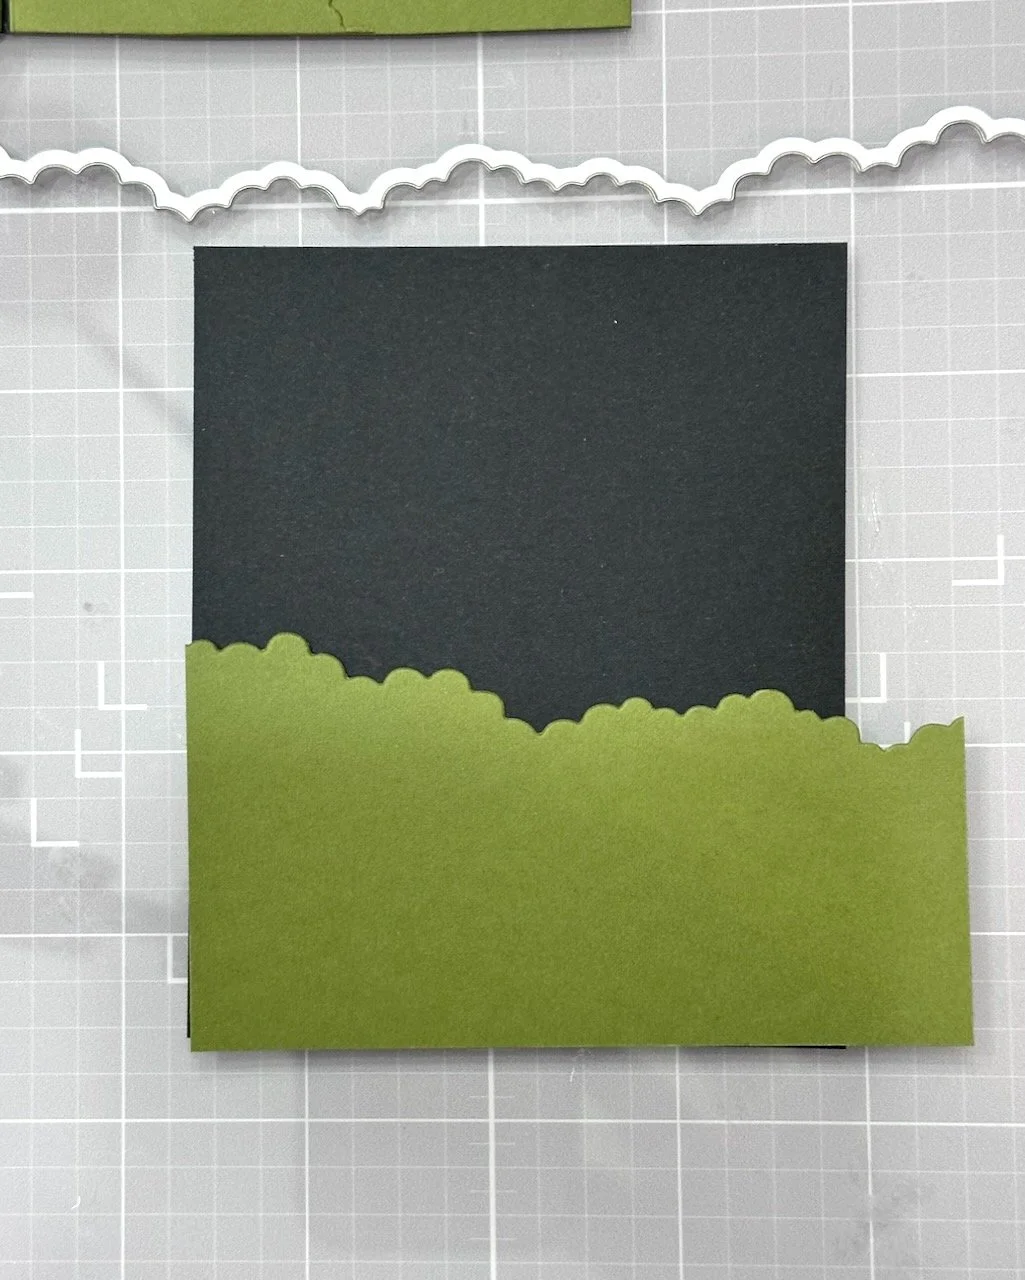
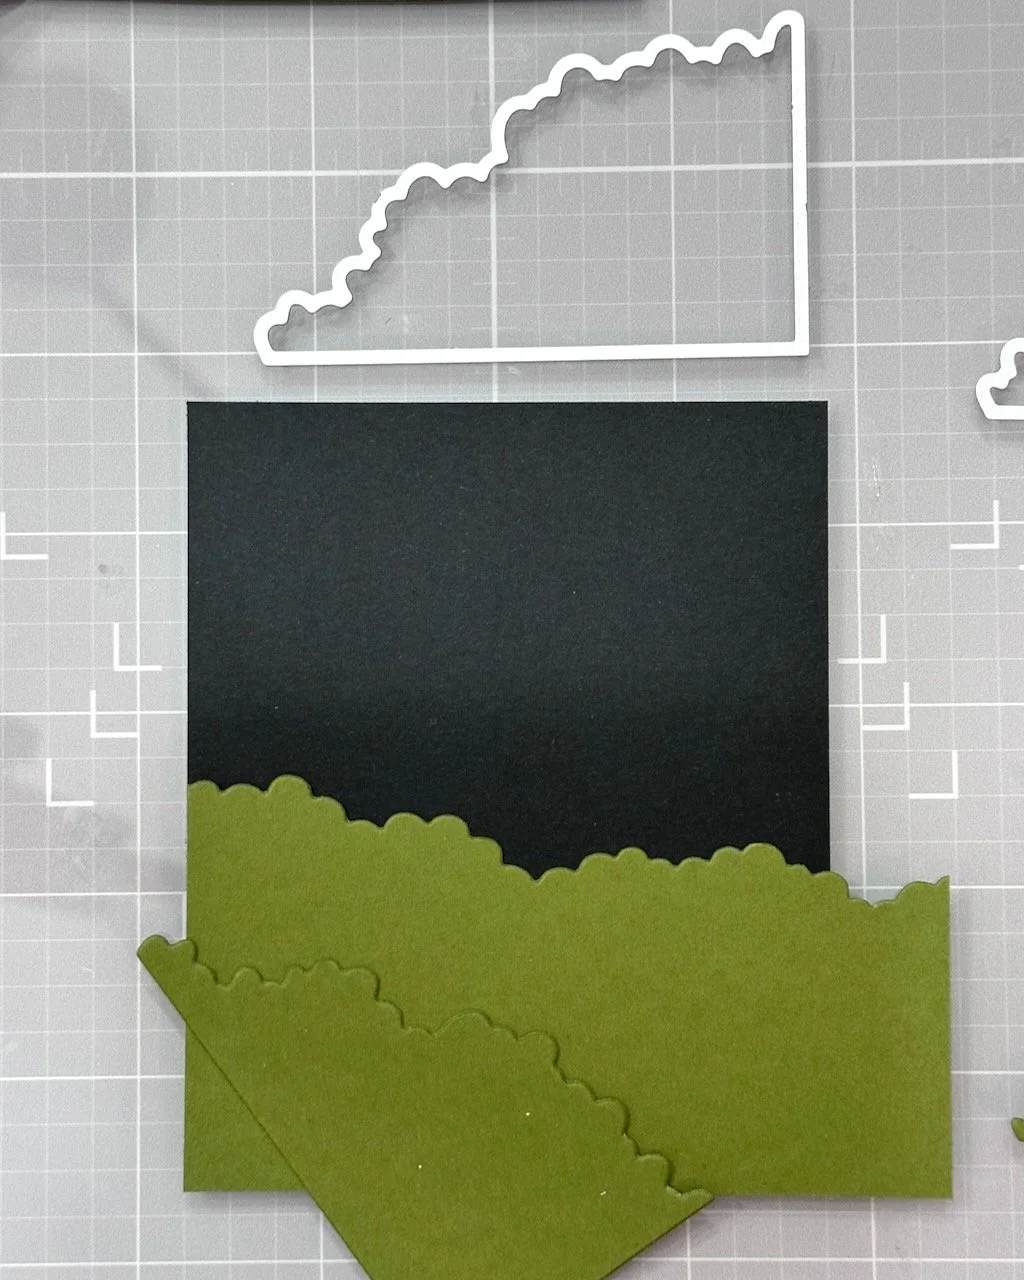
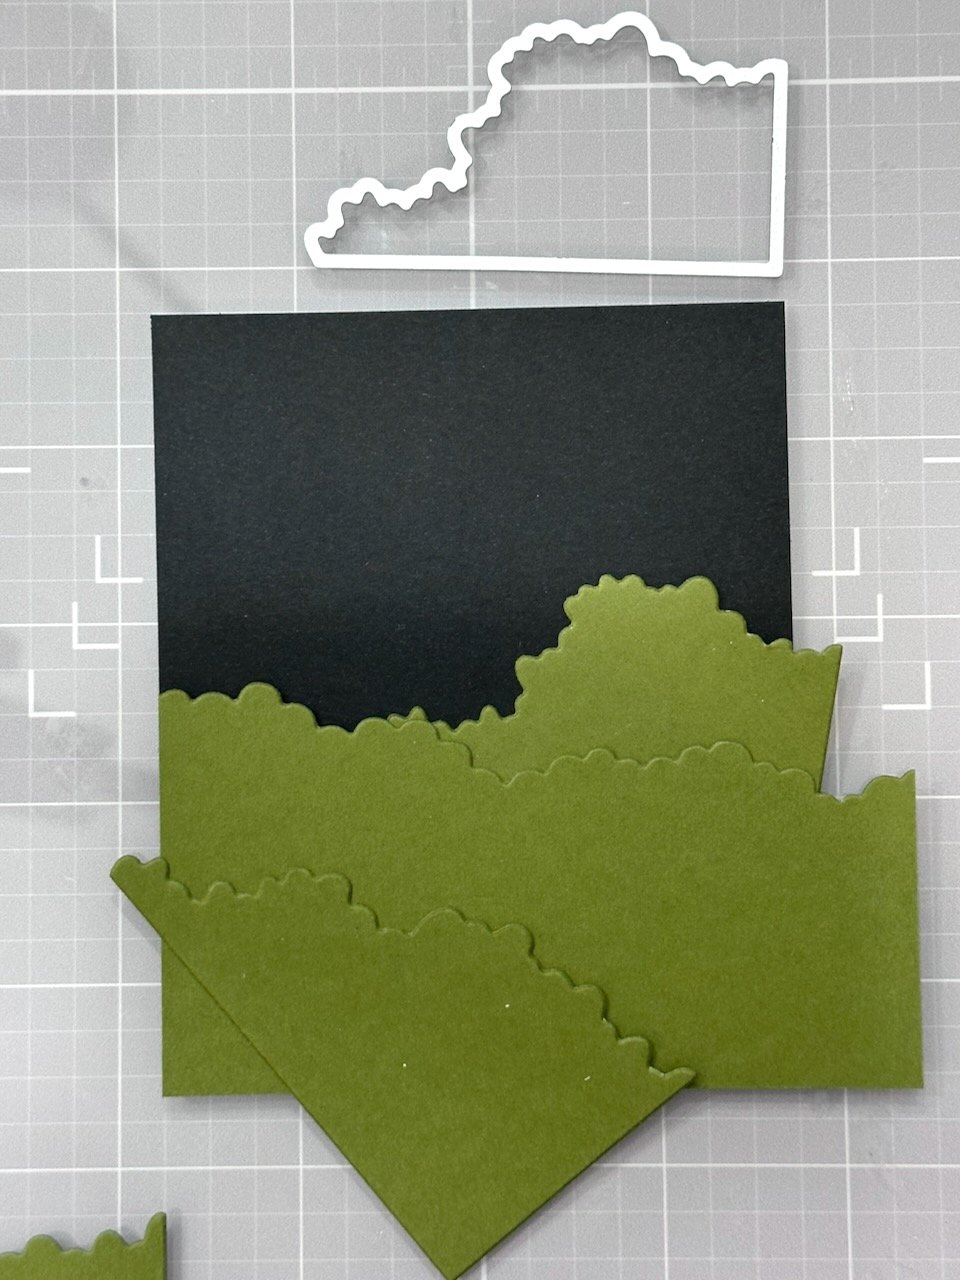
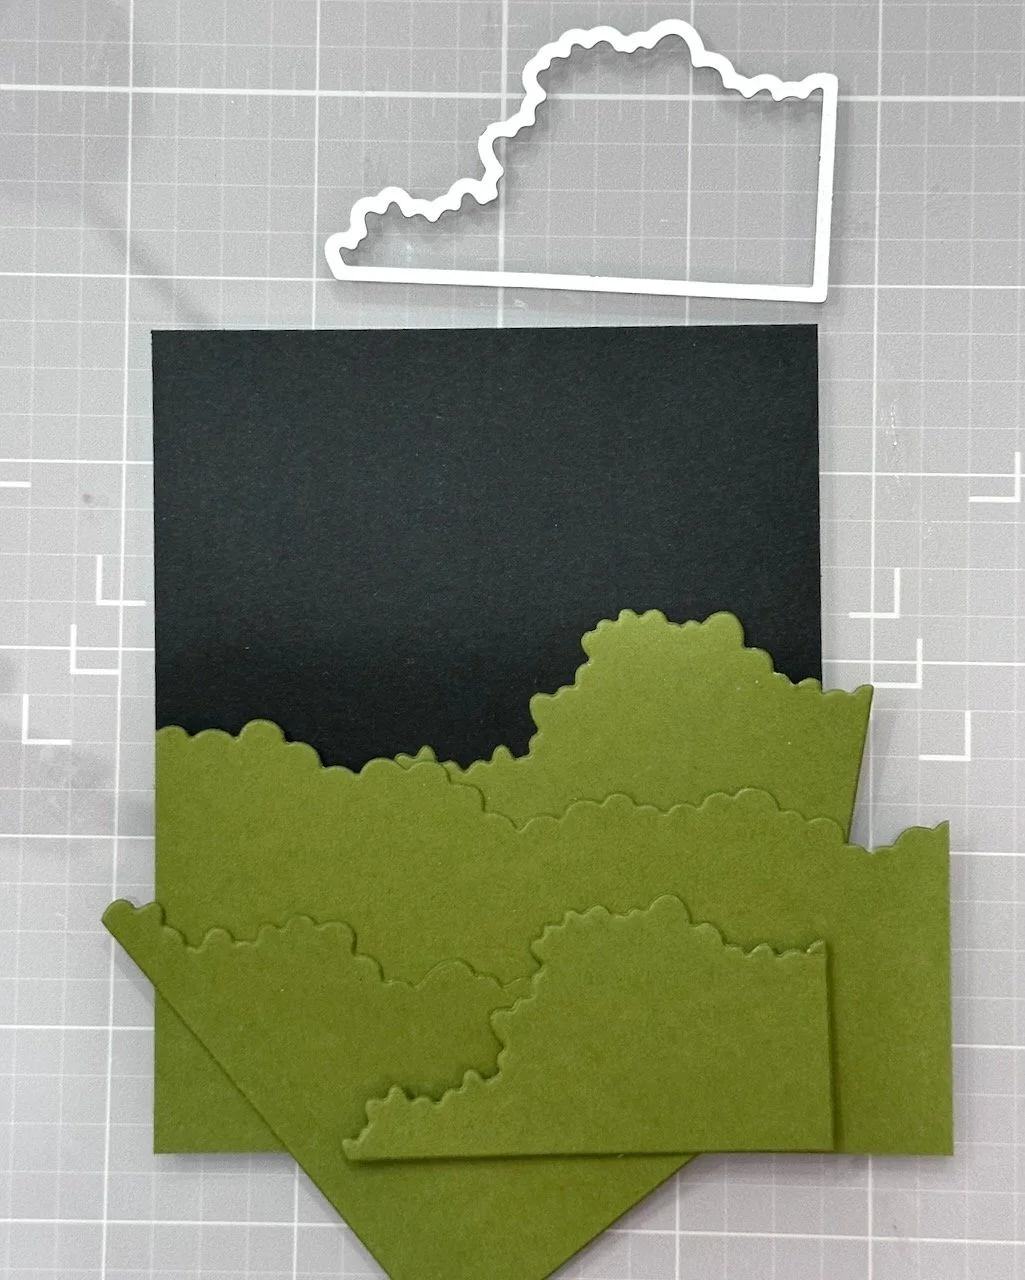
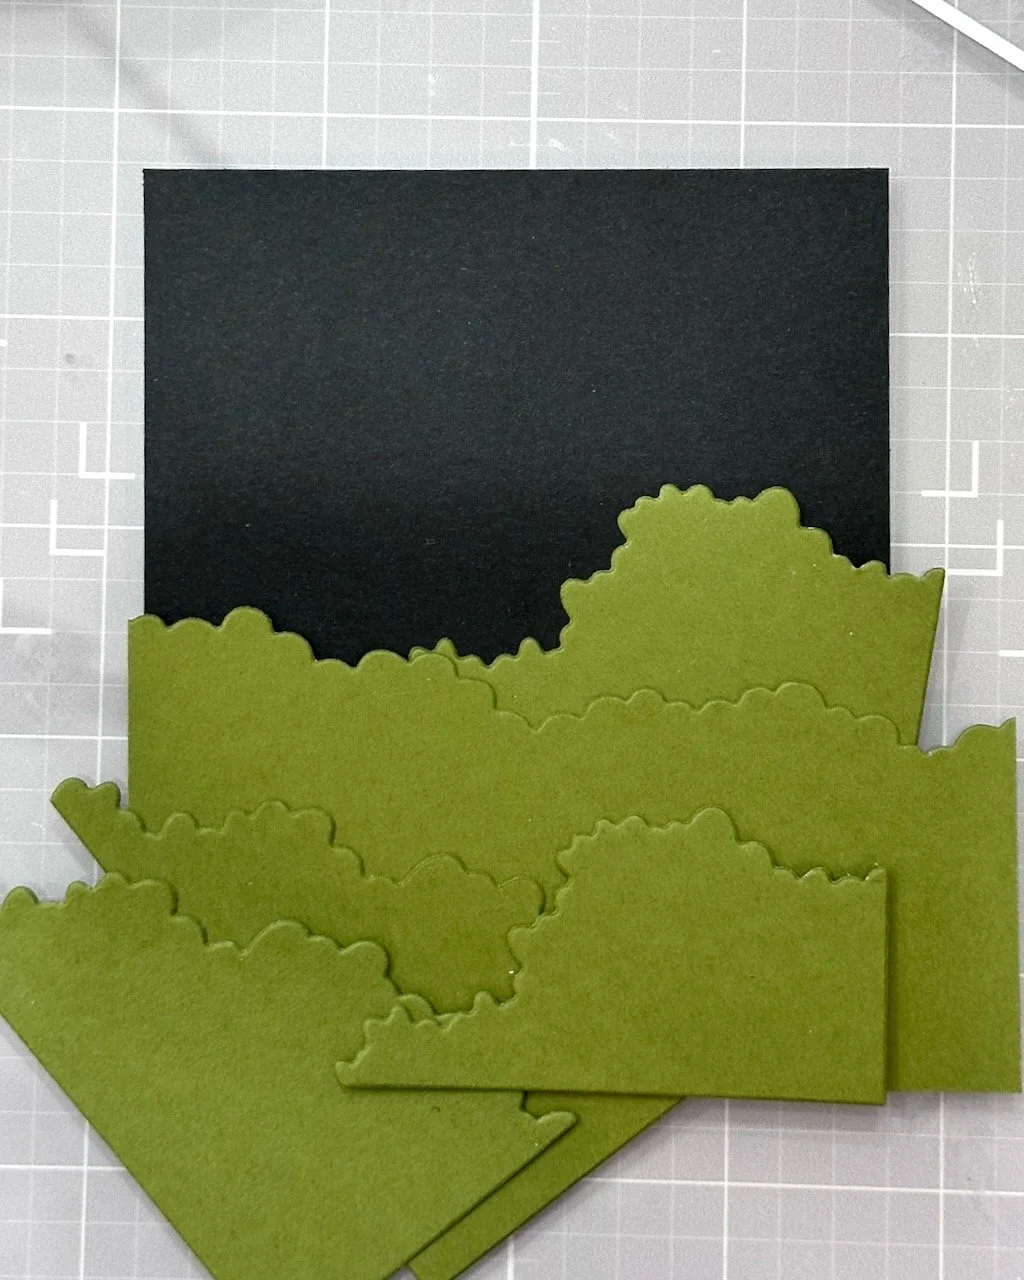
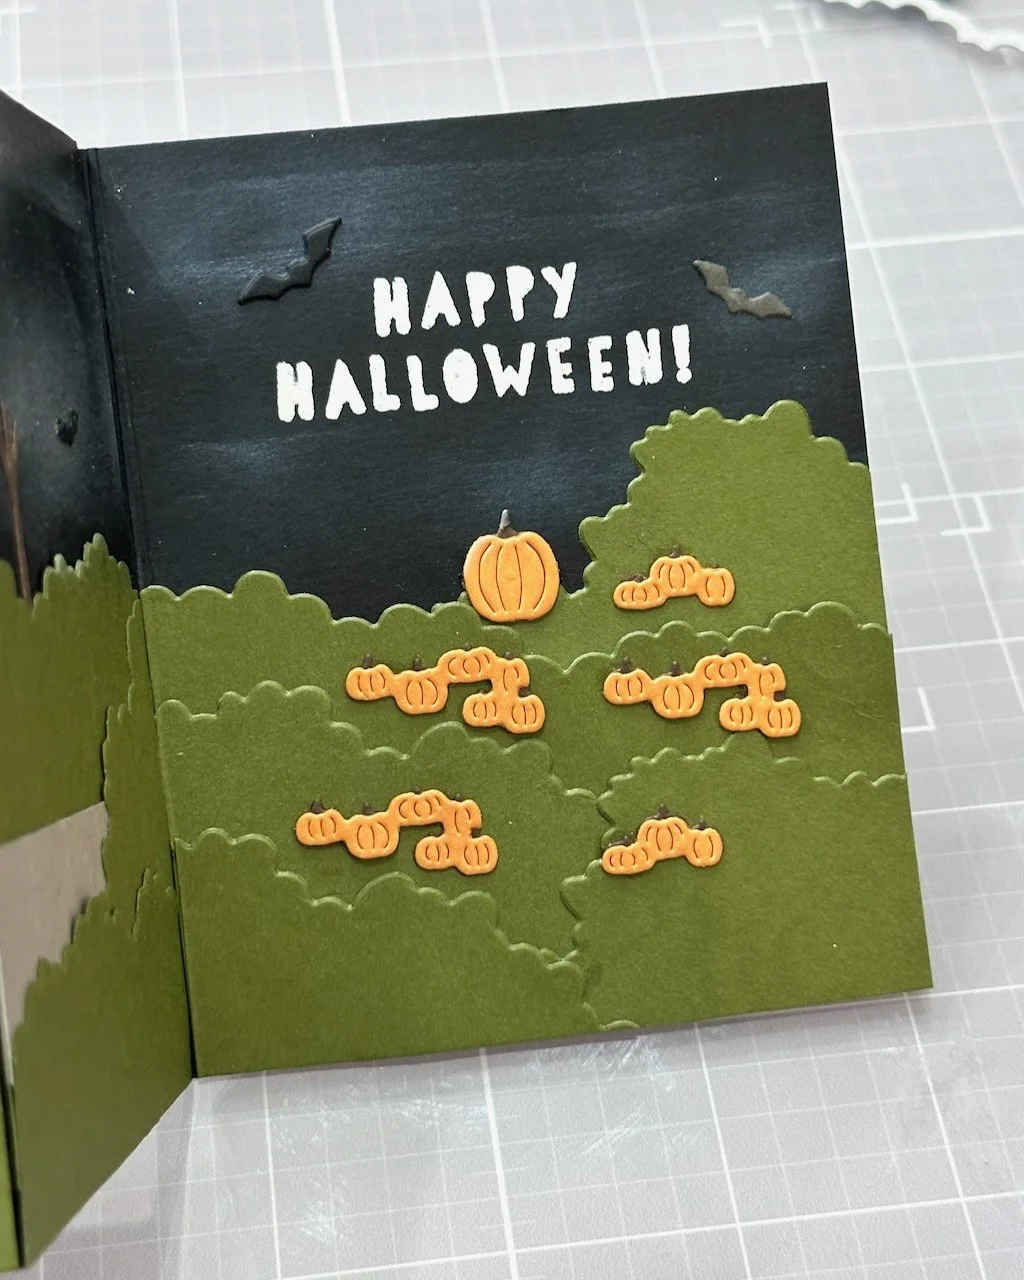
I do recommend dry fitting / placing the pieces before you start gluing, to be sure you like what you’re doing. I almost always do this! Once you have them all glued on, you can trim the edges and finish it off.
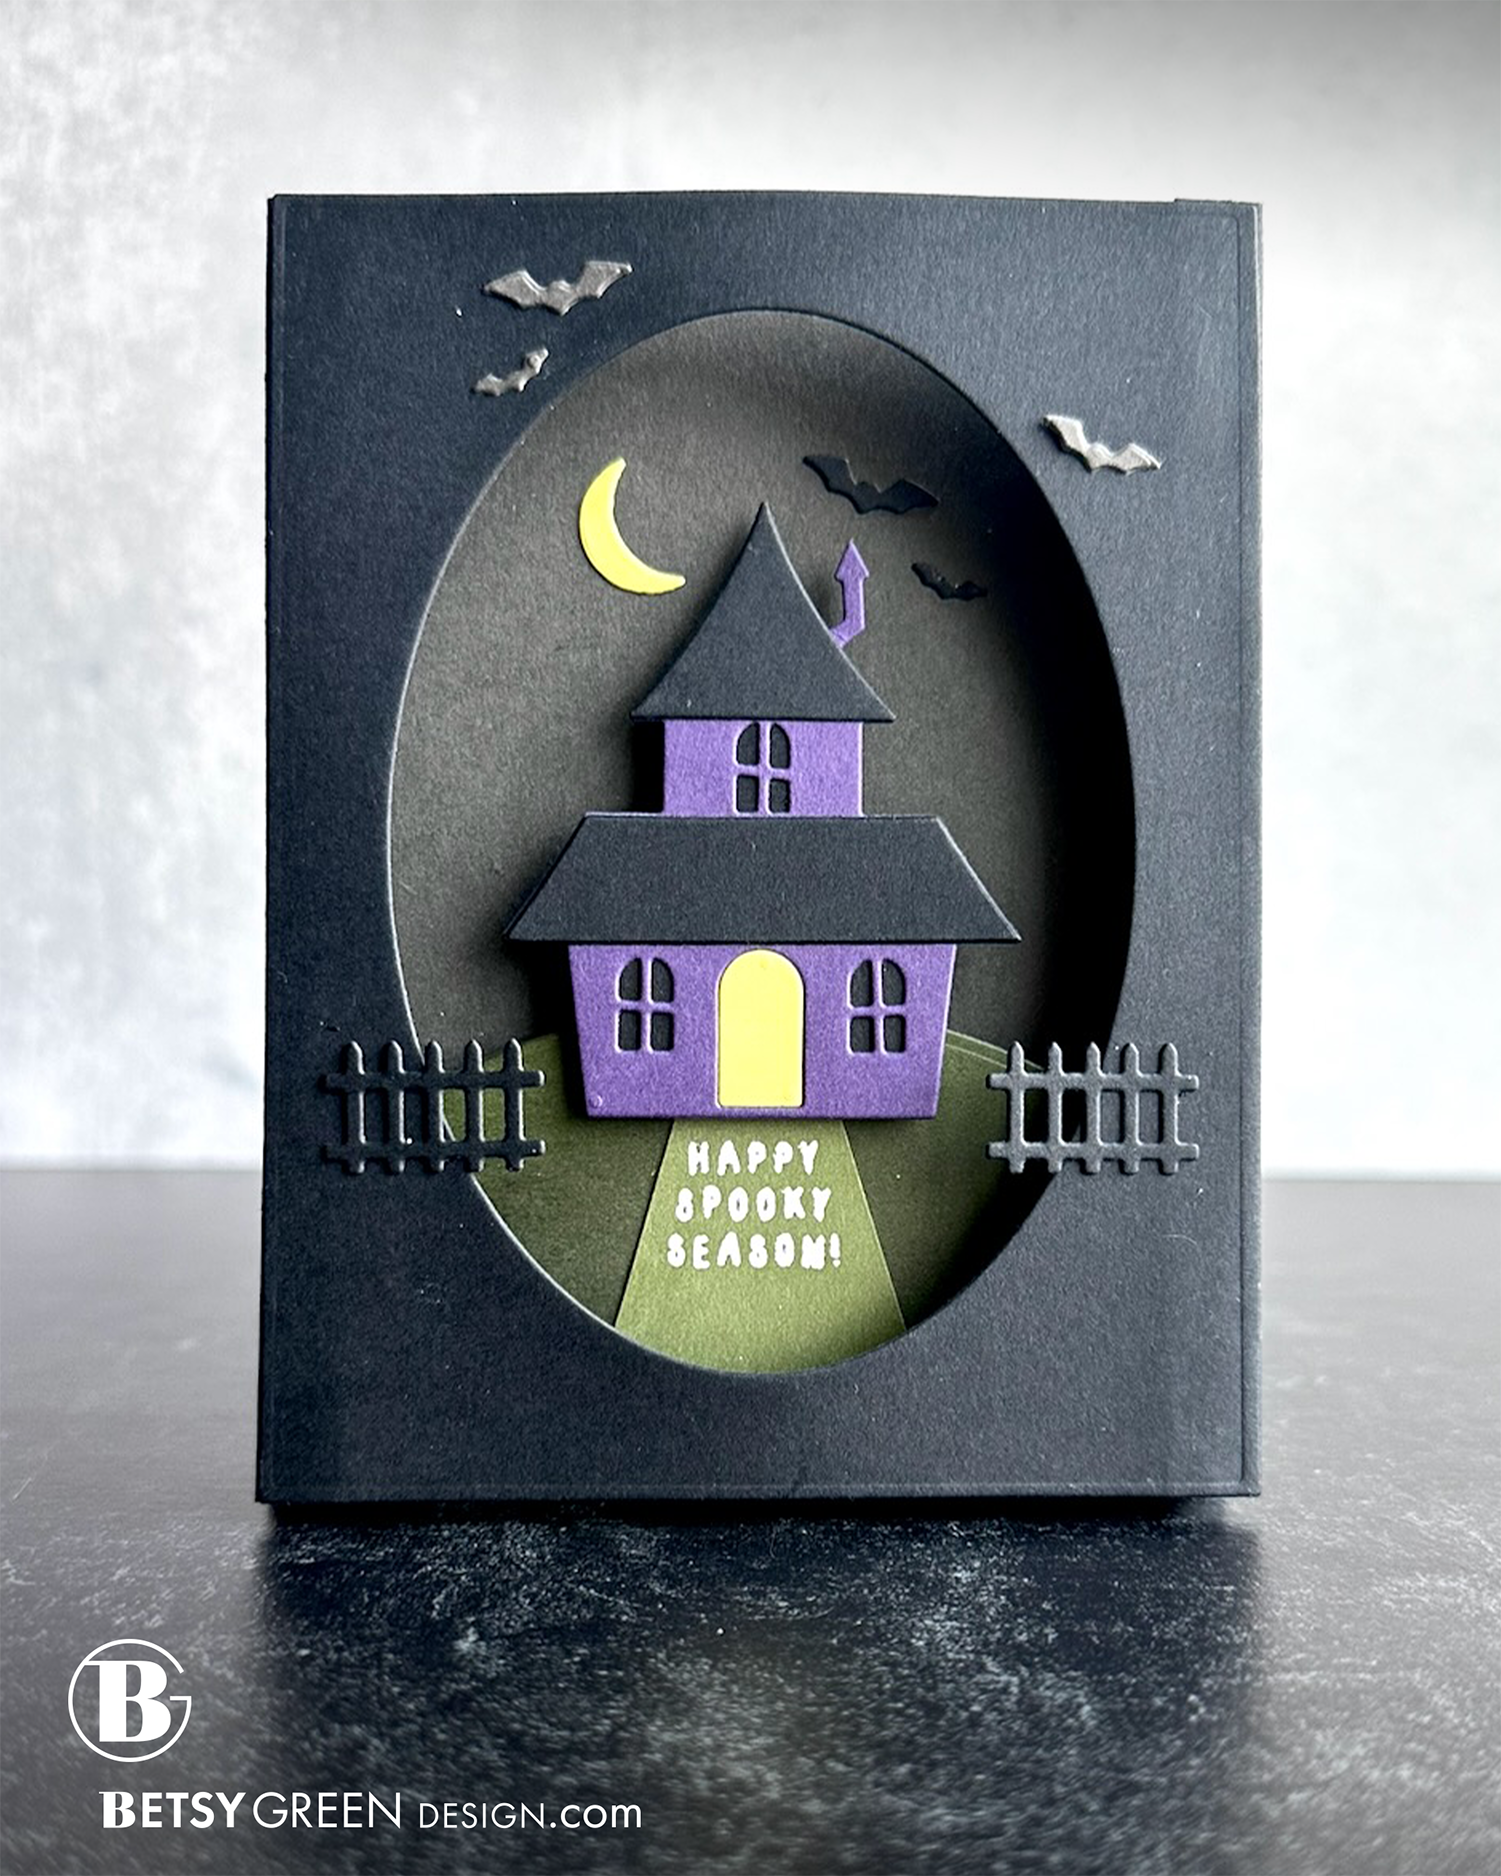
Techniques:
coming soon
Colors:
cardstock: Concord & 9th
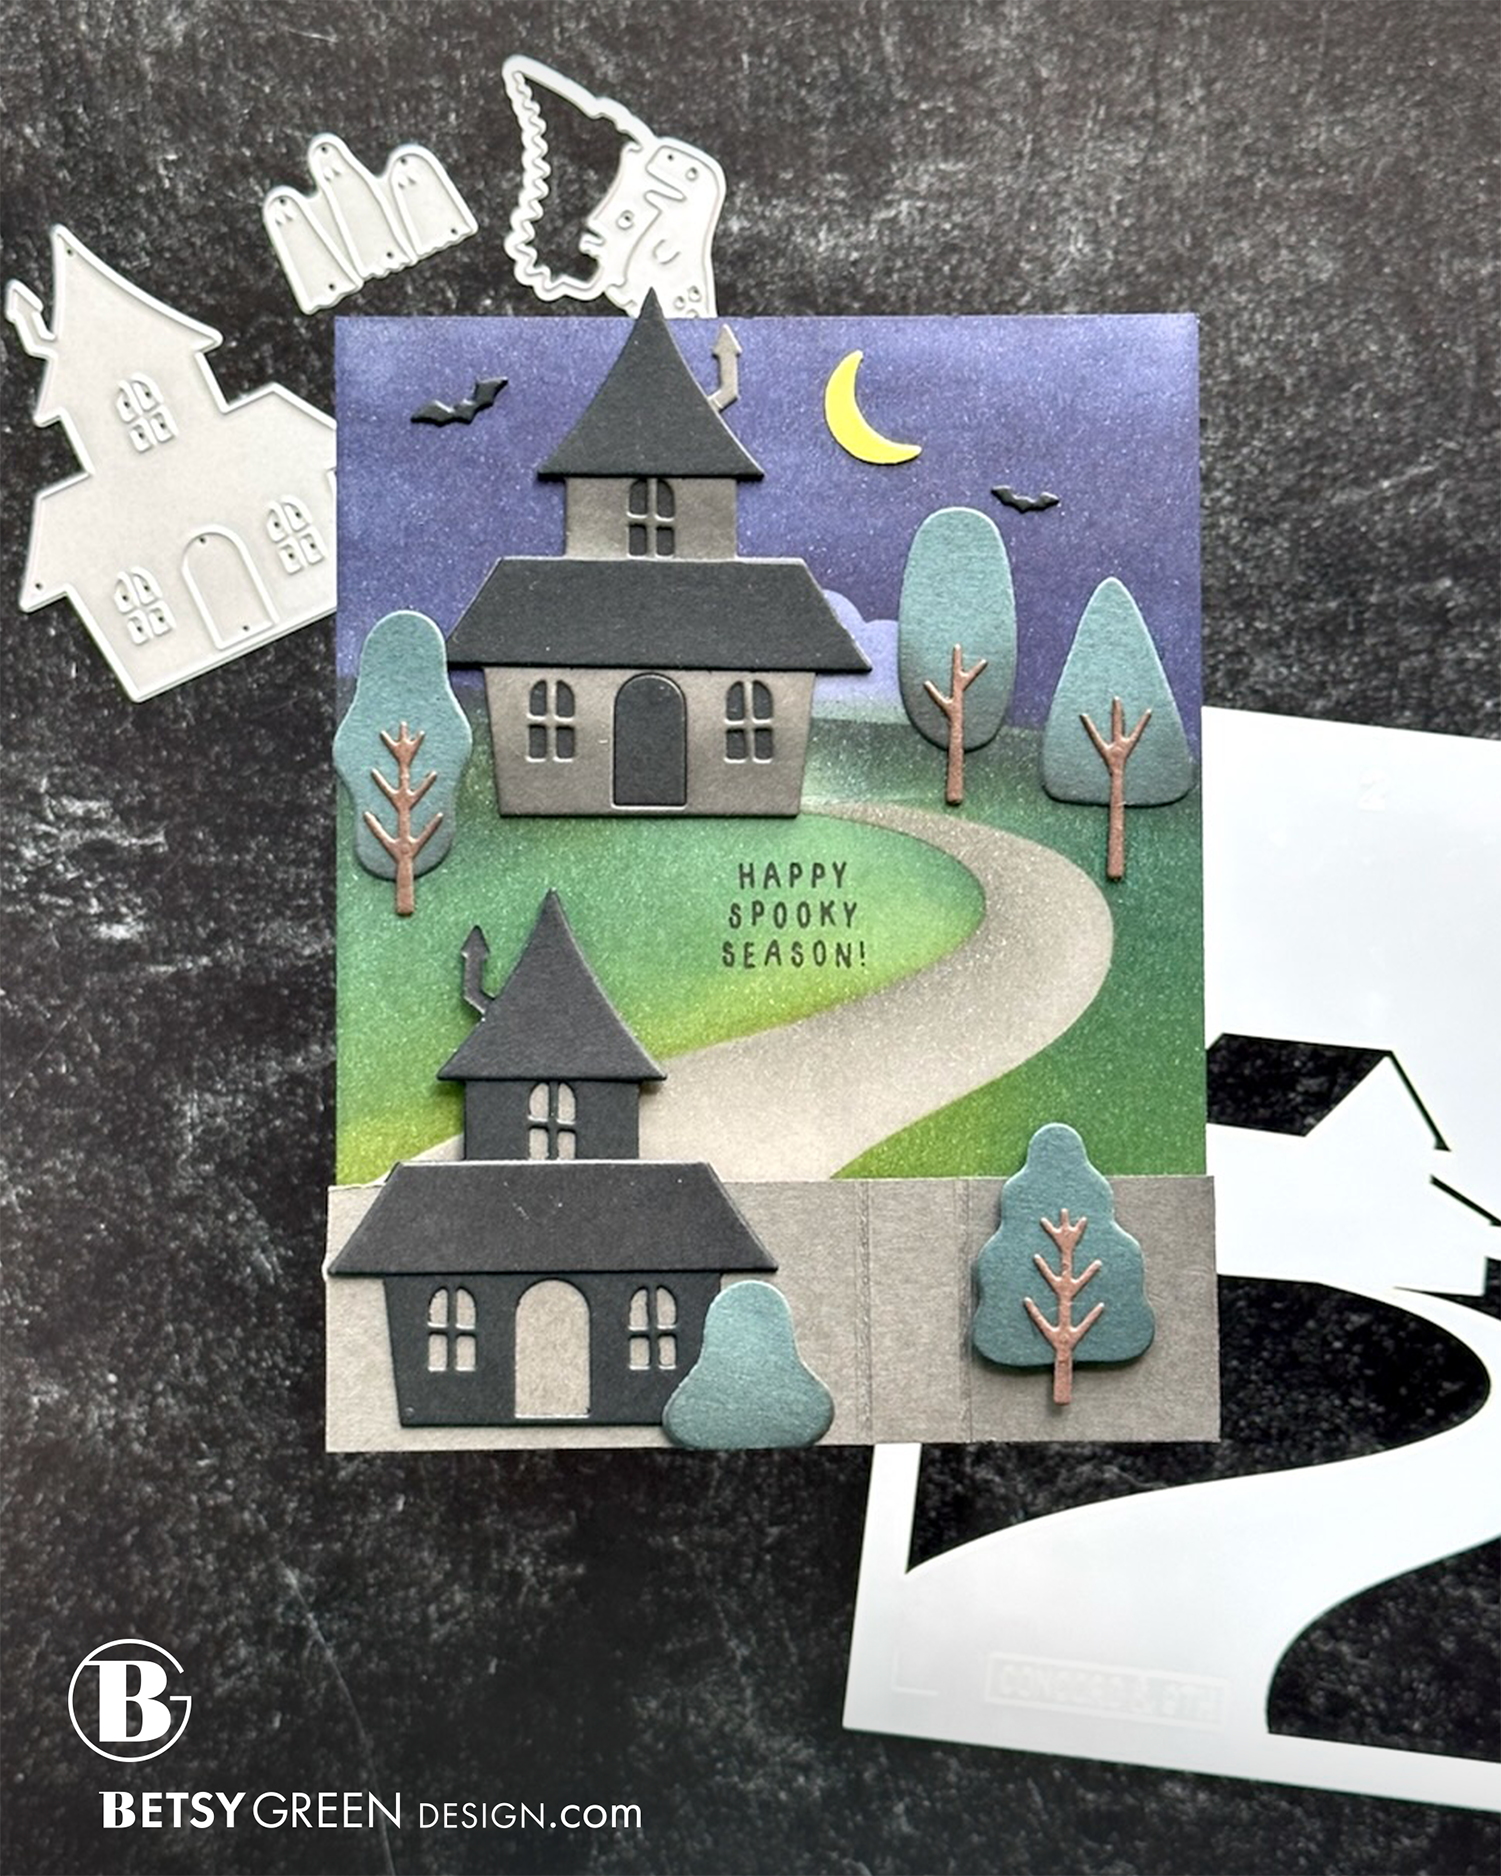
Techniques:
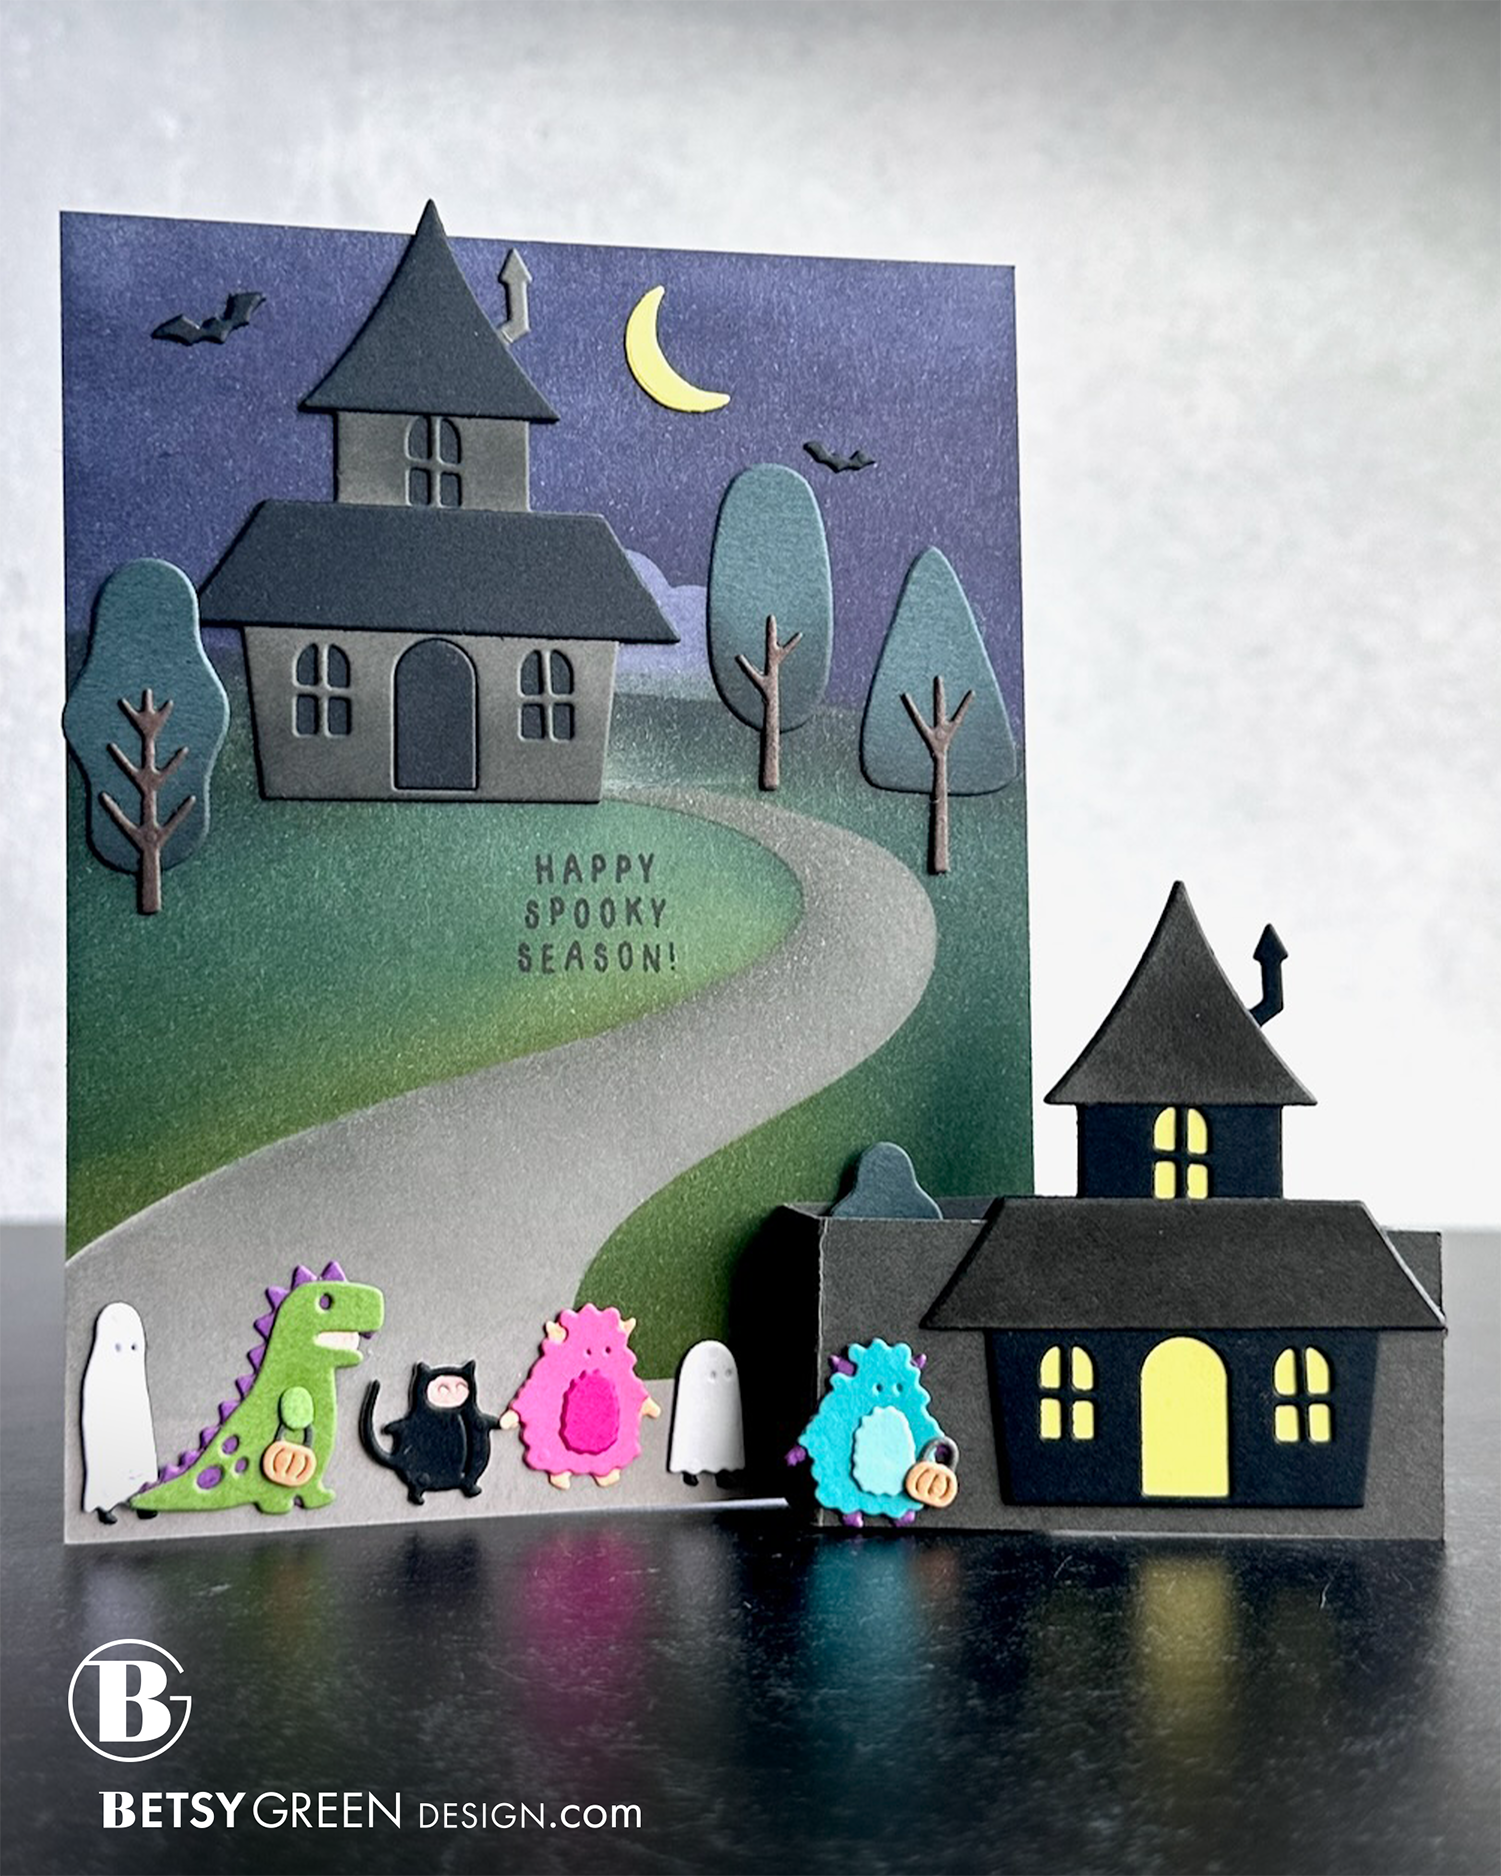
I thought it would be fun to have a card that leaned toward spooky, but then have a fun surprise of the cute costumed trick-or-treaters, so I created a little fold out section on the front.
I used a side-folding card base so the fold-out section could stay open when standing. (A top-fold card would have put it at an angle which might not have worked as well.)
To create the background scene, and the winding road, I used stencils from the Countryside bundle. I just stenciled only the portions I wanted, and then went in with my brush to fill in the gaps left from the barn shape in the stencil. Since I was covering it with the haunted house and trees, that isn’t very visible.
Colors:
inks: Concord & 9th Clementine, Artichoke, Rainforest, Midnight, Mushroom
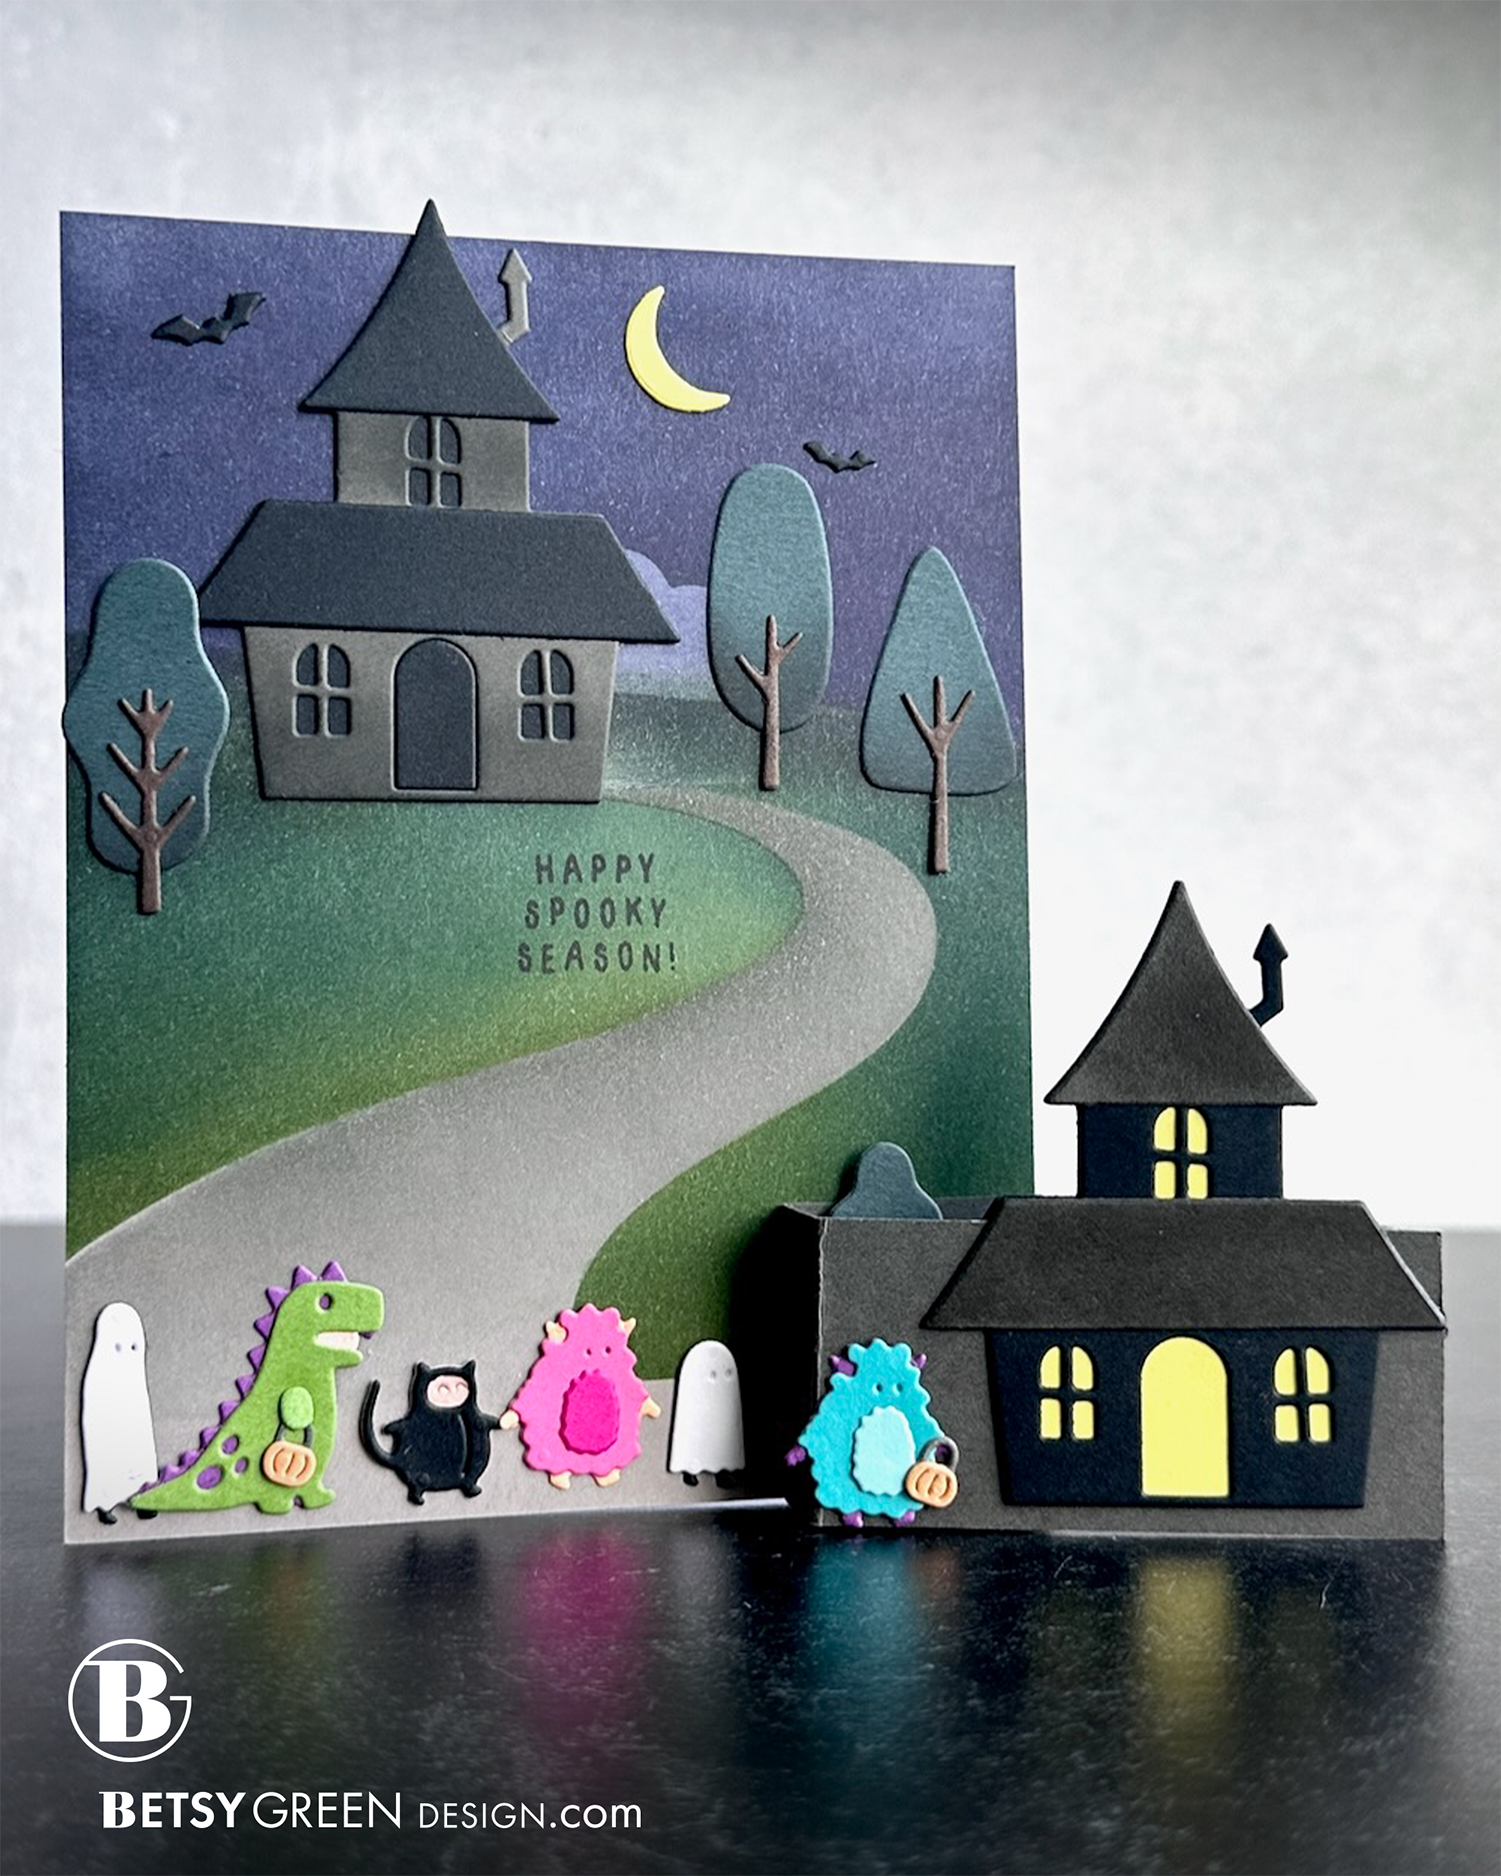
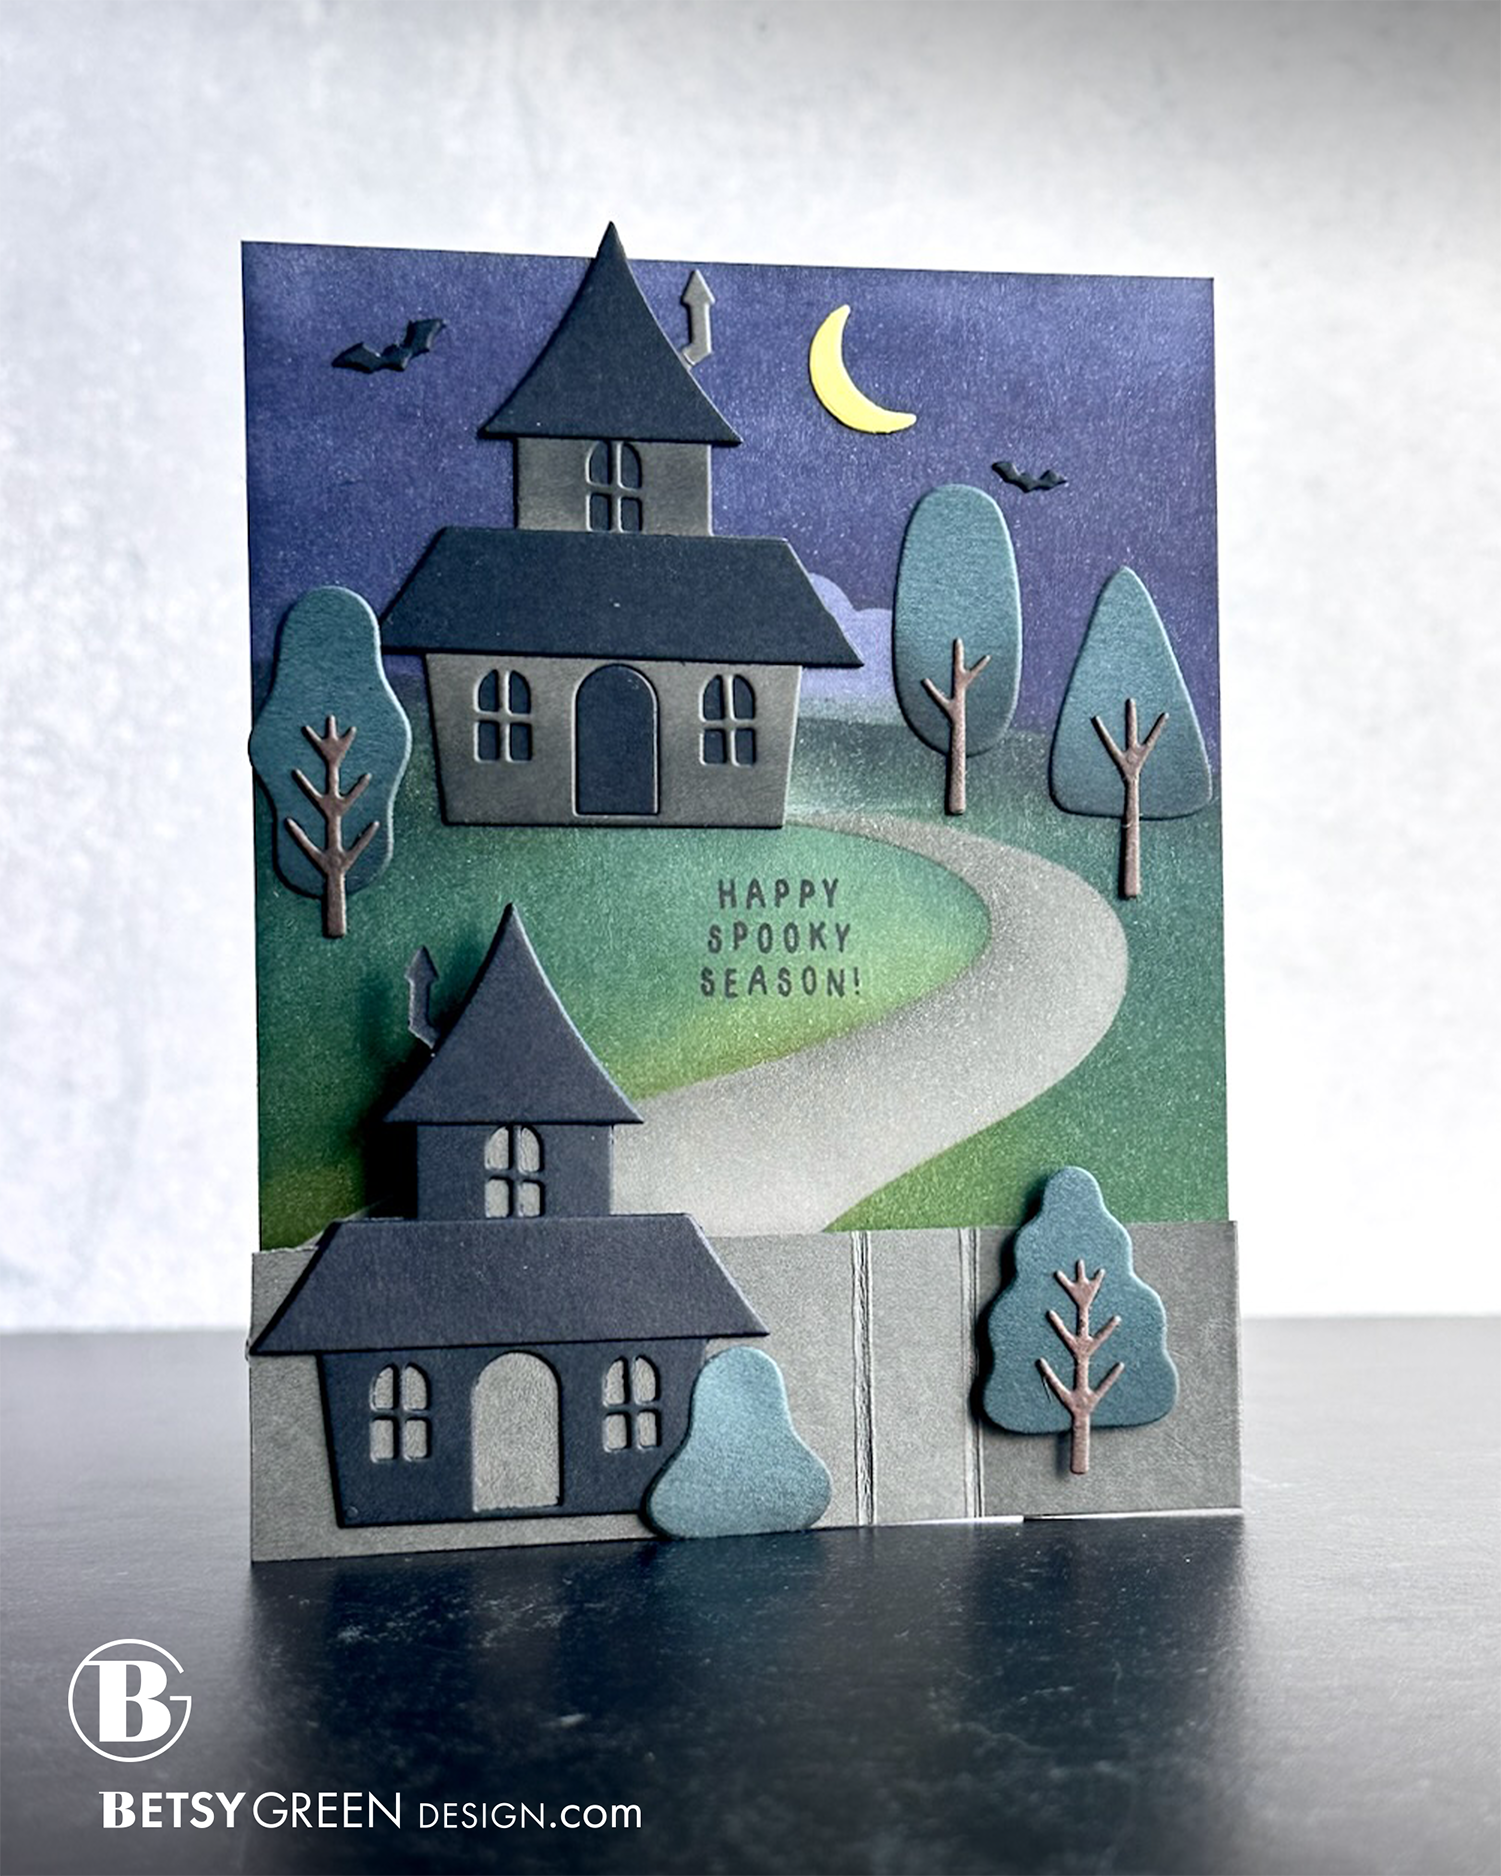
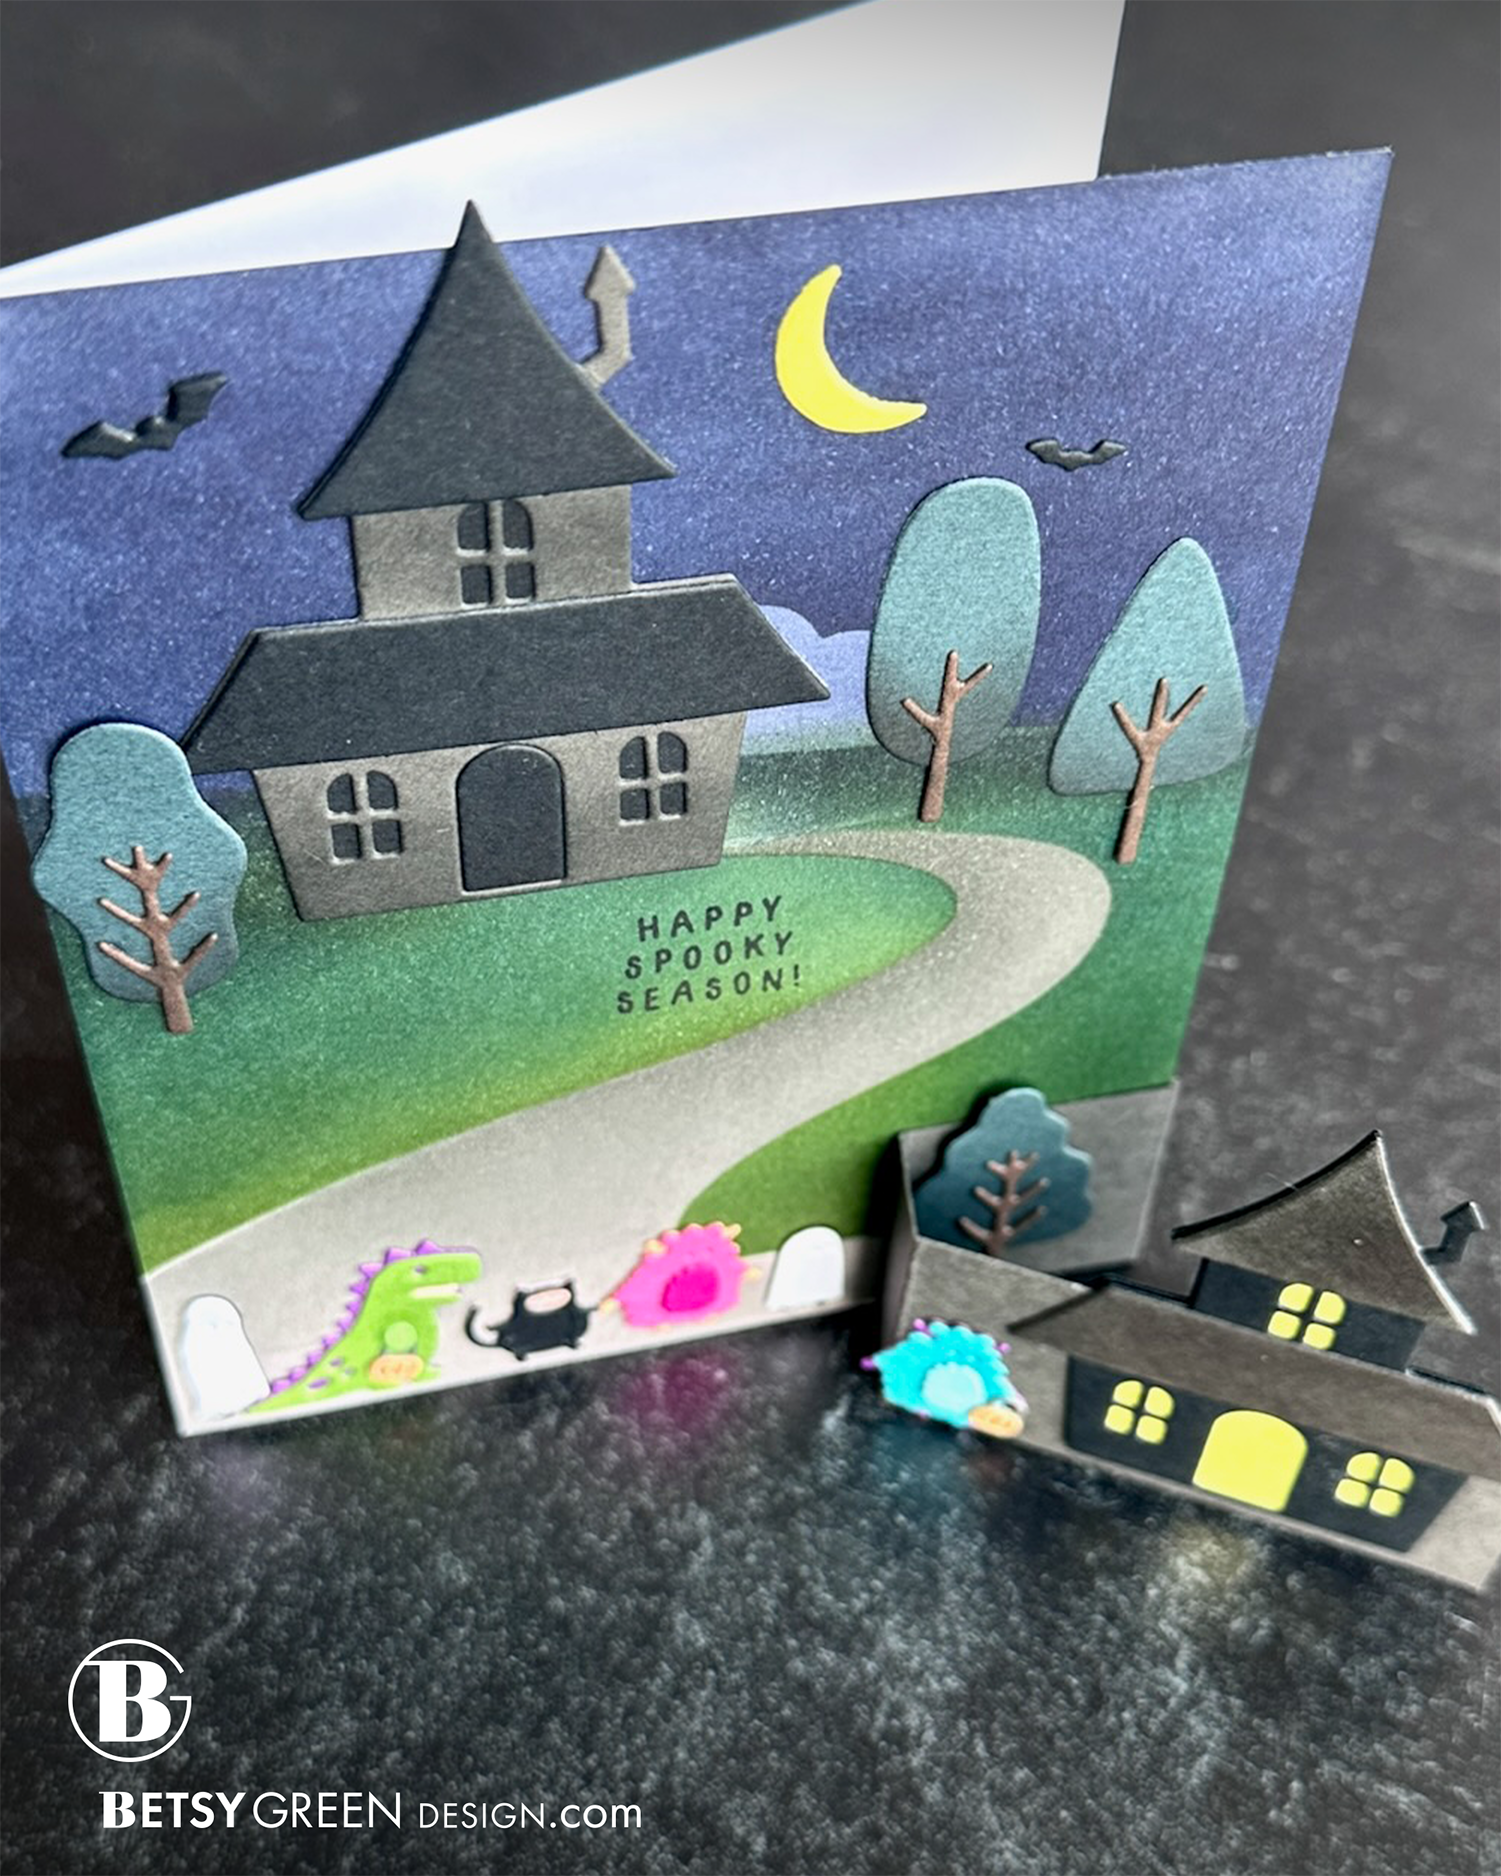
flat card size: A2 - 4.25” x 5.5”. Fits in an A2 envelope. (Unless you add a lot of dimension, and then an A6 envelope will give you more room.)
Techniques:
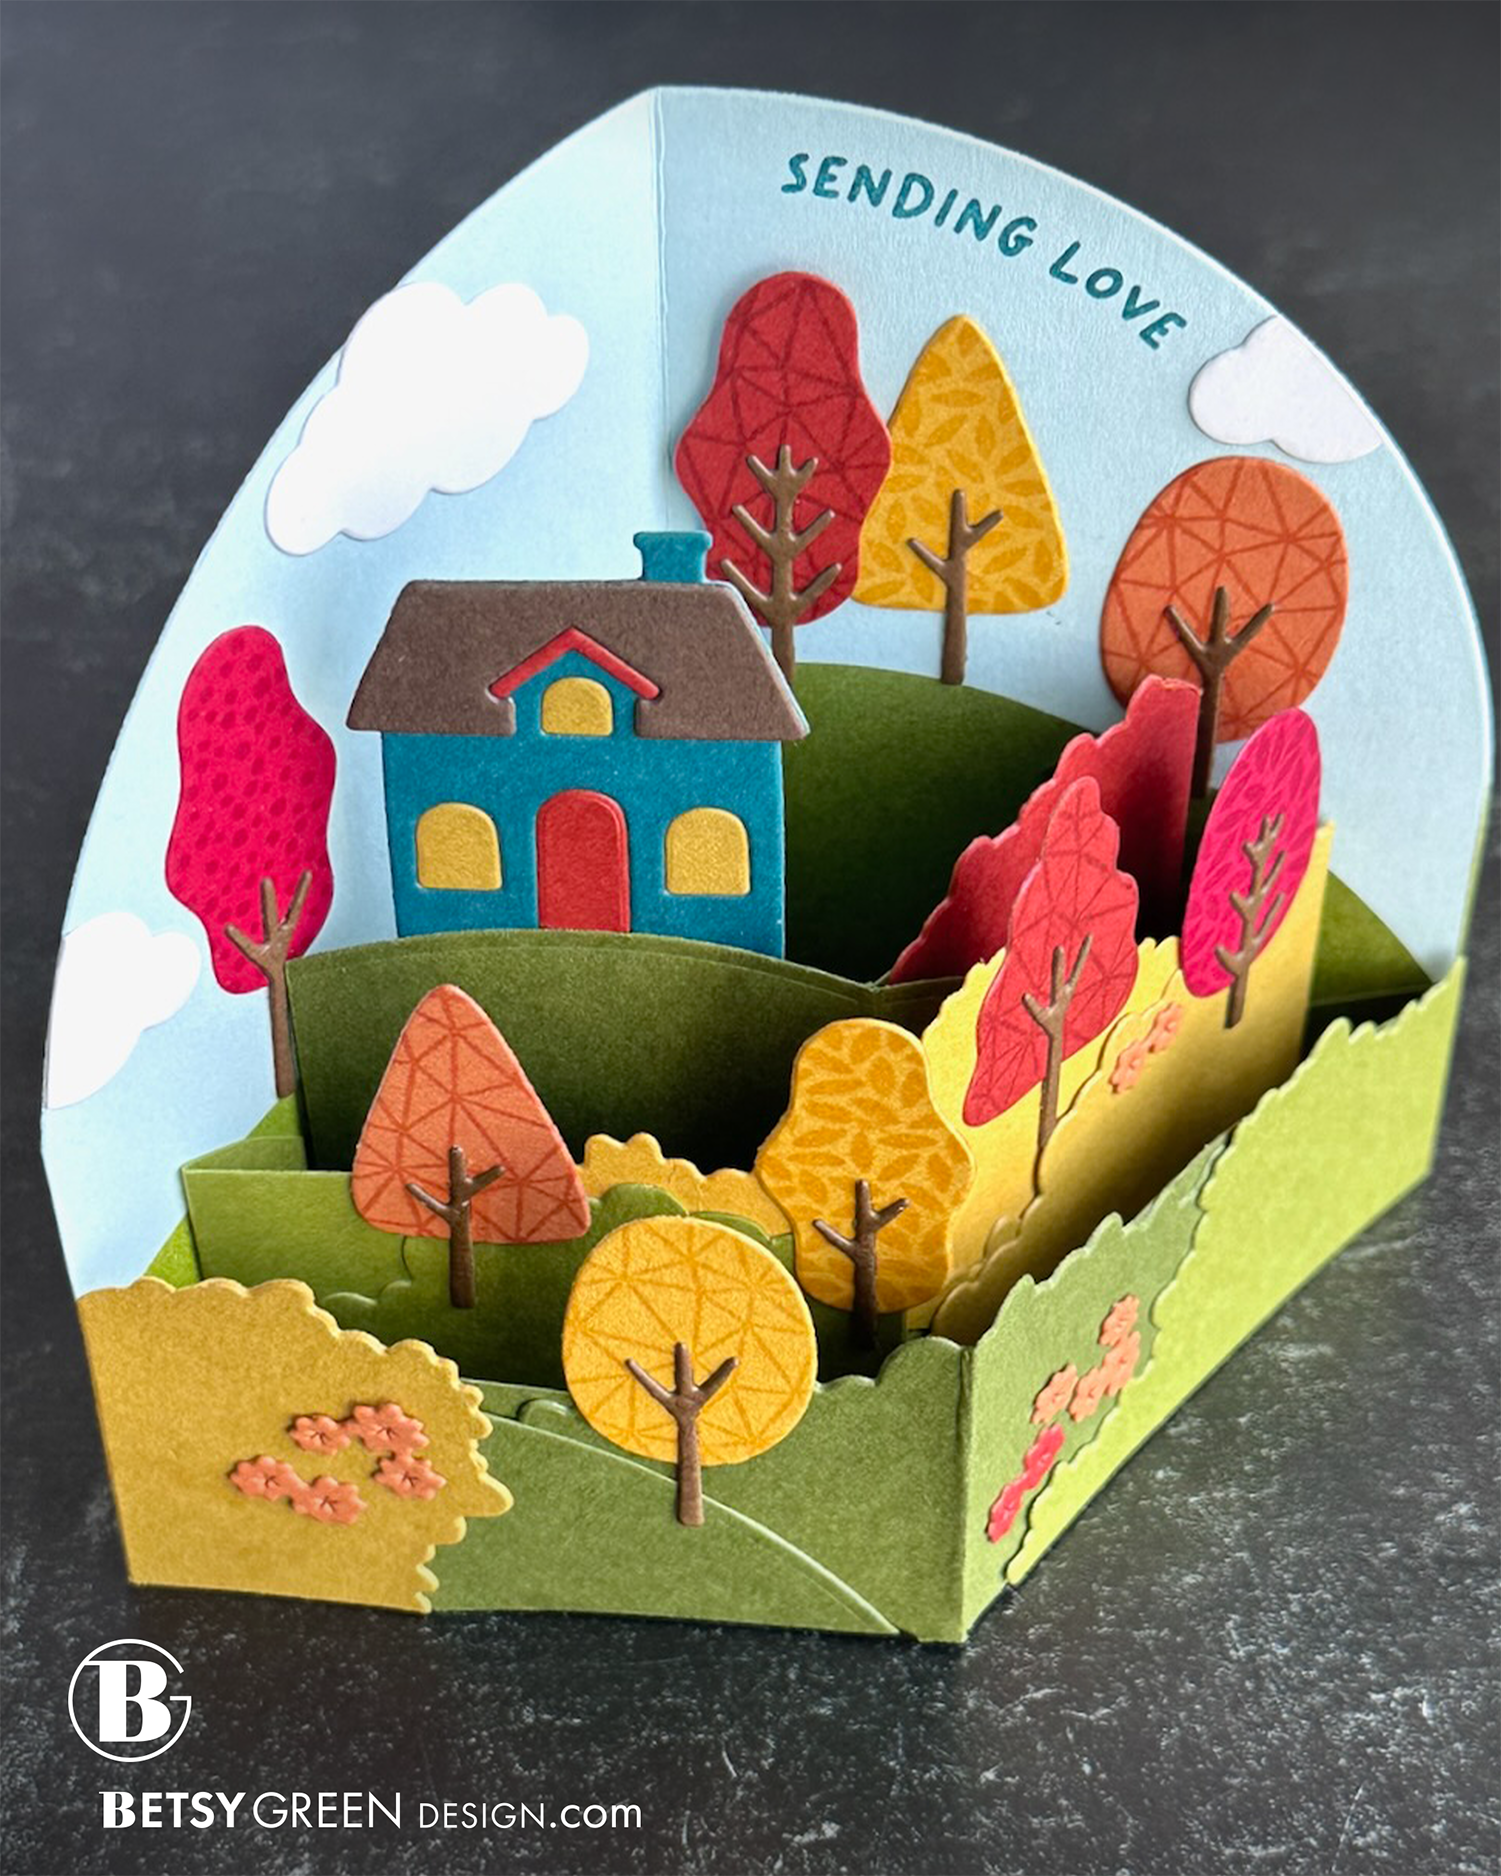
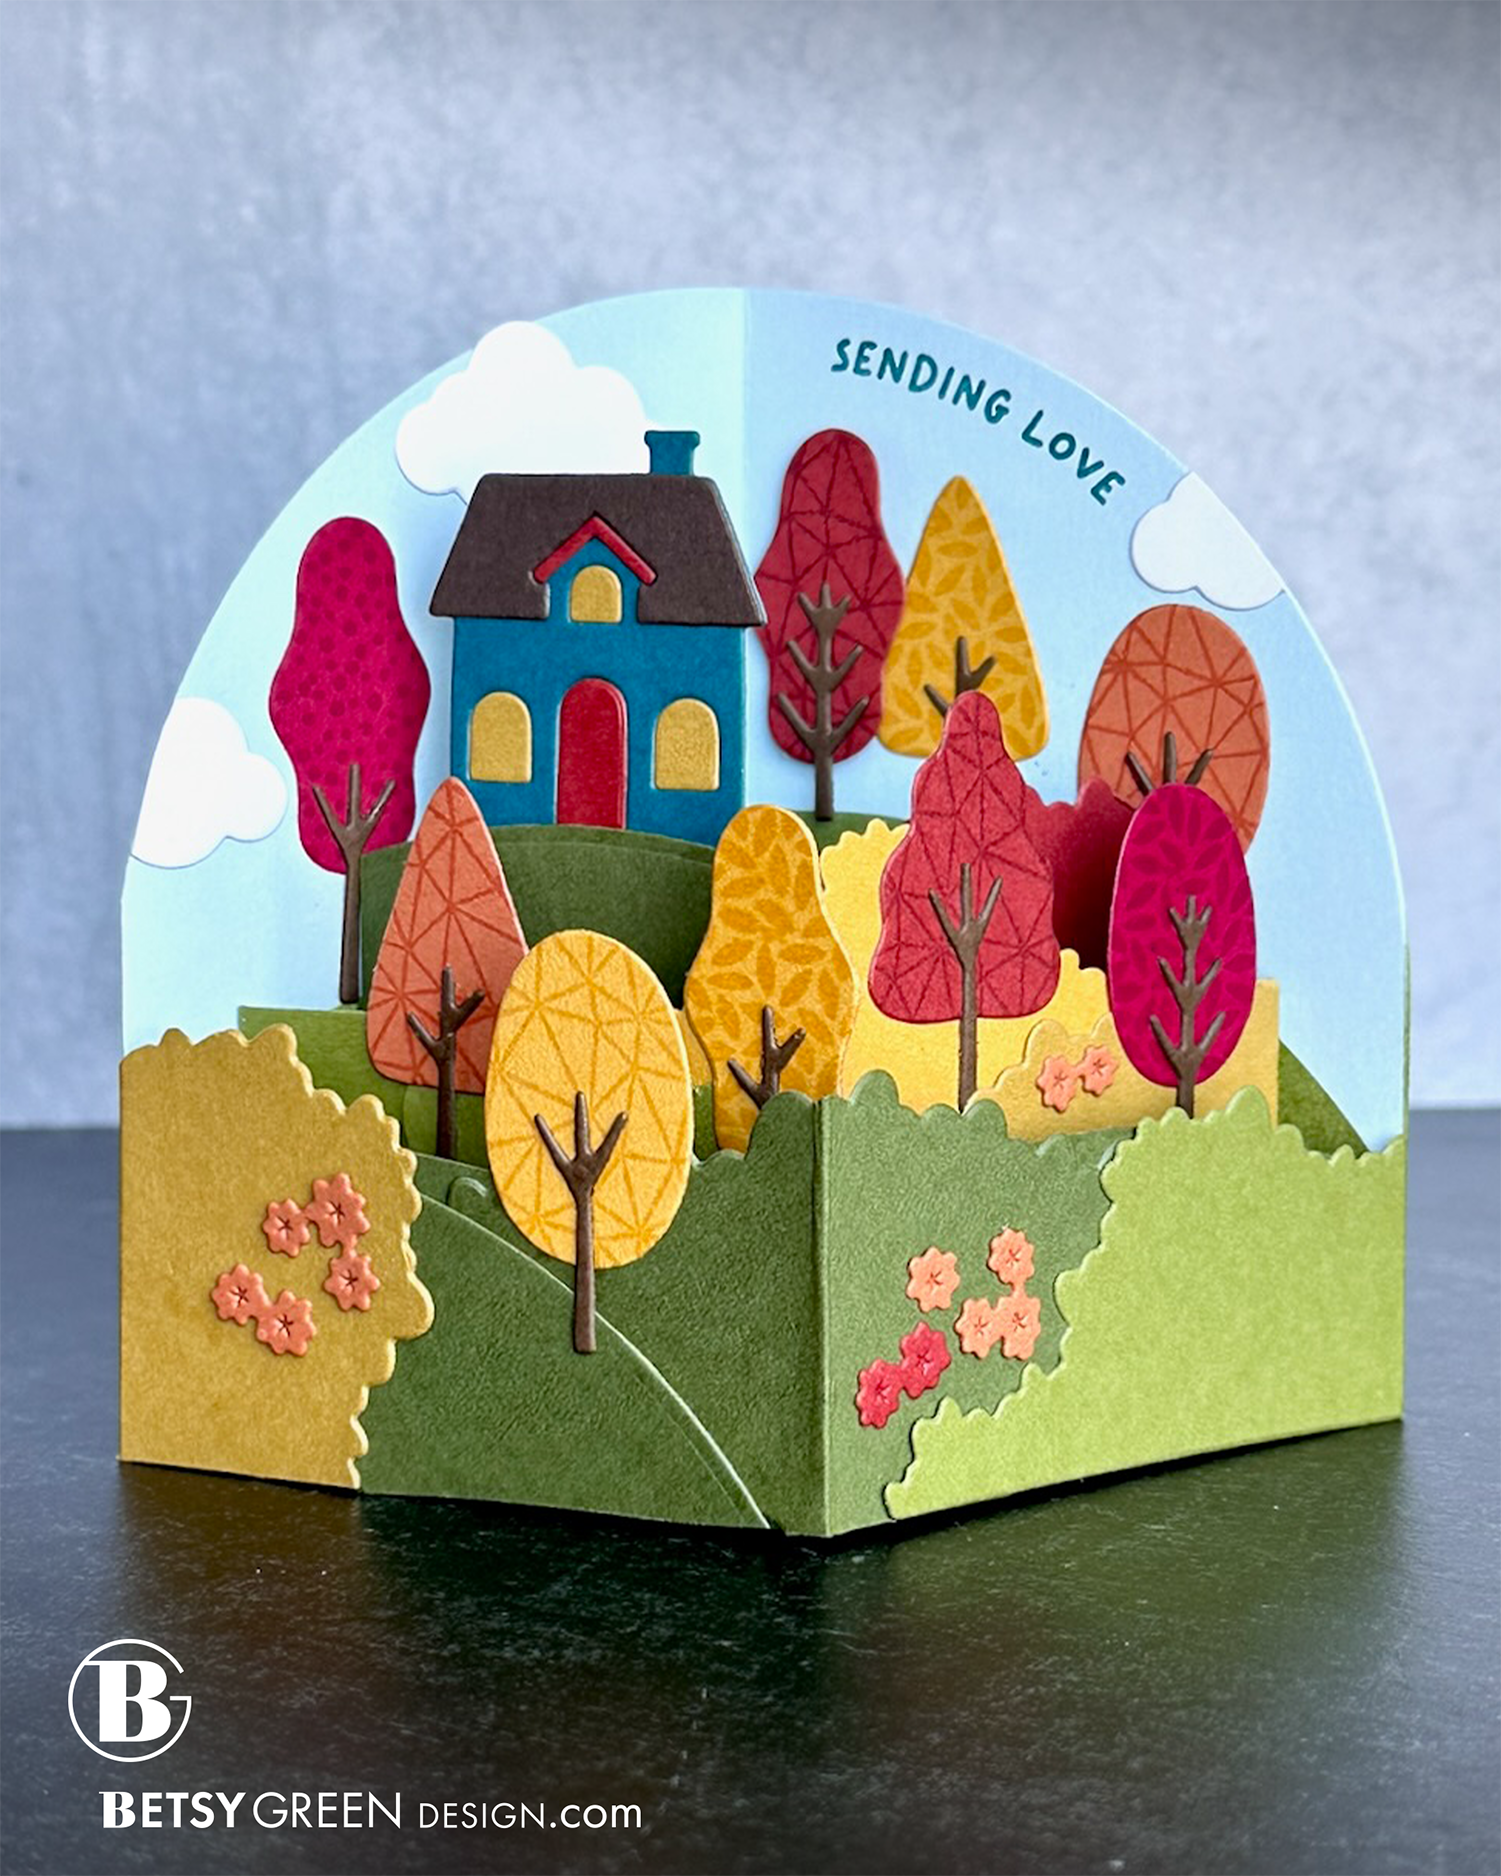
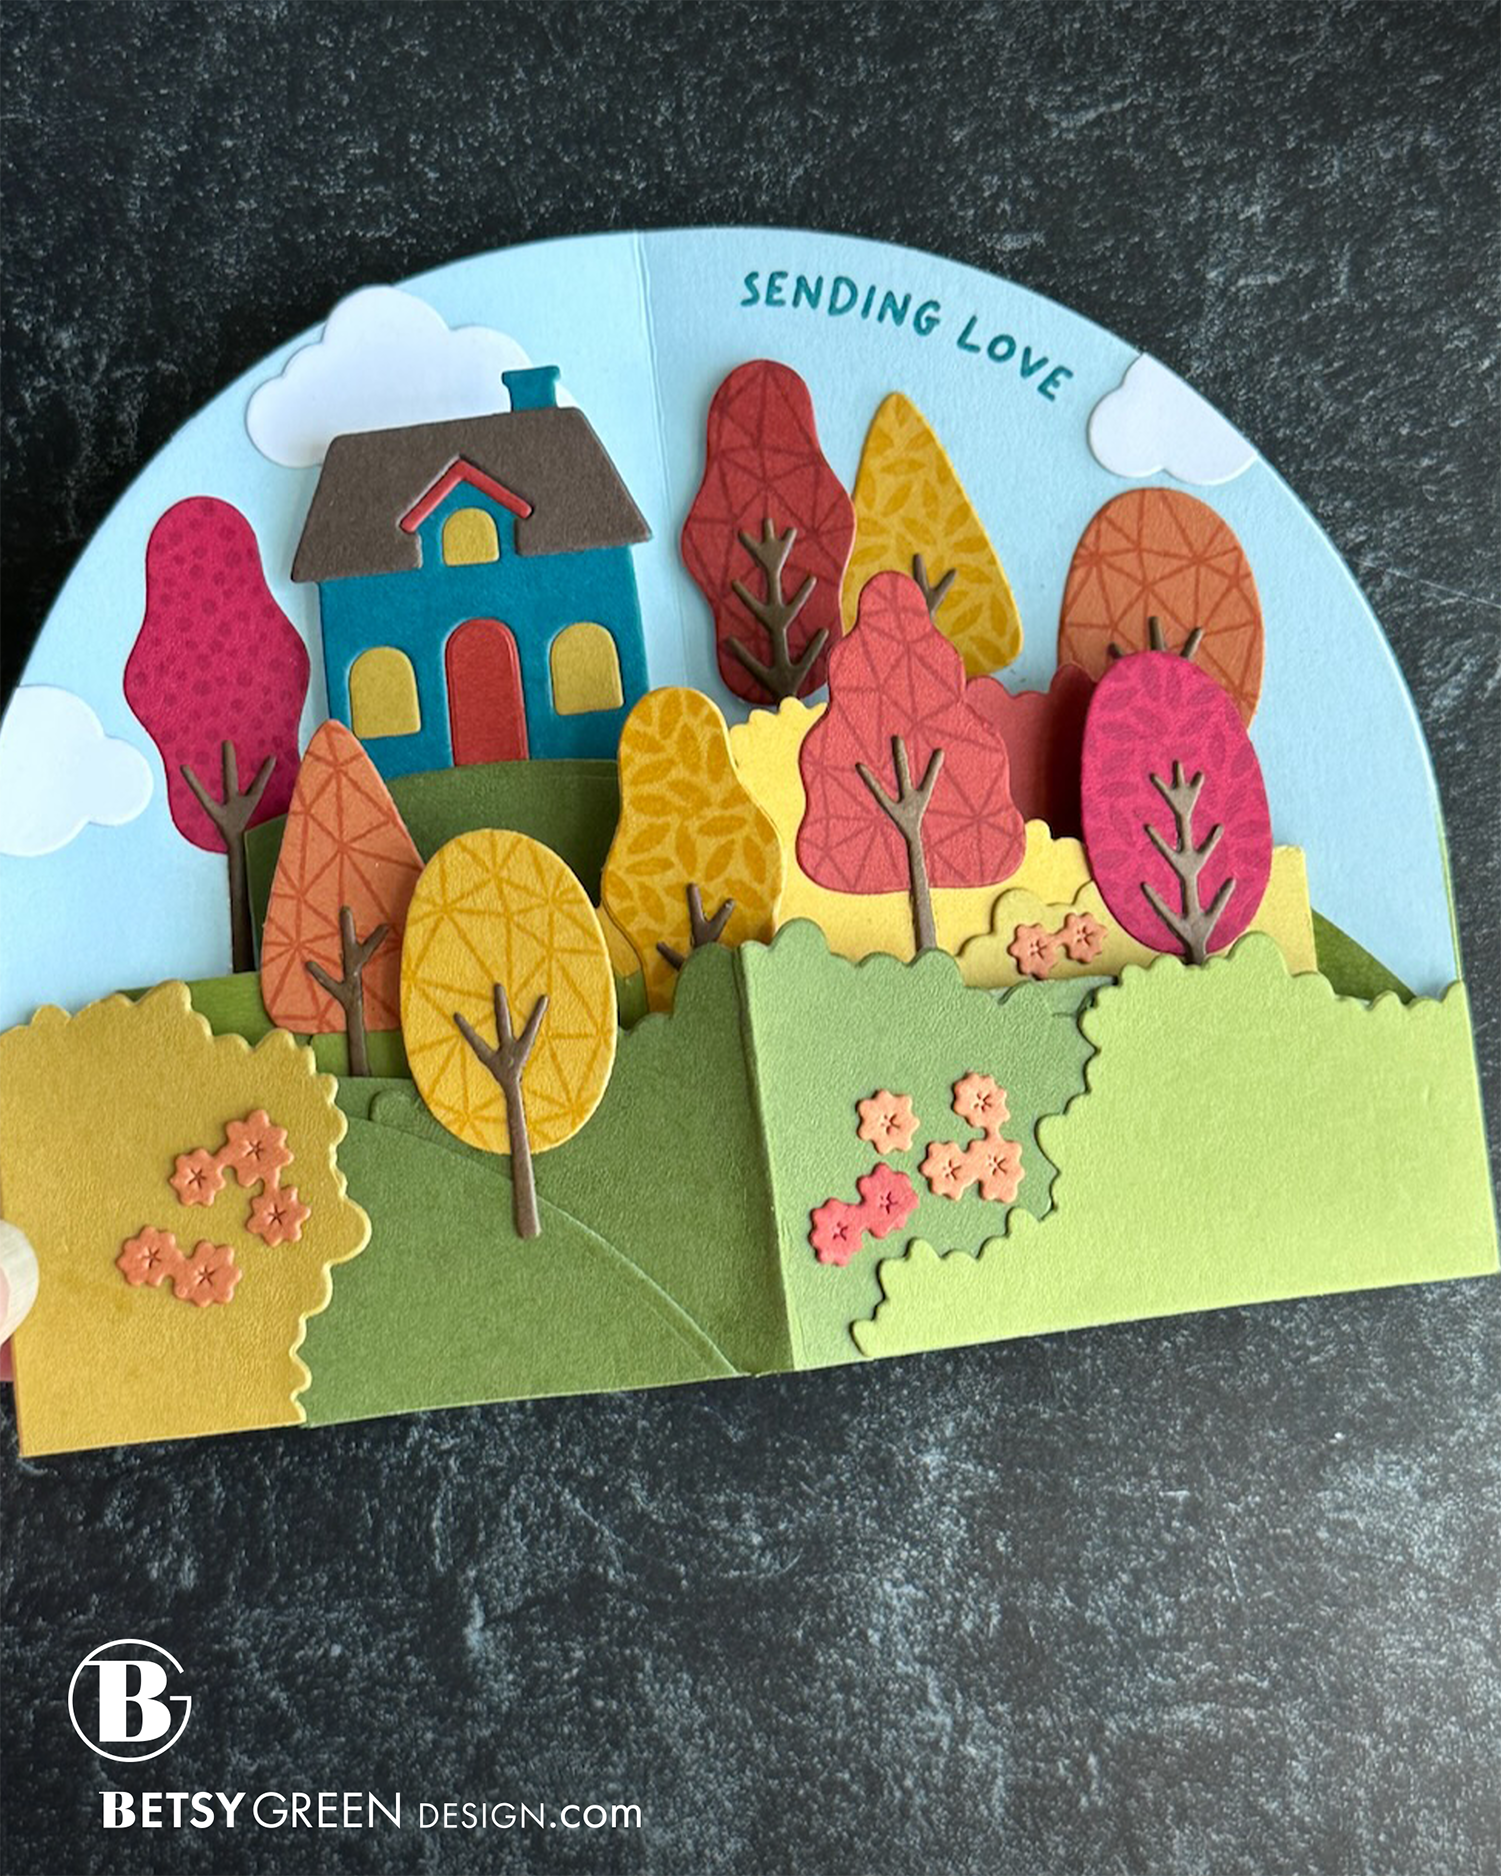
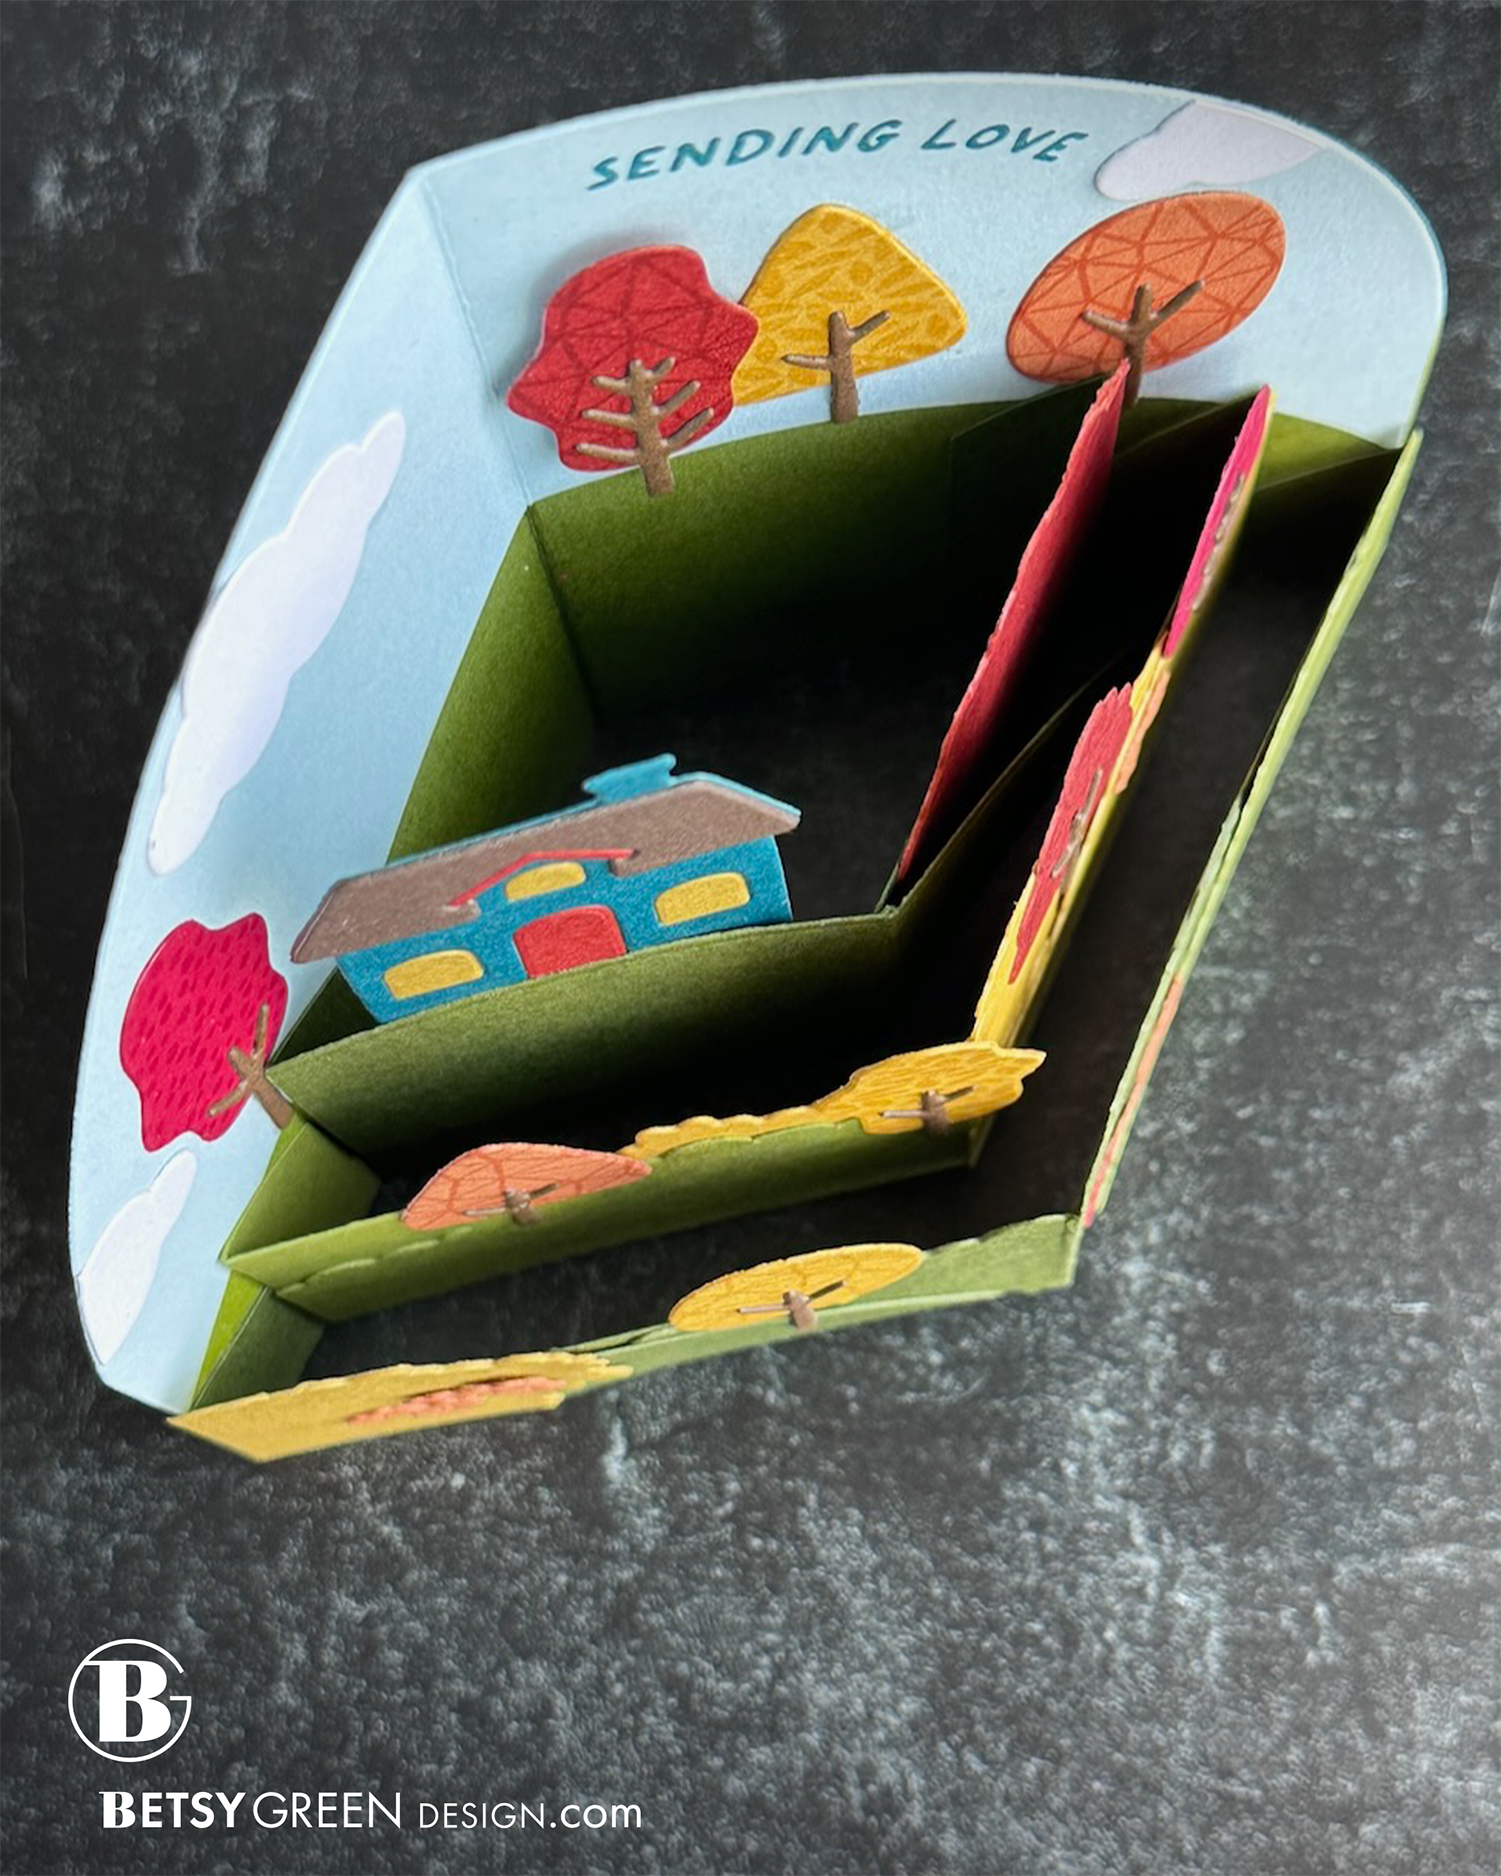
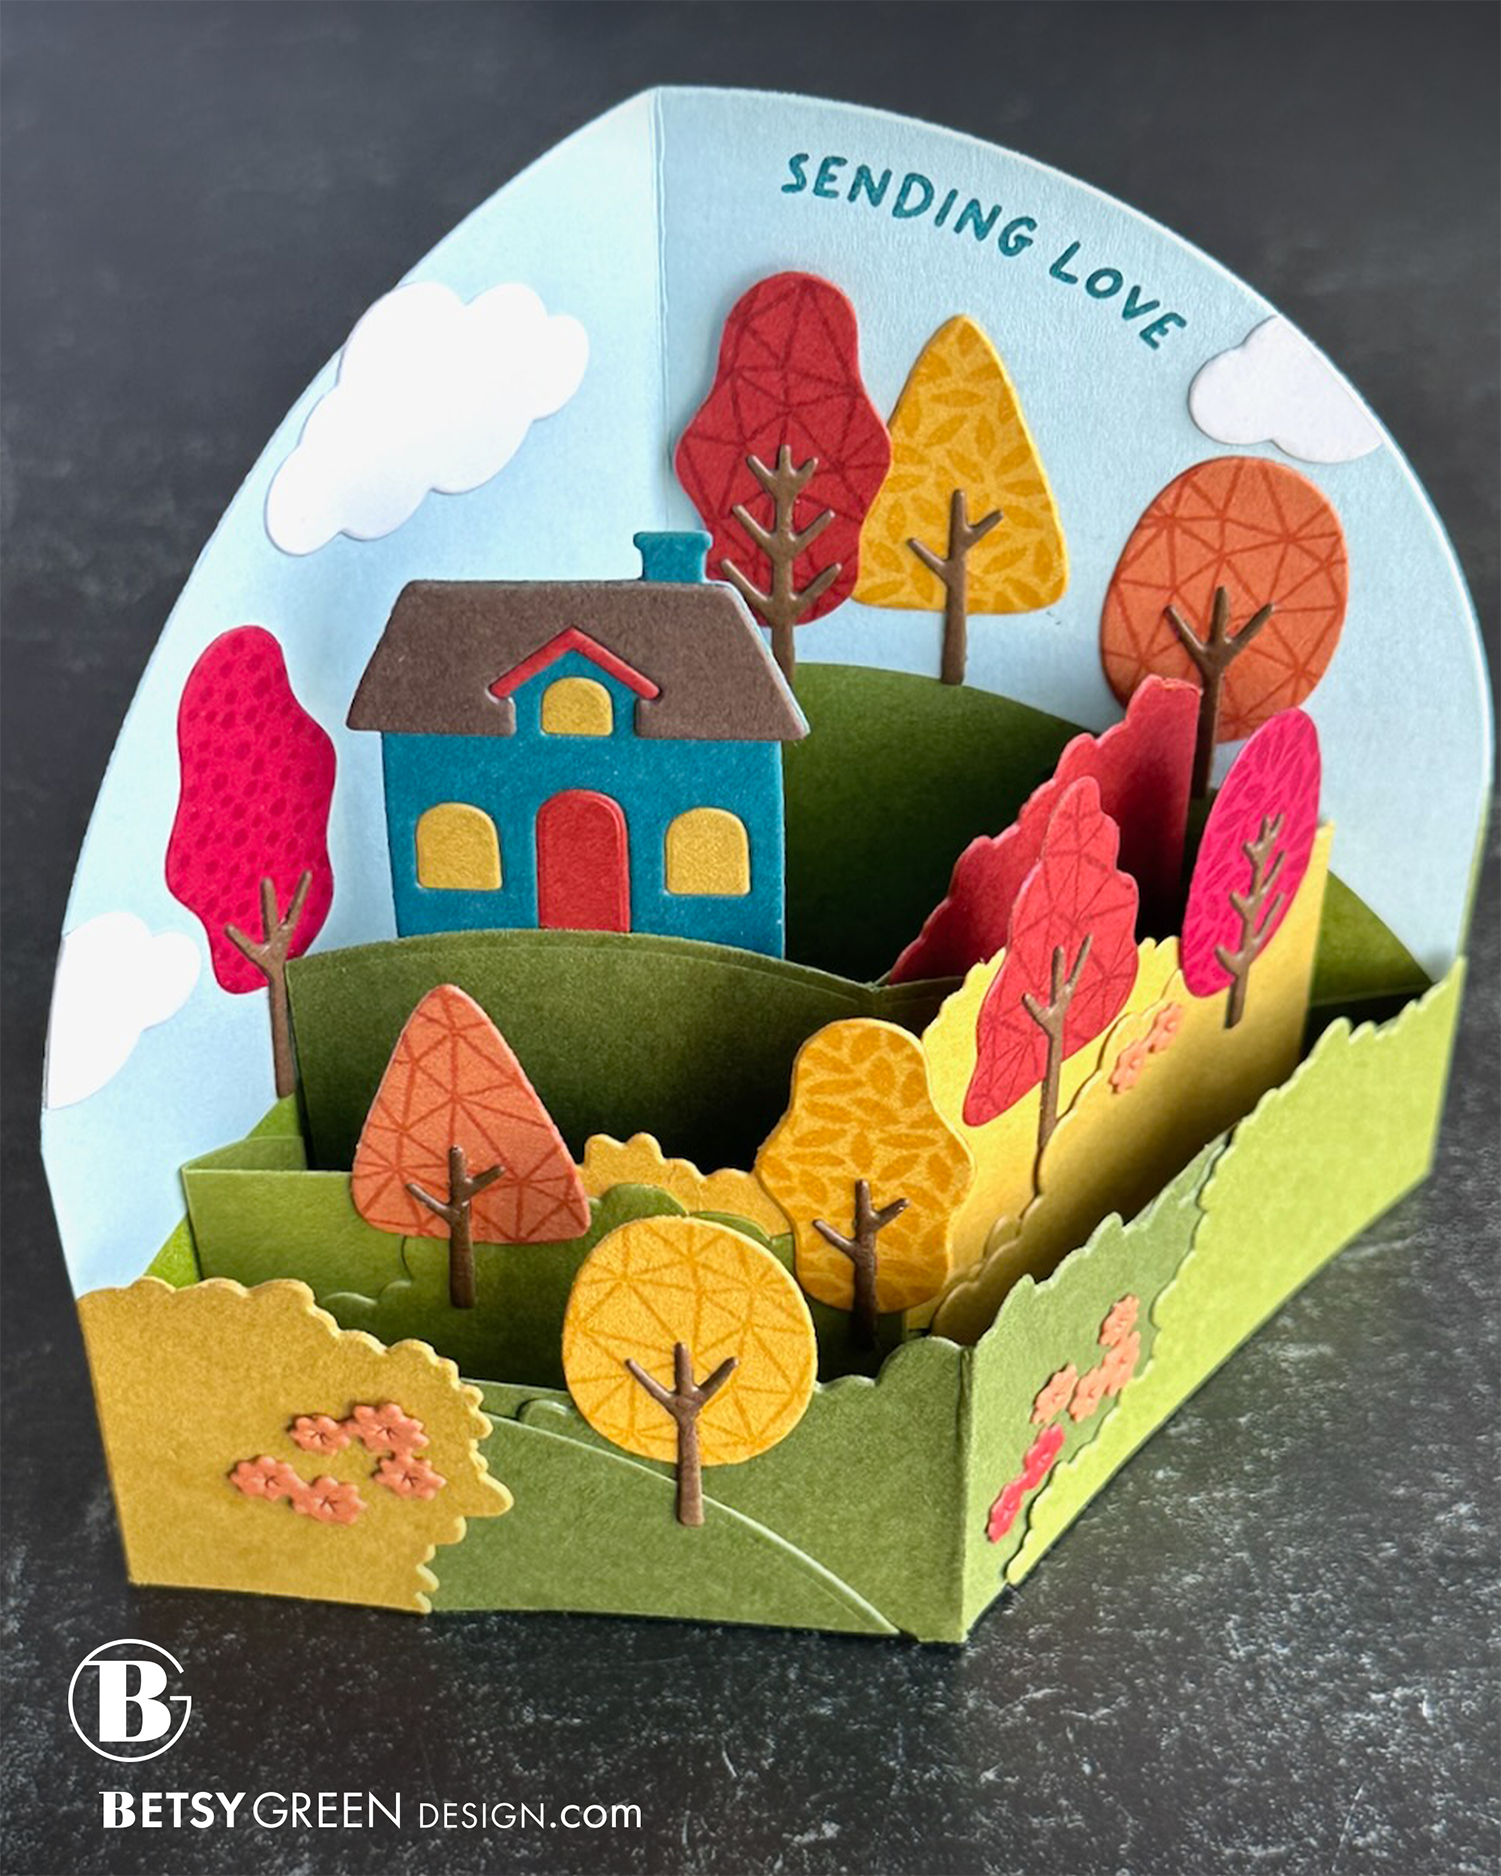
I created a 3D scene by using the Autumn Lane dies on the Pop Out Stacks 3D Base dies.
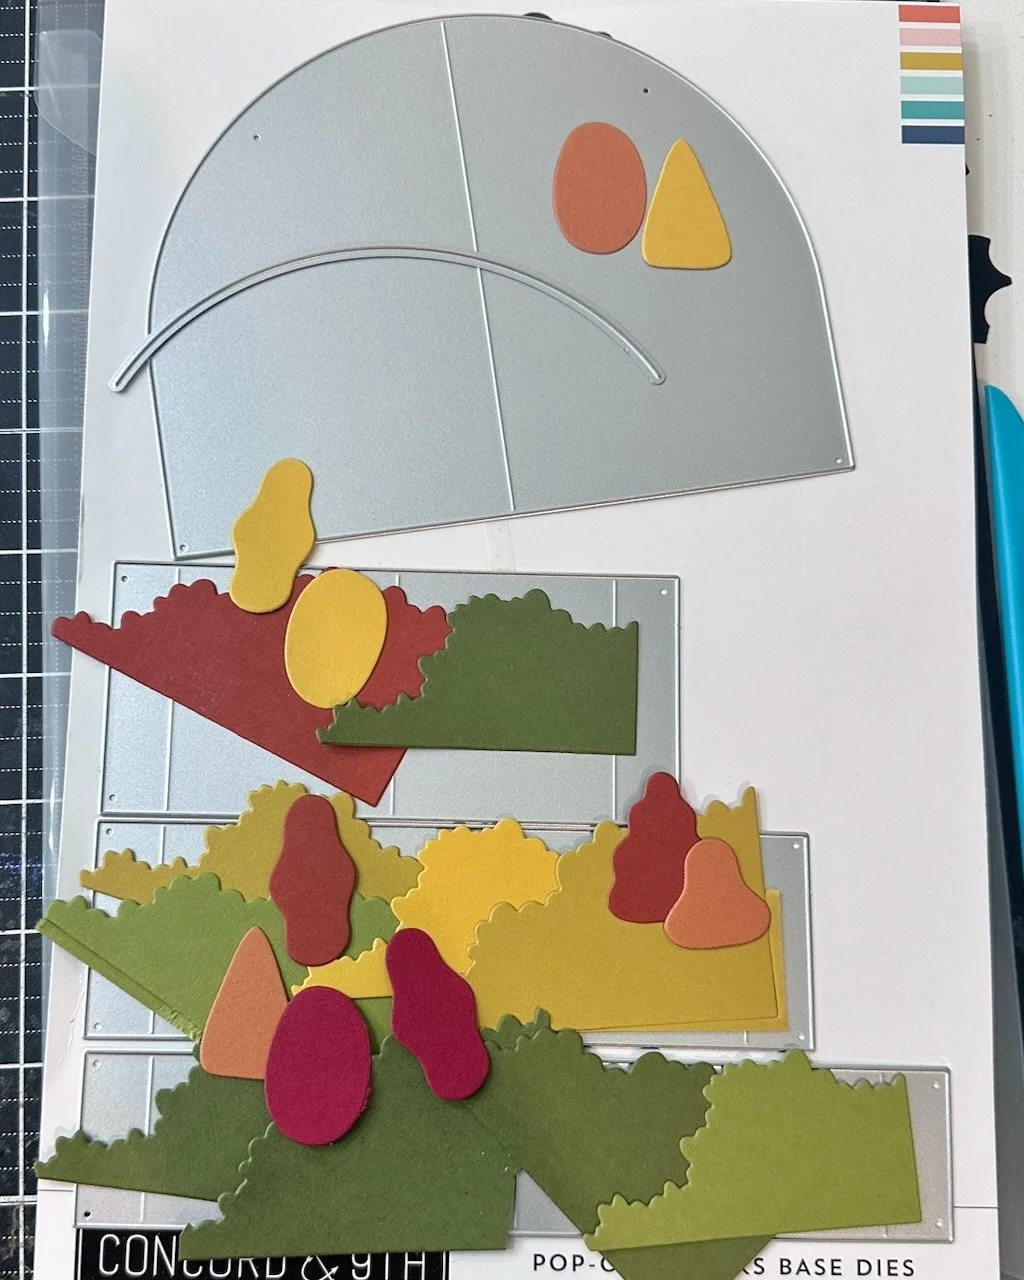
To plan out my scene, I die cut the pieces and sorted out which colors I wanted in which layers of my landscape. I wanted some color variation, but sticking within the color palette you’d expect to see in a scenic autumn view. It was easy to just lay them on the dies themselves in order of layer, just to be sure I had the colors spread around like I wanted. (I didn’t stick to this precisely, but it was so helpful to have a loose plan and a guide as I stated assembling.)
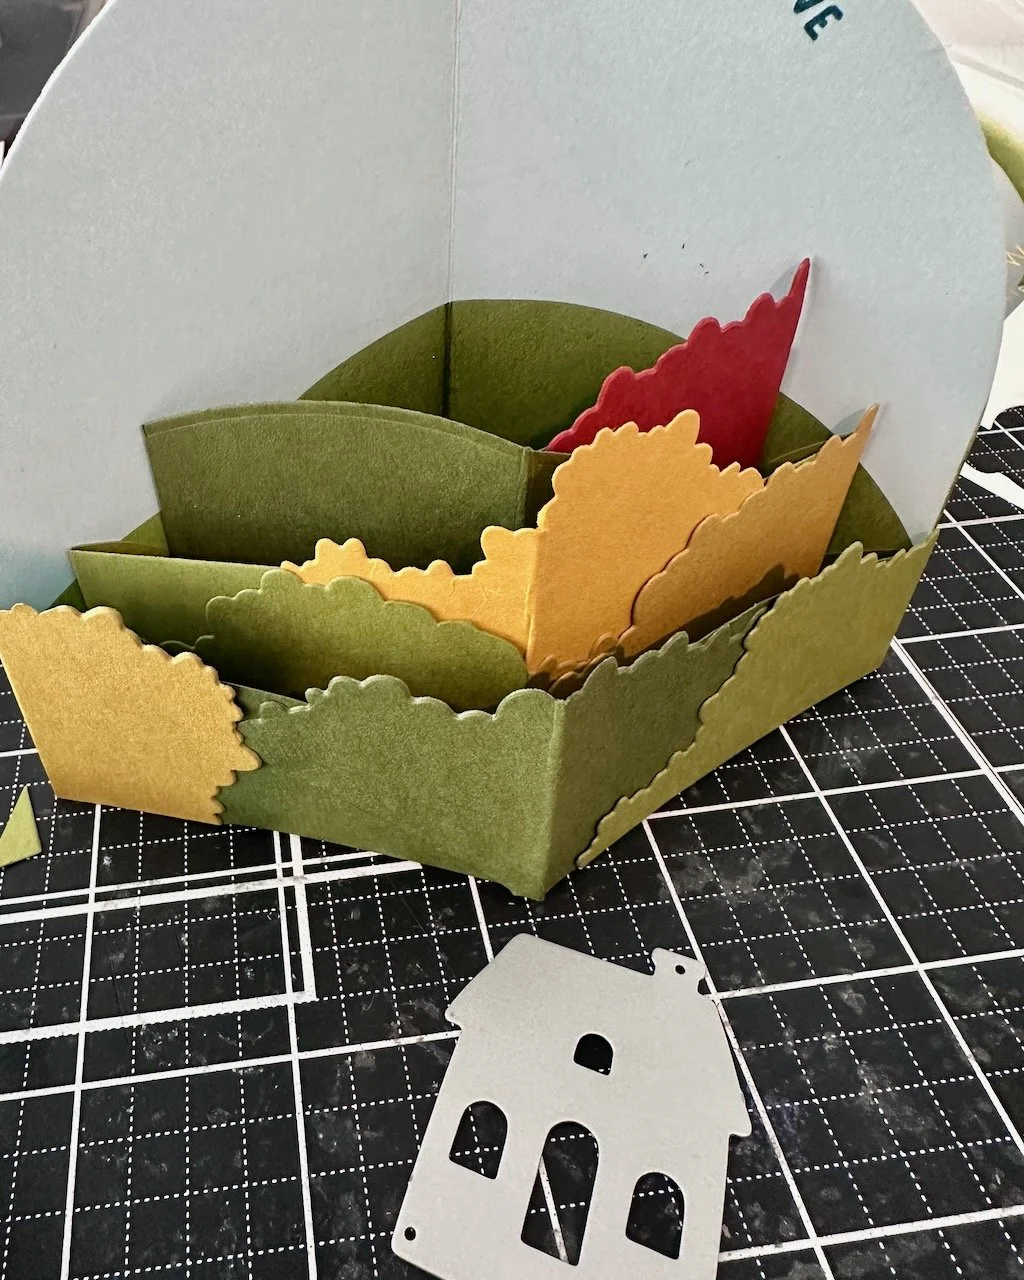
A tip for 3D cards like this: If there are support pieces, such as the 3 pop-out layer strips in this die, I recommend making them a color close to what you’ll be building on/behind them. That makes that color of the base not stand out as much as it is viewed from different angles and it all blends in as part of the scene.
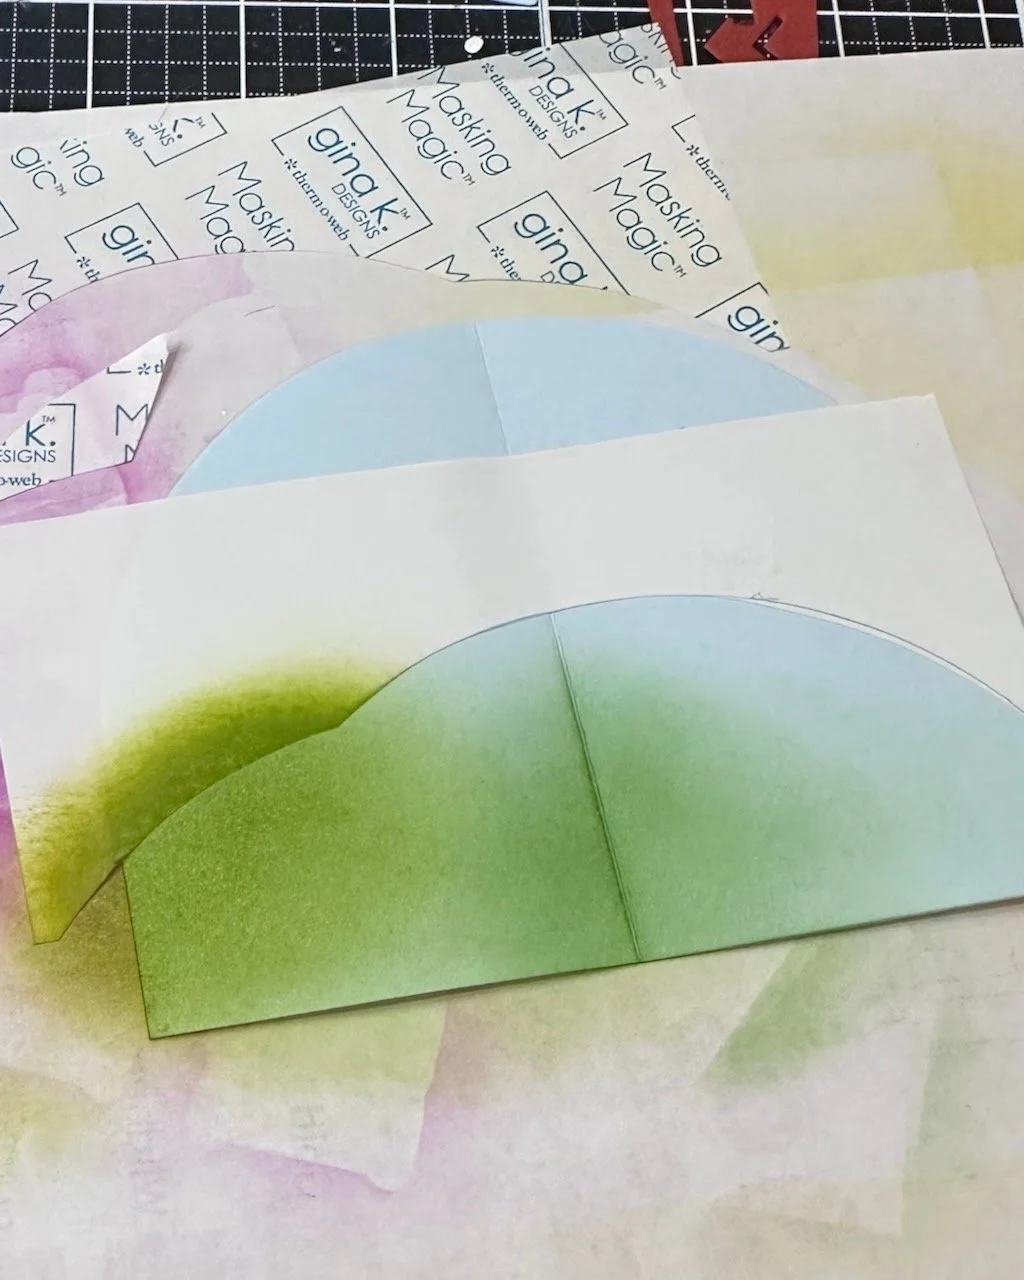
To carry that layered scene onto the back layer, I used some masking paper to mask off part of the back layer so I could have it be sky colored at the top but look like another hillside below. I used a Powder cardstock base and ink blended greens on top for the hillside because I knew the green would easily layer over the light blue.
Colors:
cardstock: Concord & 9th Cranberry, Cayenne, Spiced Cider, Sunflower, Honeycomb, Avocado, Artichoke, Peacock, Powder, Mushroom, Cocoa.
Thank you for visiting! I hope you get some time to create something soon.
Links are below if you’re interested in any of the products I used.
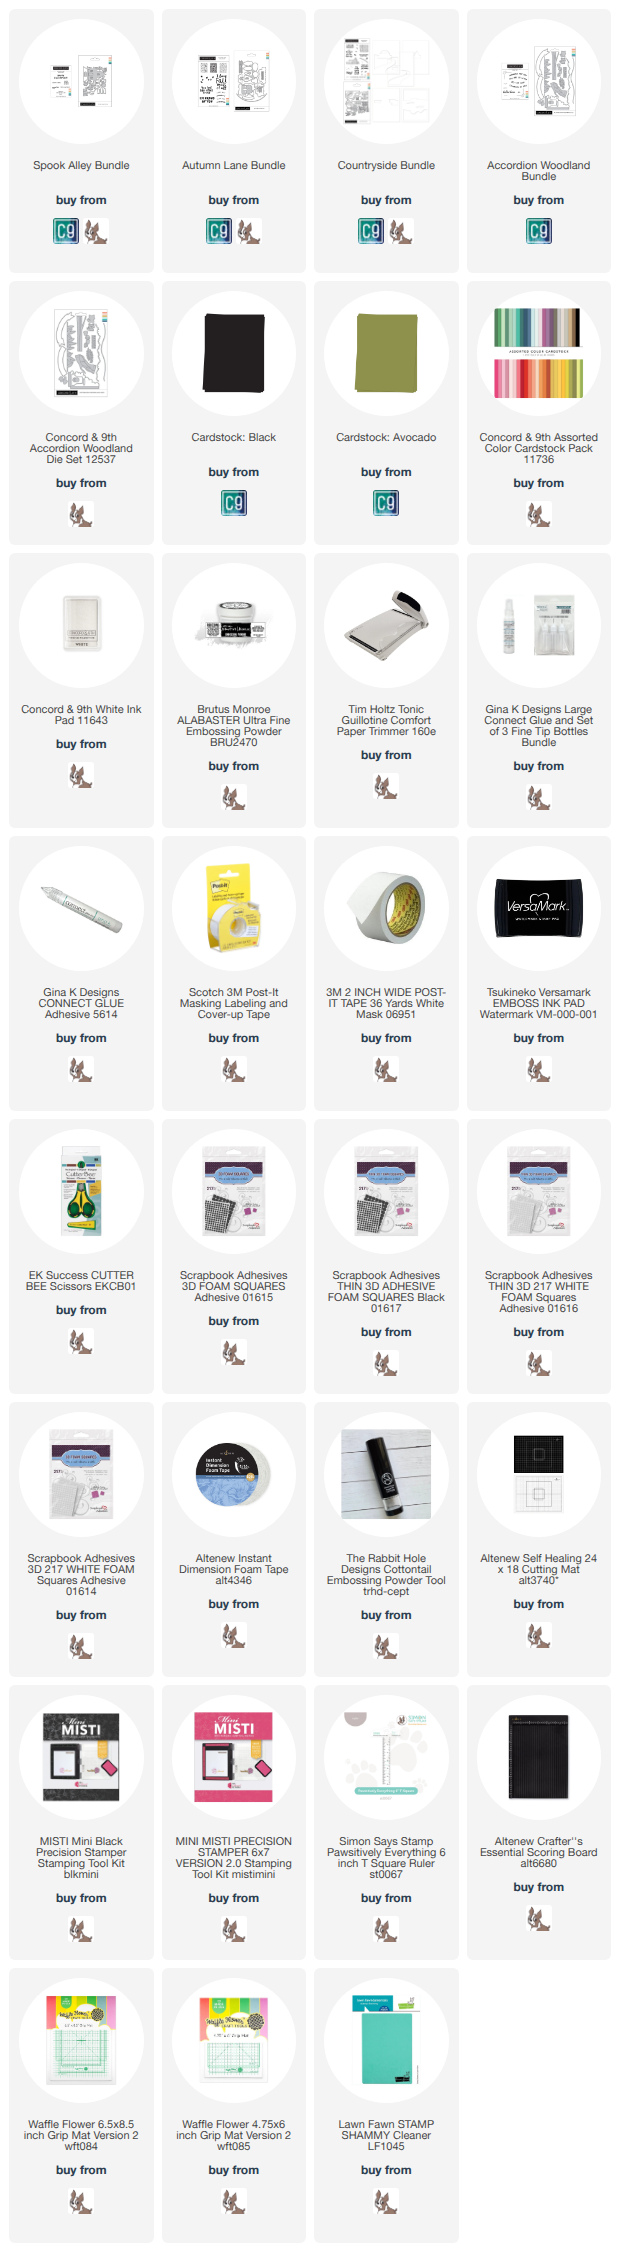
*Affiliate links do not cost you any more when you shop, but it is beneficial to creators when you use them, so thanks in advance!