One Fold, Two Ways
I enjoy incorporating an extra or interesting fold on a card. I’ve seen some amazing complex folds, but I generally like to keep them more simple. Combined with good design and colors even a simple fold that is slightly different than expected can create something amazing.
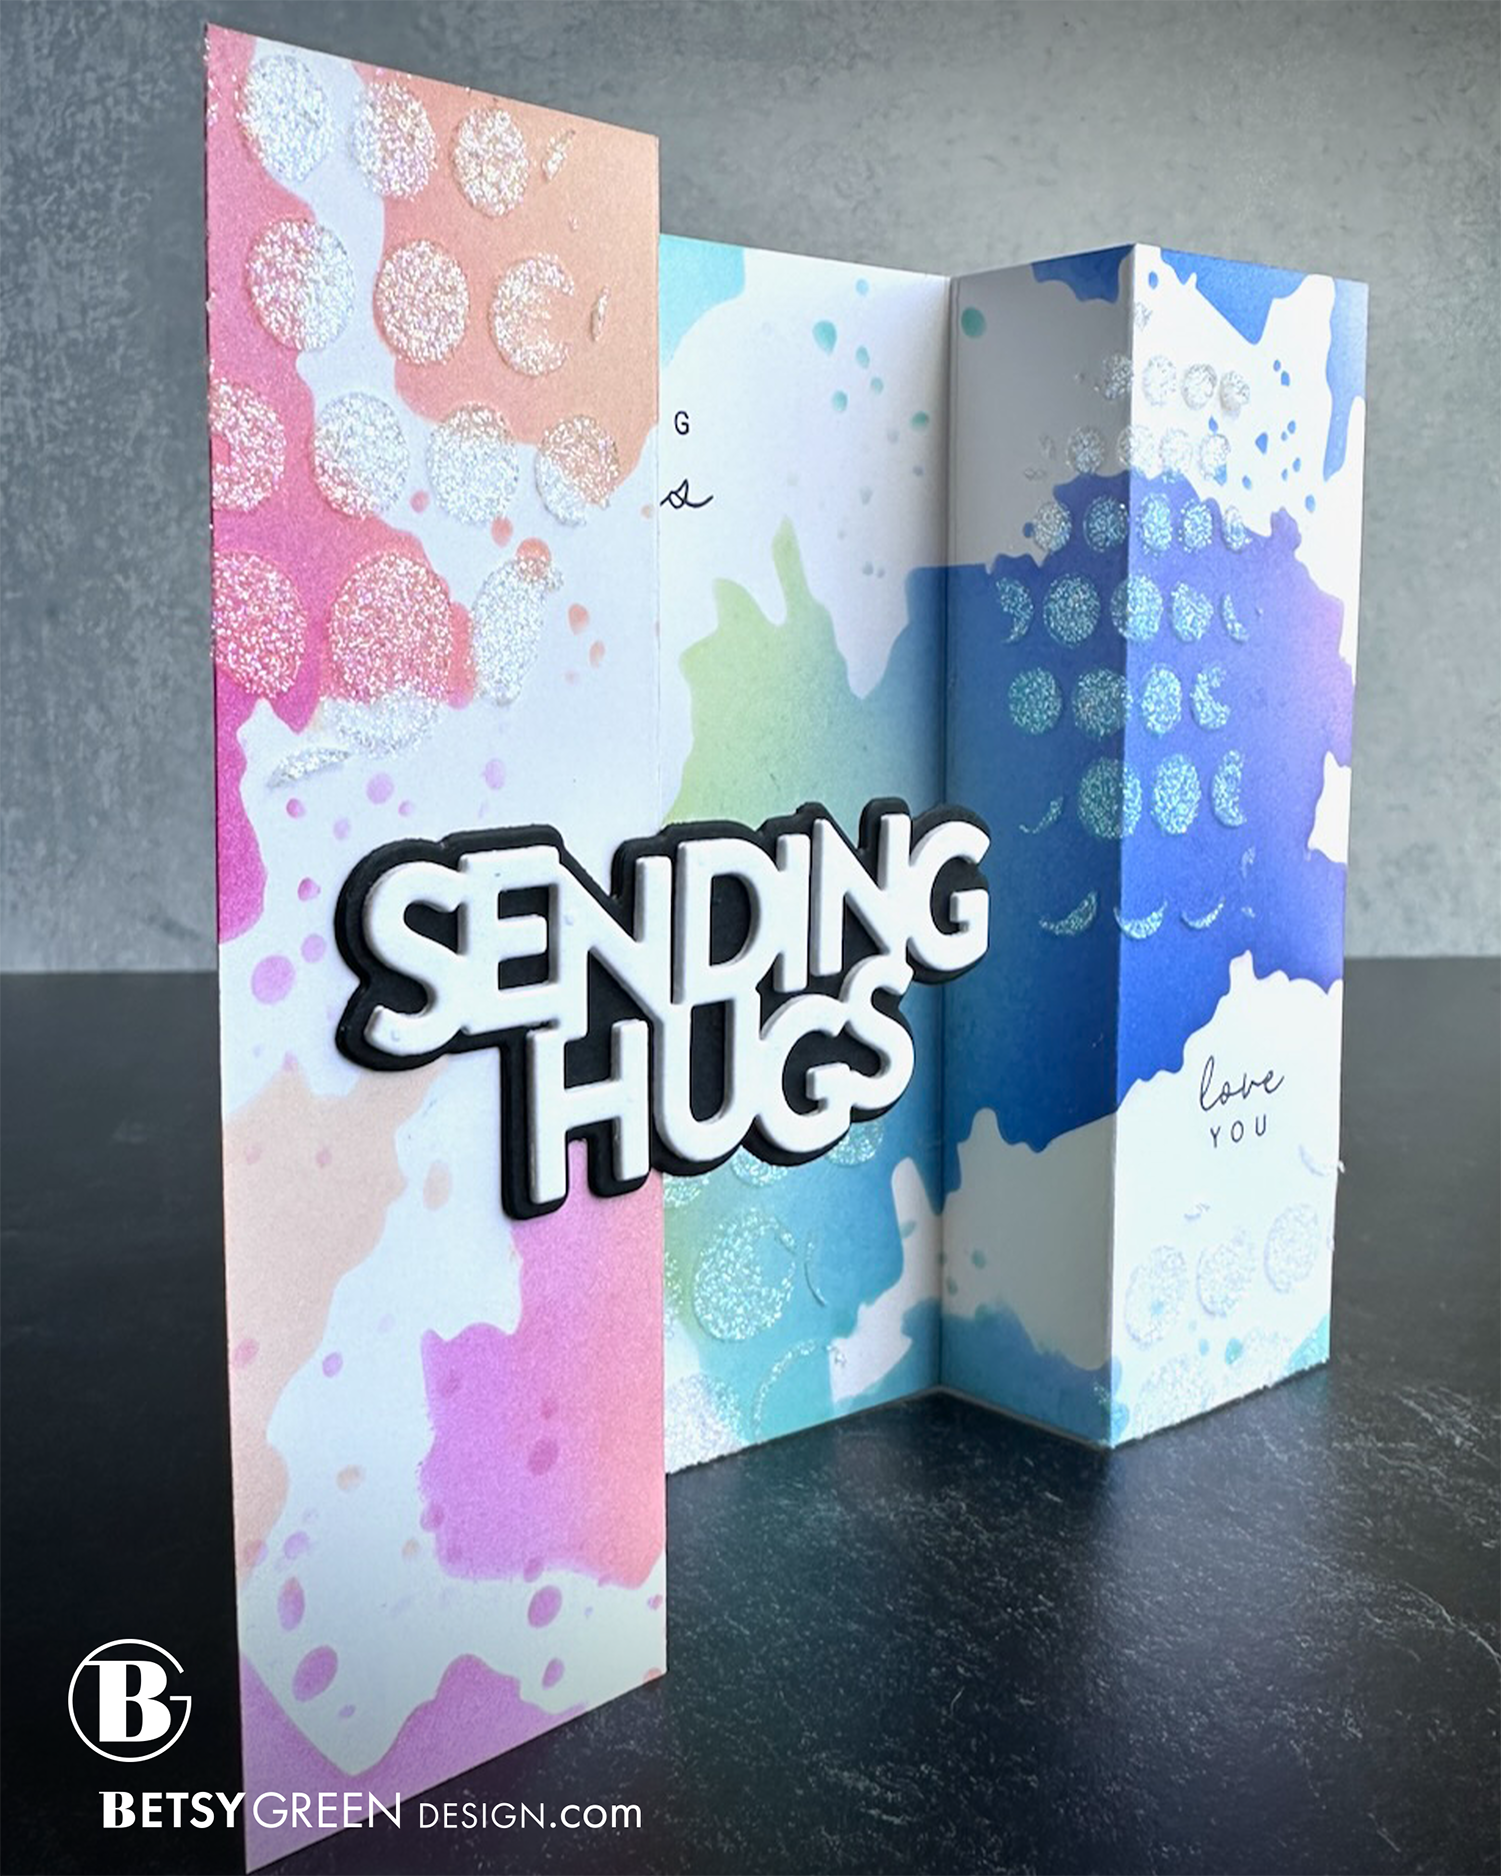
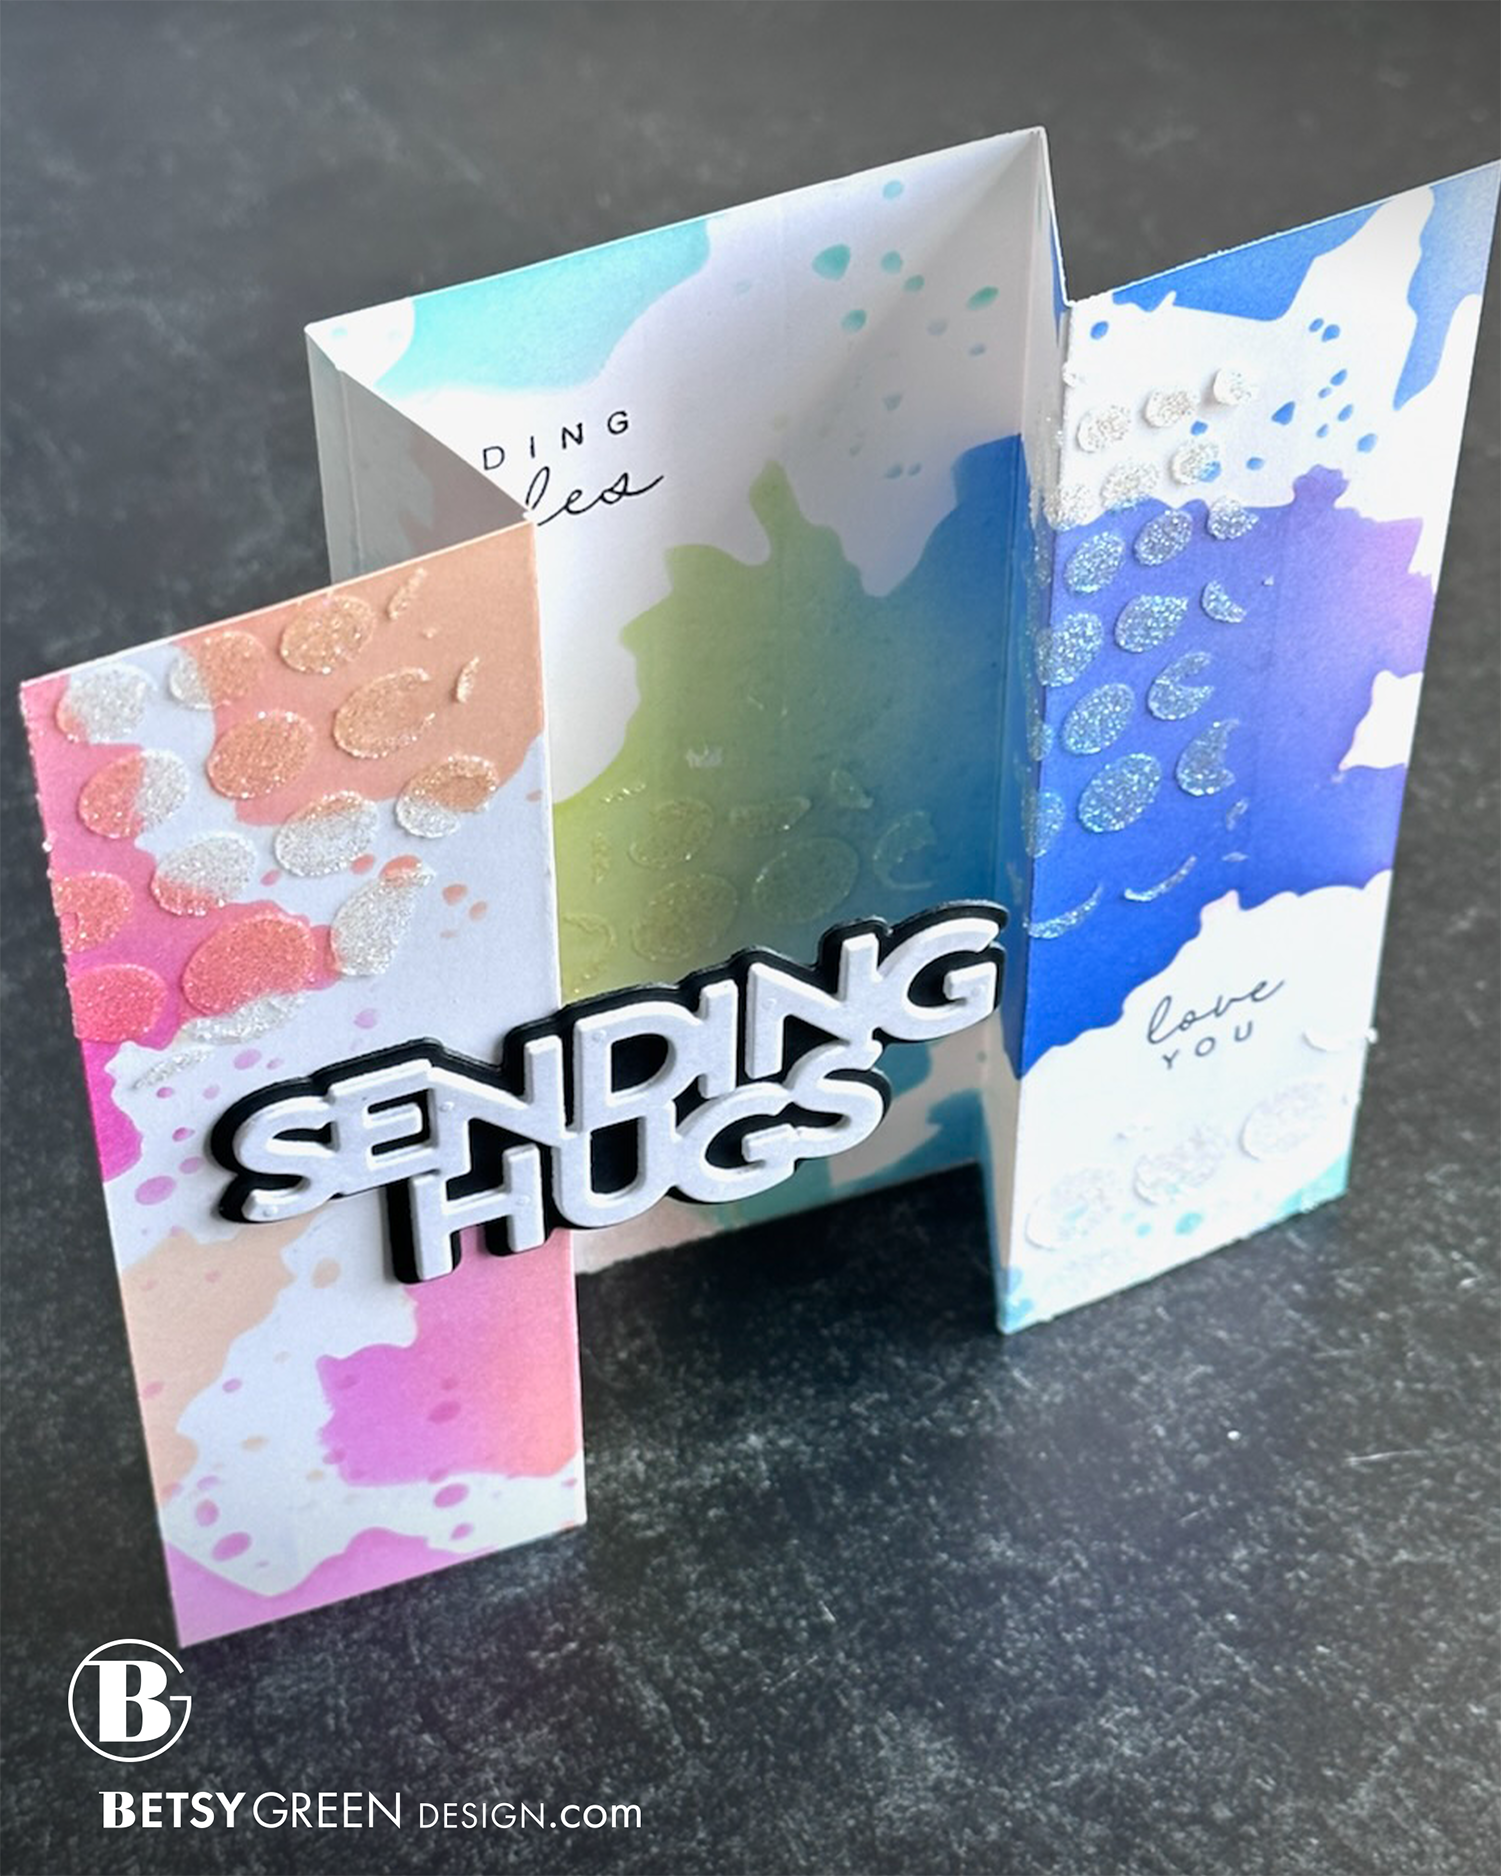
These two cards both feature the same (and fairly simple) style of fold… but mix it up even more because the fold direction is reversed!


NOTE: I did not create these cards with reverse folds intentionally for this post, so the dimensions are not exactly the same, but the logic is. I do not have a set measurement that I ALWAYS do for this type of folding because I vary it based on my design and the products I’m using.
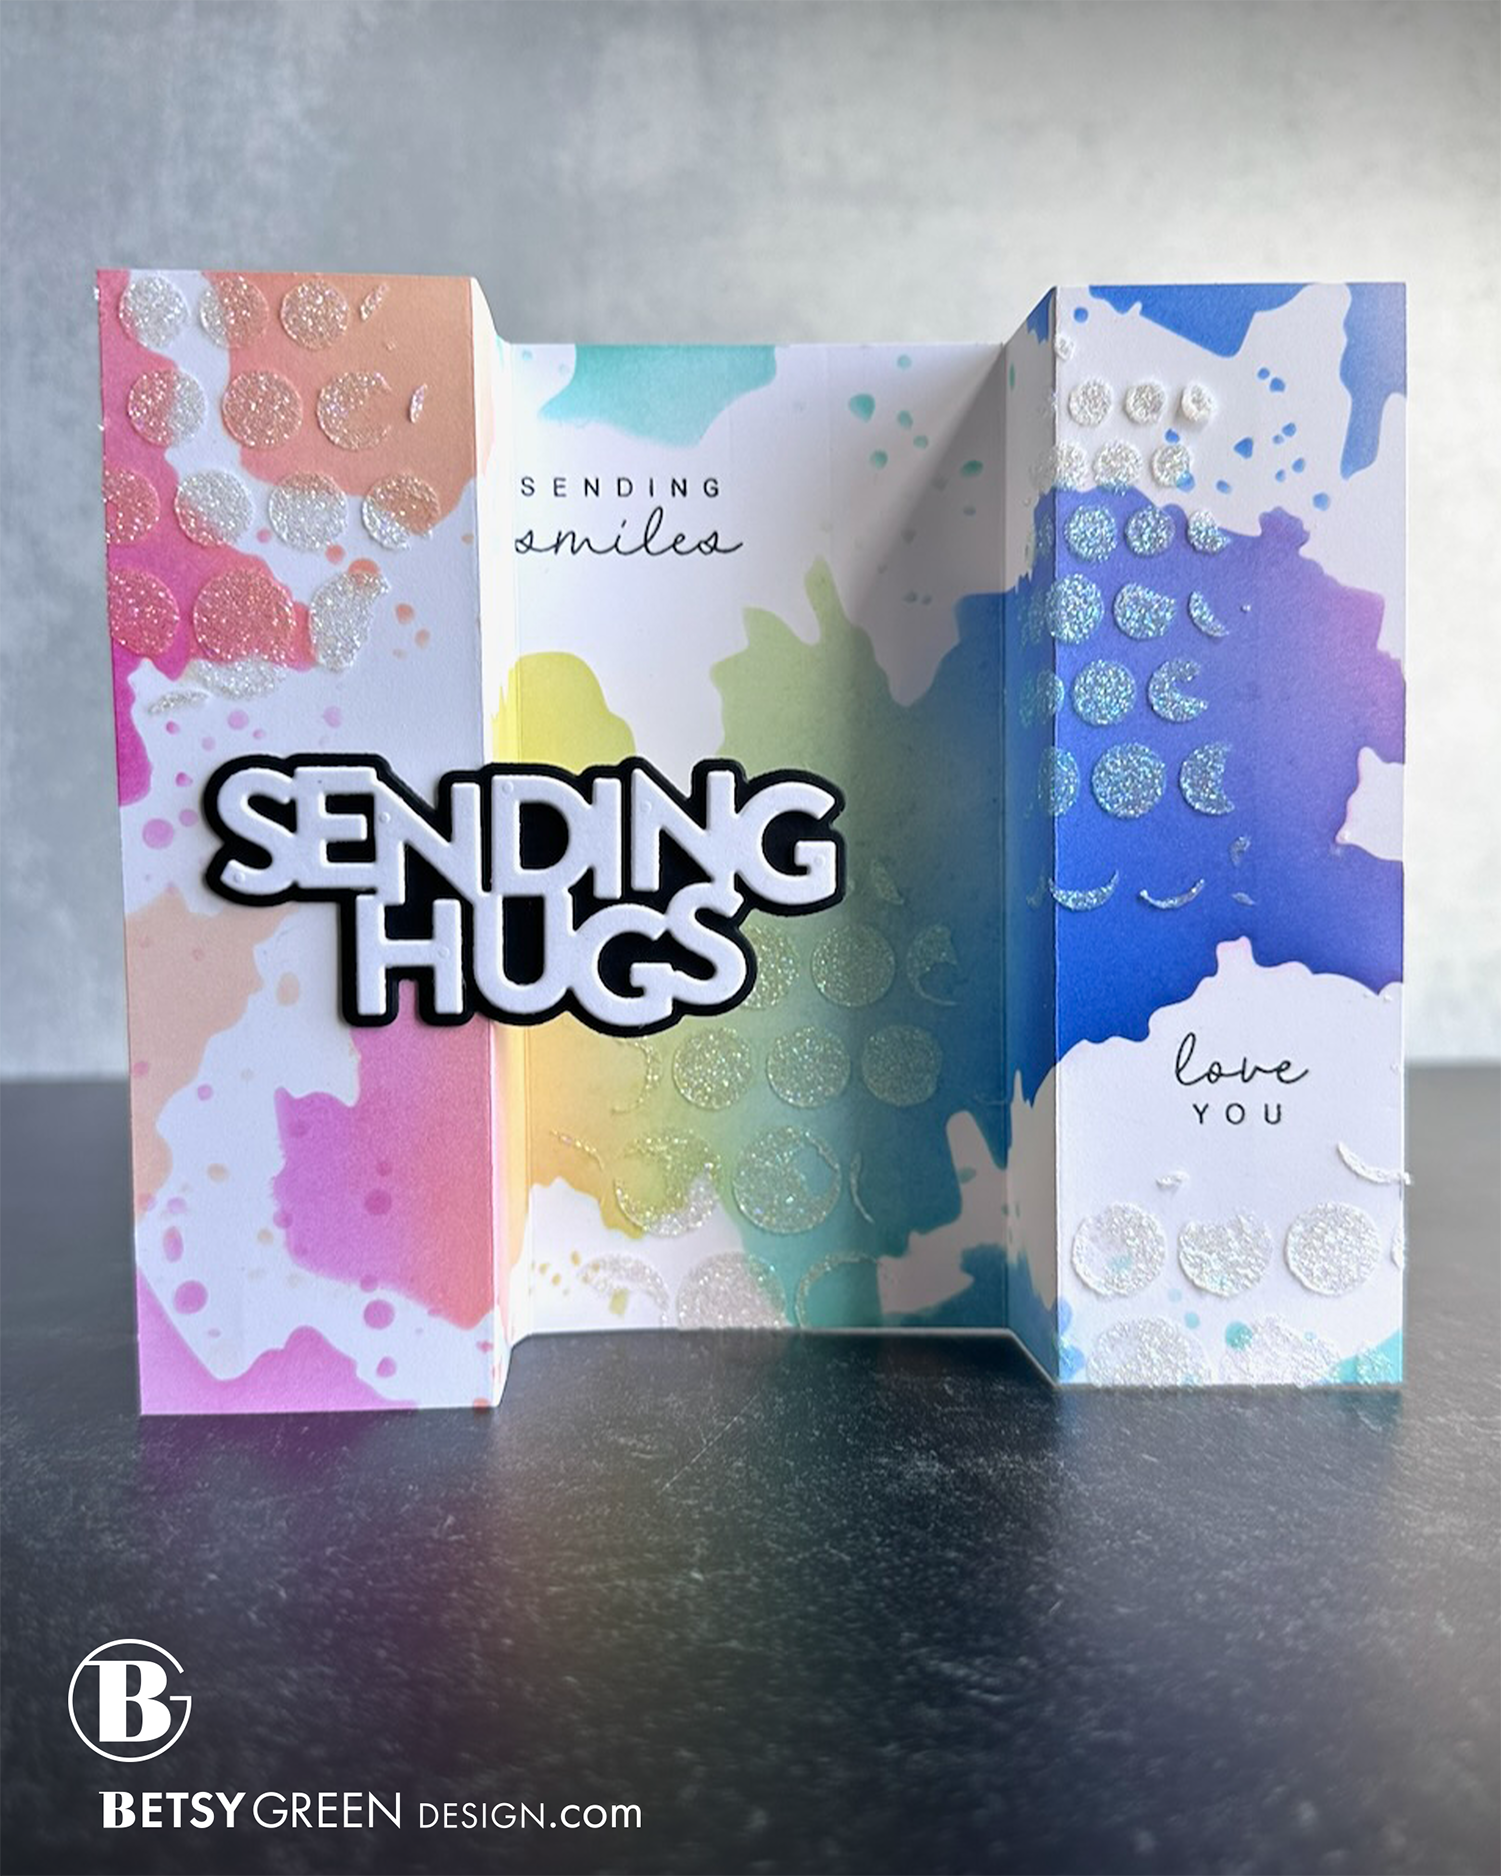
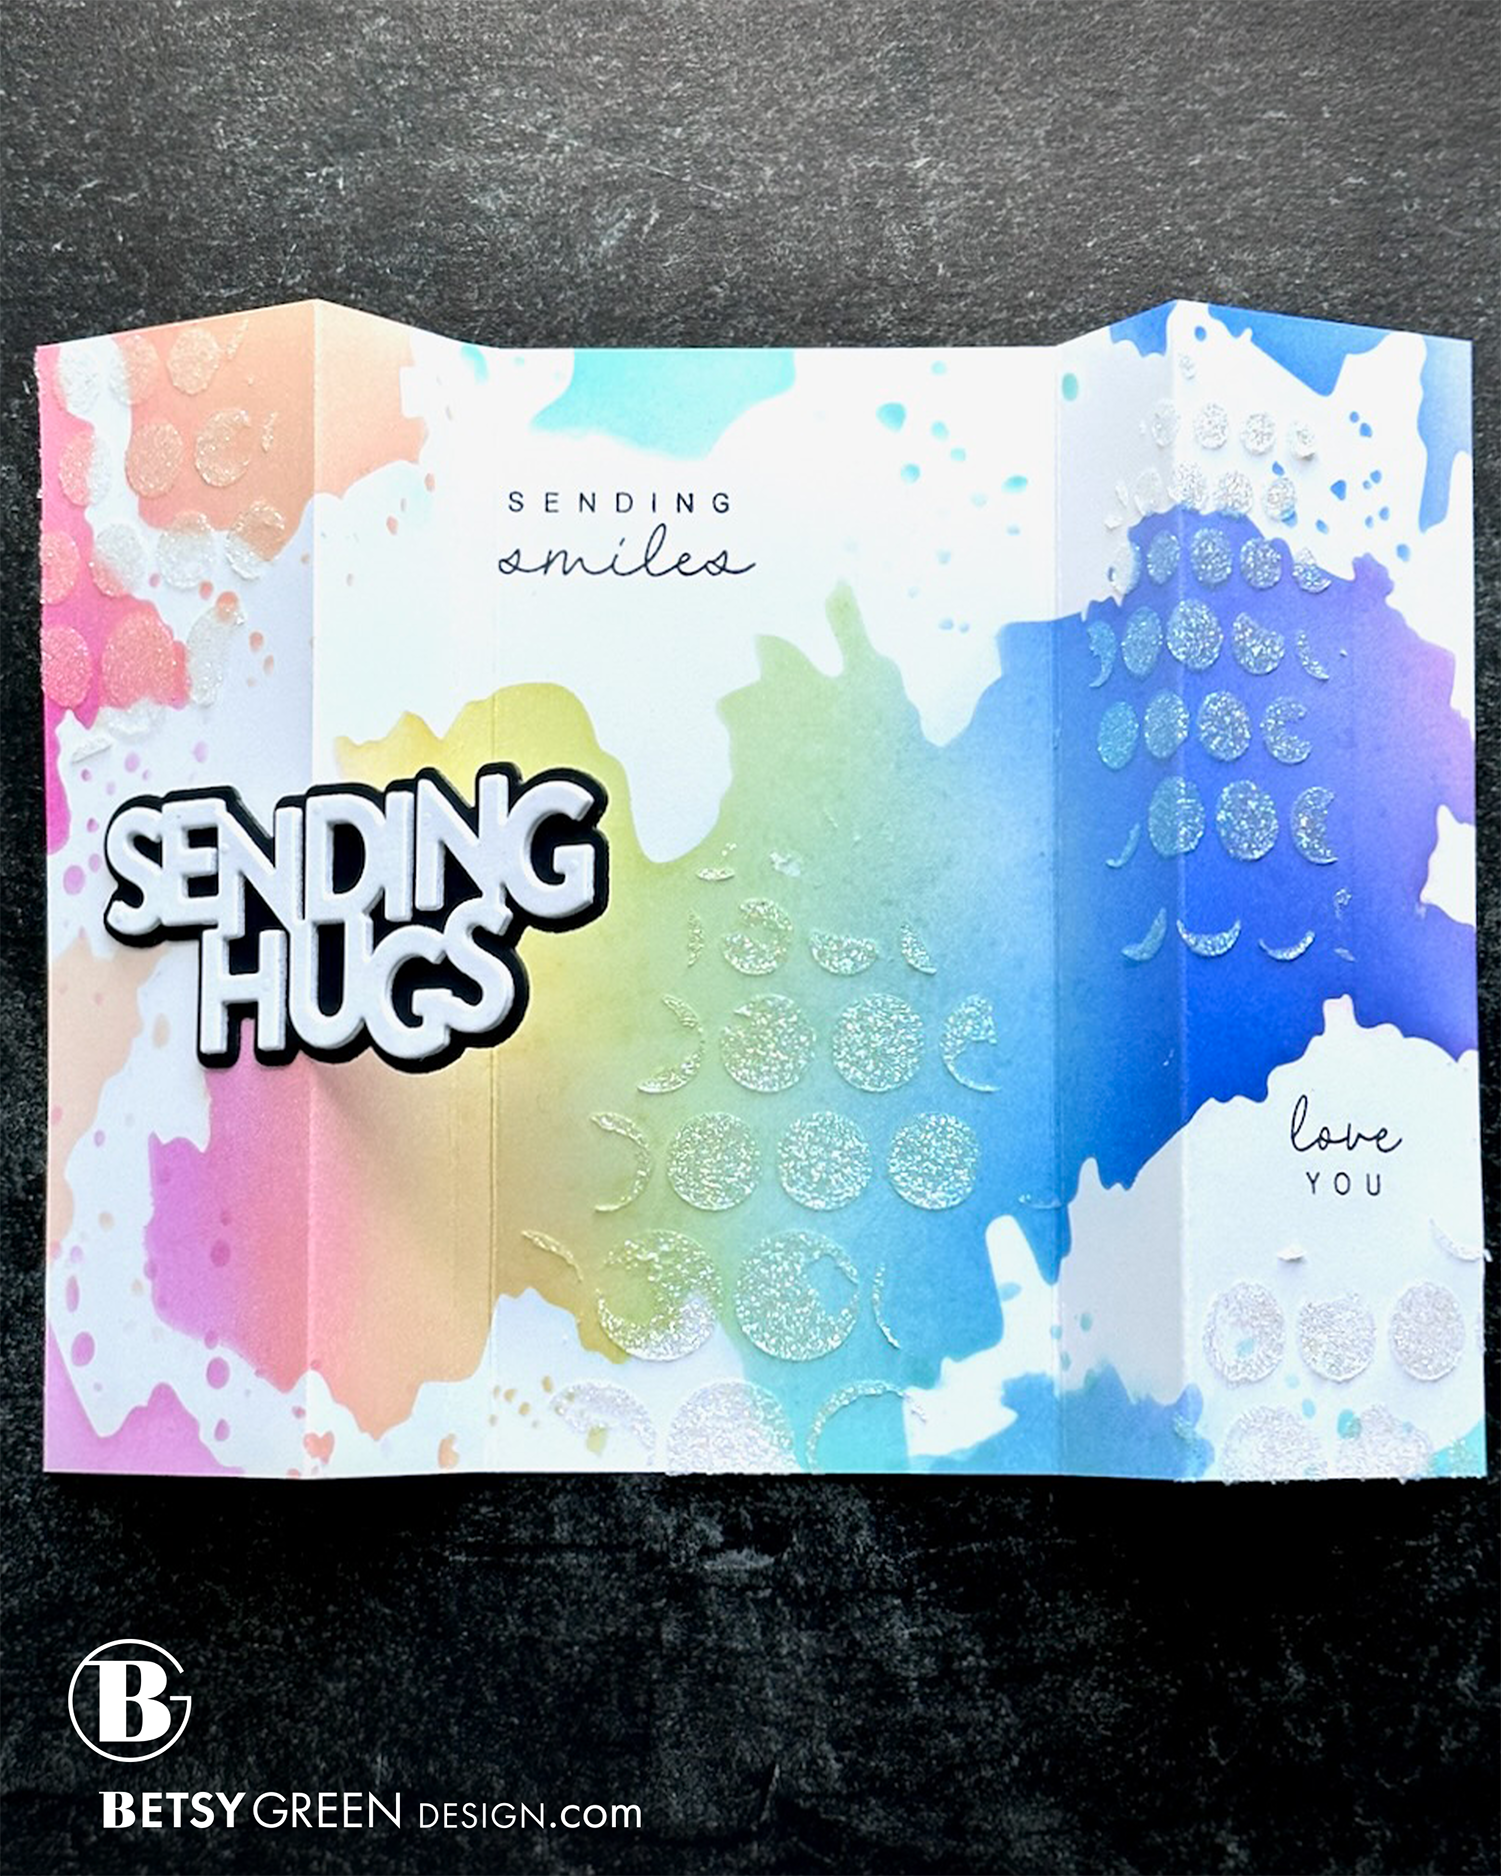
For the rainbow splash card, I wanted the front two flaps to come together to create a card front that was (again) a comfortable width for my greeting. The center panel (which is the back on this card) is more narrow than the blue one so it allowed for greater depth in terms of how 3D it is.
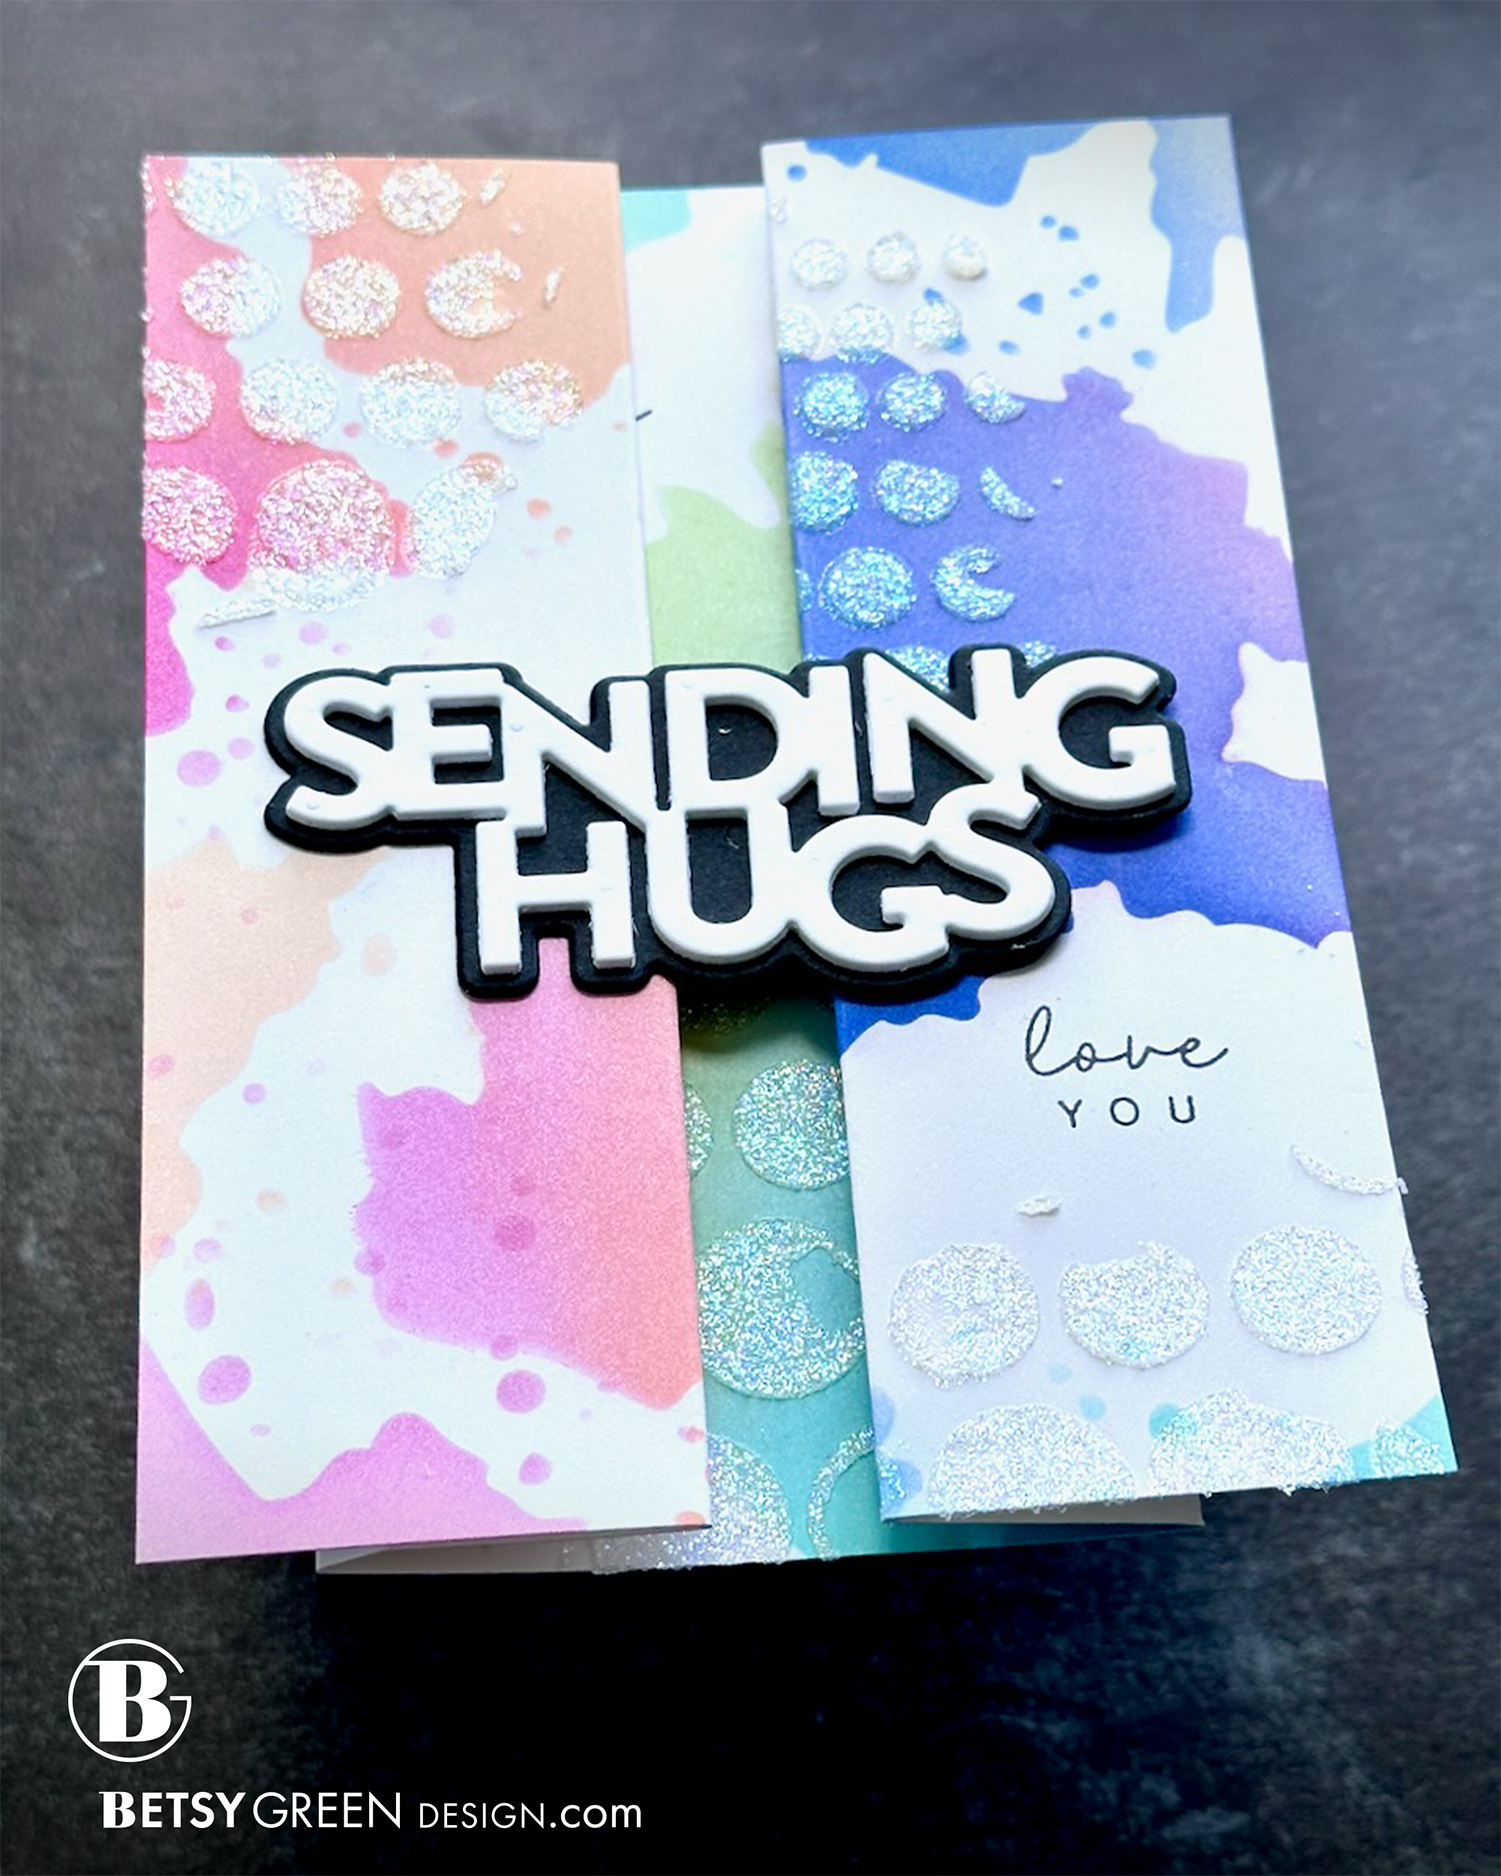
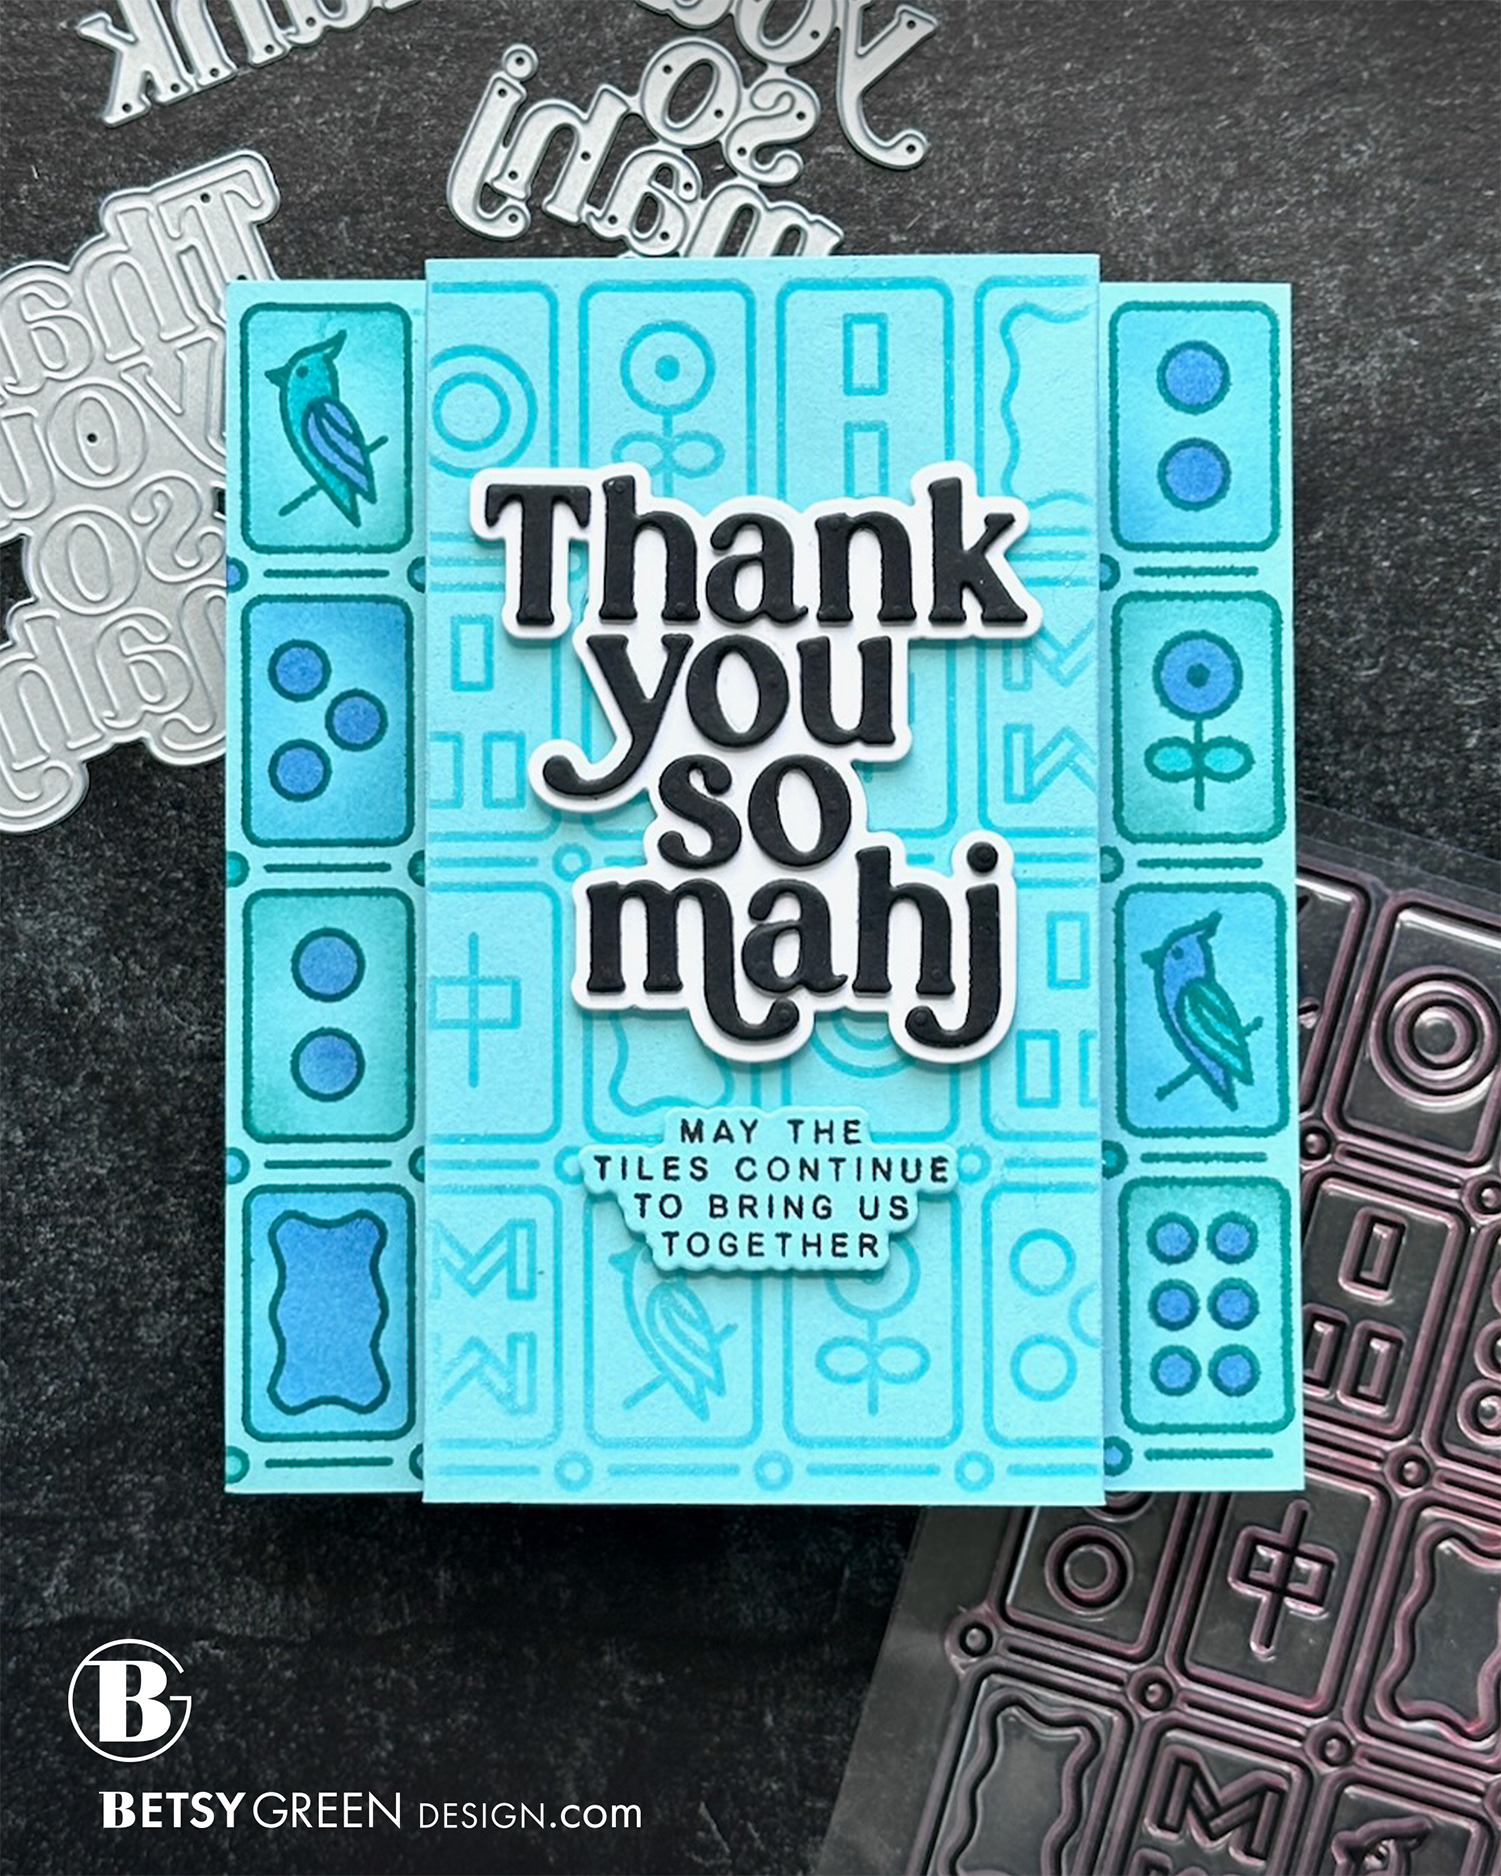
For the blue mahjong card, I wanted only the left and right columns of the background stamp to show at the sides when it was folded. I also wanted to be sure the center (front) was wide enough to comfortably fit my greeting. Because of those sizes, the dimensional pieces are not as long on this card as the other, so it doesn’t stick out as far as the other.
FIND THE DOWNLOADABLE SCORE GUIDES!
Click on the orange card name button to view the score guide for each.
Techniques:
This card looks like a gatefold card from the front, but the sides are both z-folds rather than a standard fold. I consider it a Z-fold Gatefold card. This means that the center panel of the card is recessed, and stays farther back than the sides, even when open.
To download a template with the dimensions and score guide, click on the orange button above that says “Card 1”.
My sequence for creating this card was:
Cut the background panel to the flat size.
Stencil the background panel with the splash stencil (I did it in a rainbow blend).
Score the panel for the folds, and fold it all be sure the folds are creased as needed to be crisp.
Flatten the panel again to stamp the two smaller greetings and then stencil with the paste. (Stamp first so it has time to dry.)
Add the die cut and layered primary greeting on the front.
Techniques:
I consider this to be a Reverse Z-fold Gatefold card. In this version, the center panel is always in the front and the sides tuck in behind it when folded. By varying the dimensions, you can control how much or how little of the sides show when folded.
To download a template with the dimensions and score guide, click on the orange button above that says “Card 2”.
My sequence for creating this card was:
Cut the background panel to the flat size.
This time I scored the card first, because I wanted to be very precise about how my stamping aligned with the panels.
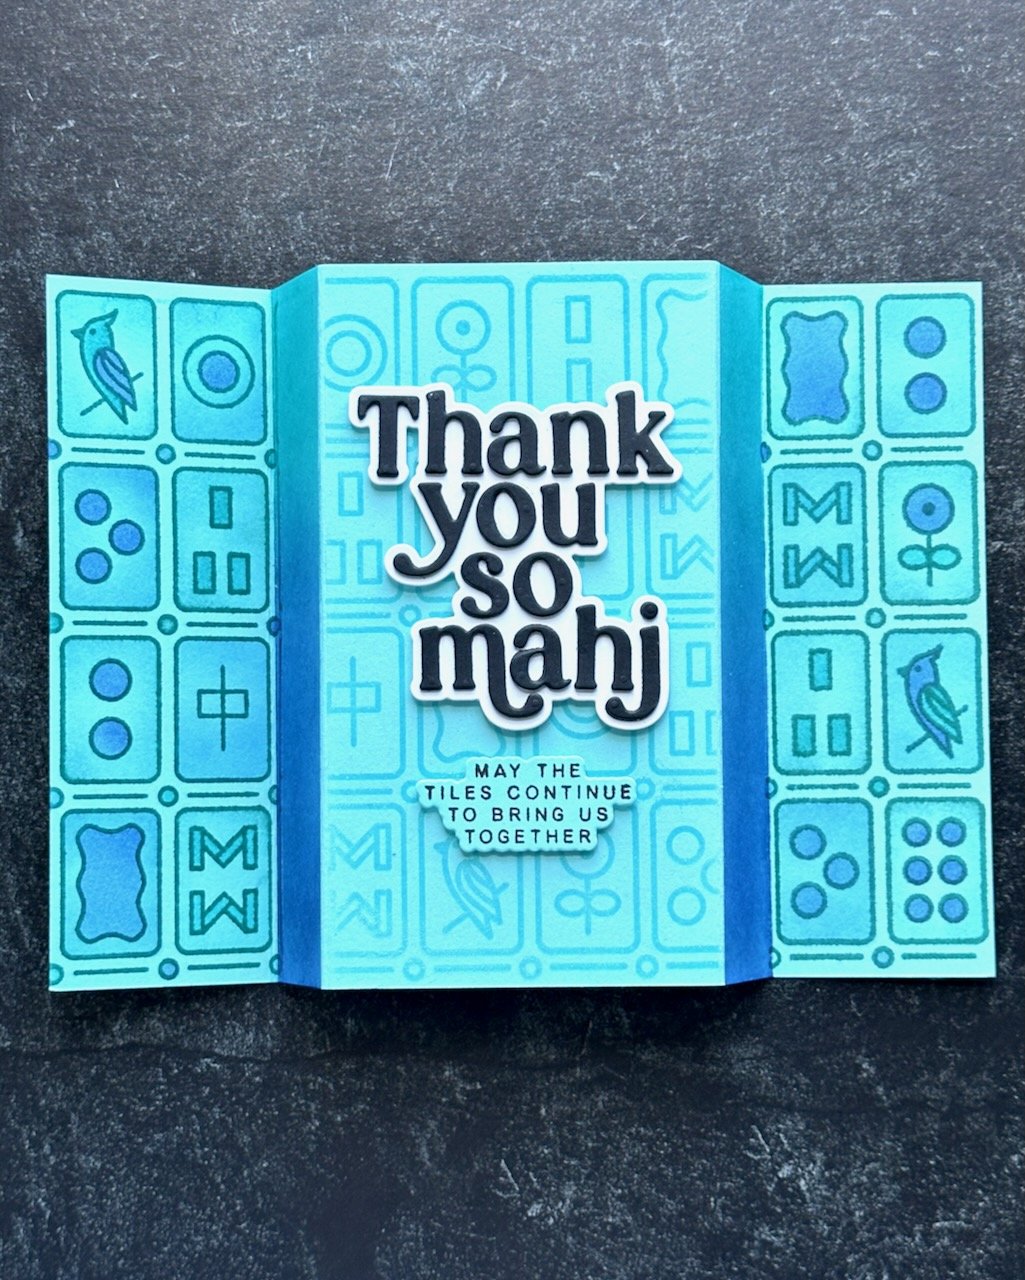
Before stamping, mask off the small panels in between the front panel and the two sides. You can see in the image at right that these are the panels that do not have the mahjong pattern.) These are the panels that create the dimension and movement.
Move the masking strips to mask off the areas on either side of those two small dimensional panels. I chose to ink blend them, knowing that a slightly darker color would add to the dimensional effect, and I wanted color there, but not something that would be too busy with the other pattern.
Add stenciling to the stamped pattern on the two outer (back) panels only.
Fold it all, making sure the folds are creased as needed.
Add the die cut and layered main greeting and the stamped and die cut secondary greeting to the front with foam tape.
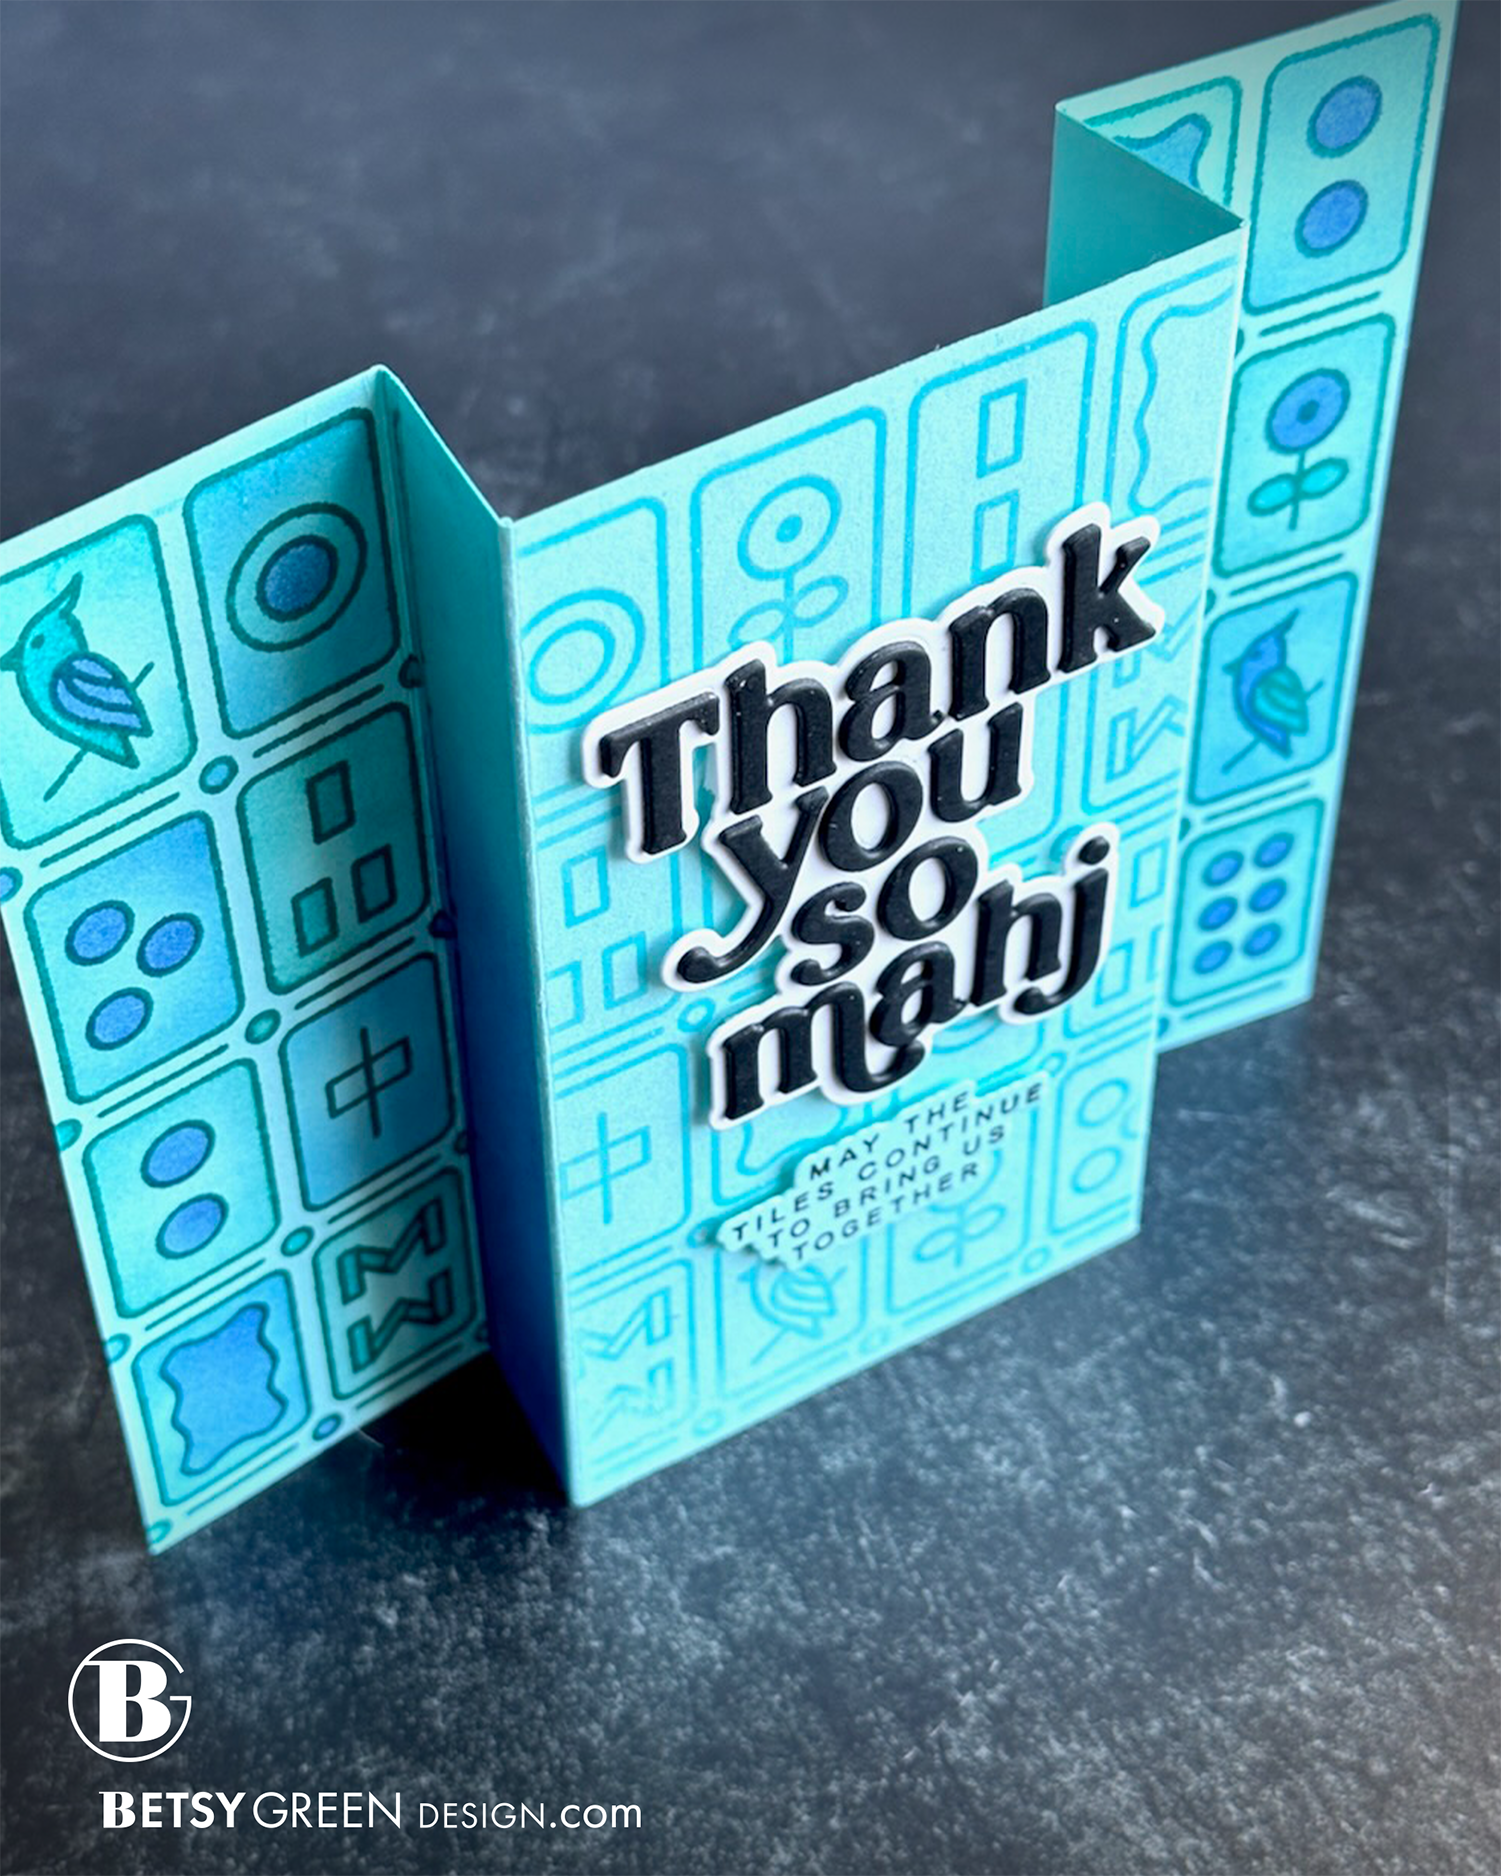
Both cards use the same kind of z-fold gatefold scoring, but the direction you fold the panels in makes the difference about what parts you see on the front and what is behind. The different dimensions can vary depending on what you want to see, what you want to see behind, and what size you want the folded card to be. The two sizes I show here are simply two variations, and I’ve done many others.
Did you find the scoring templates? Click on orange card name buttons above to download.
Links are below if you’re interested in any of the products I used.

*Affiliate links do not cost you any more when you shop, but it is beneficial to creators when you use them, so thanks in advance!