
Featuring Beary Sweet Holiday, from Carly Tee and Hero Arts
Super-sweet Carly Tee invited me to make some cards for her second release with Hero Arts, so of course I said yes! I already had her full first release, and am excited to mix in the new holiday themed things with it.
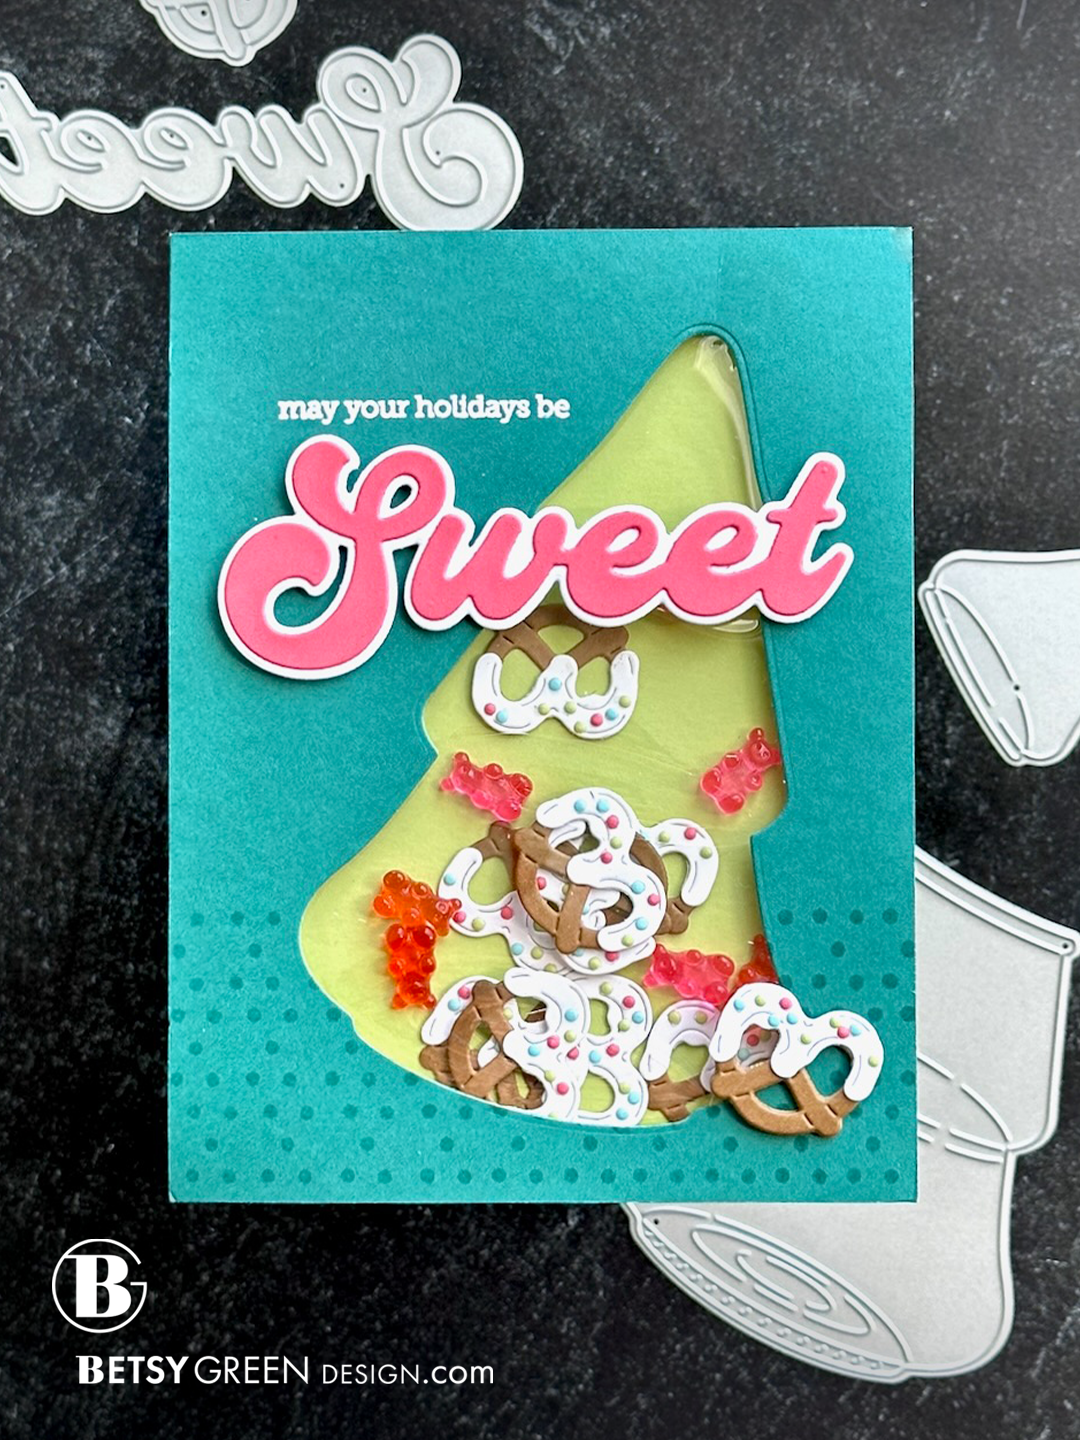
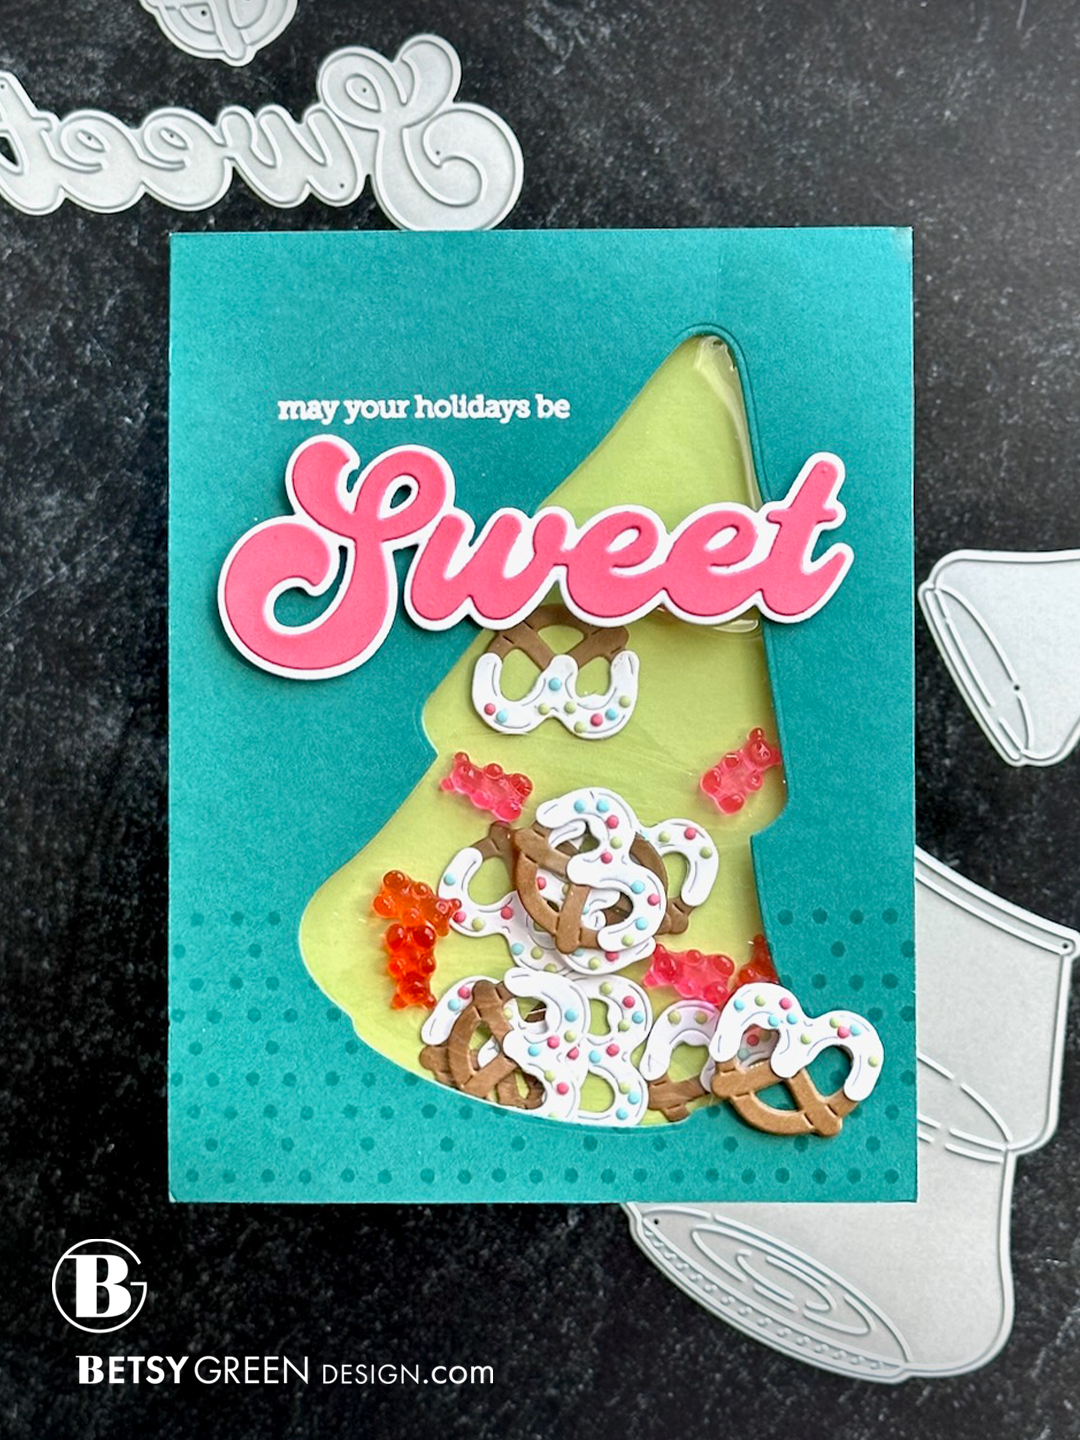
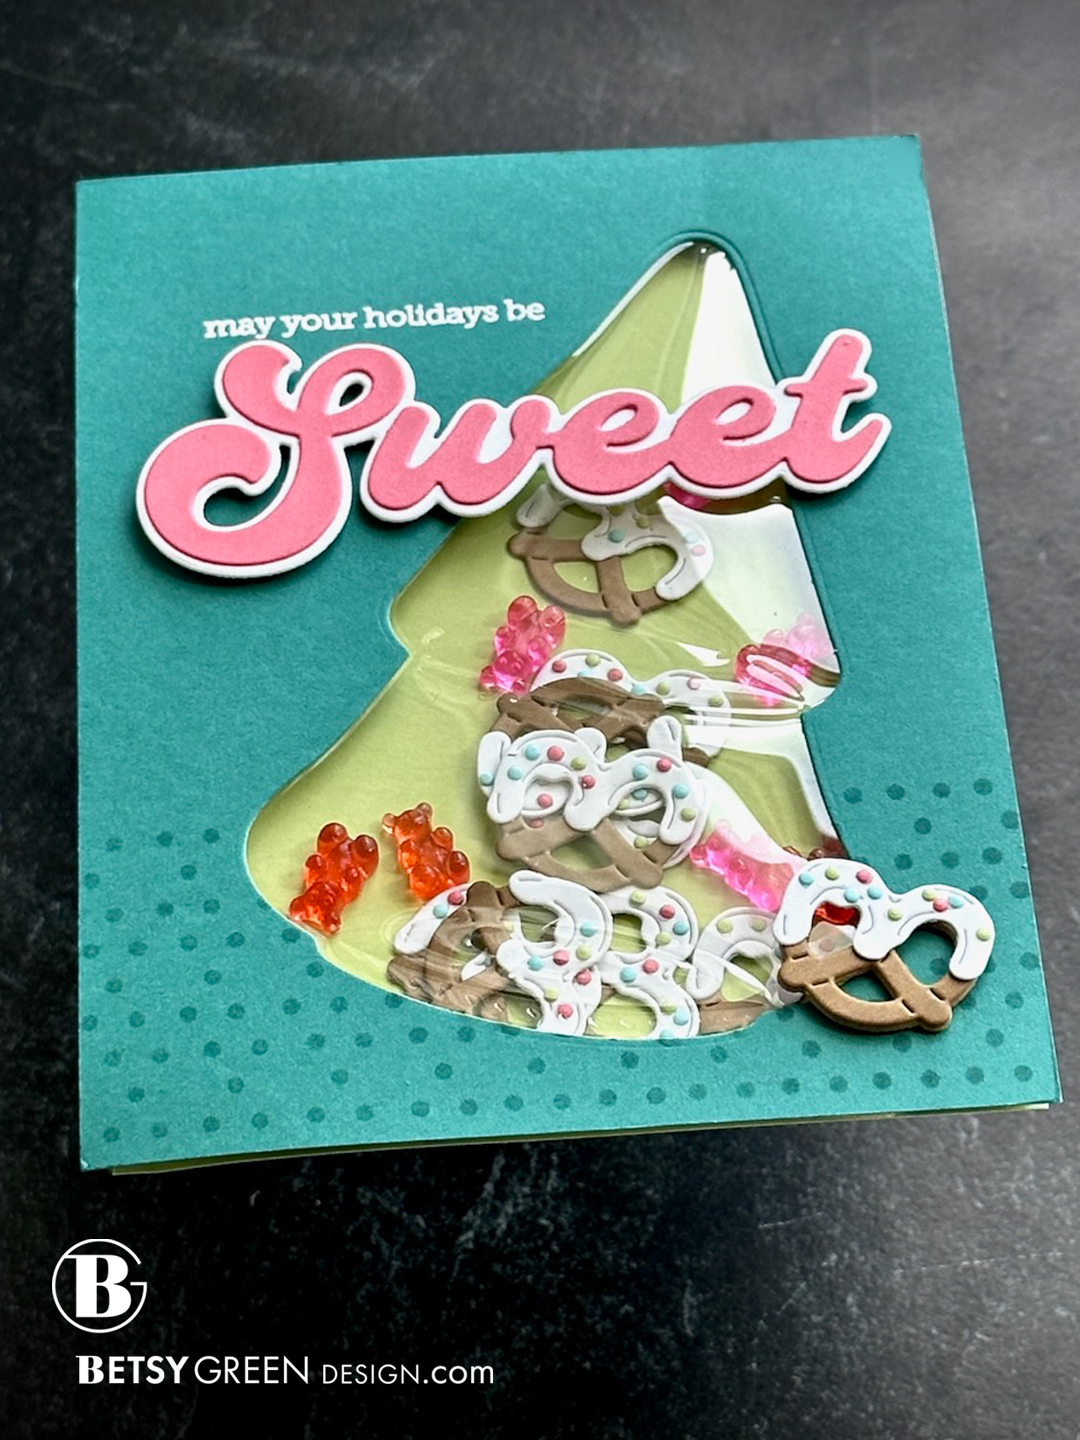
It is a super sweet add-on to the original release from earlier this year. I have another friend who likes the little white chocolate covered pretzels like I do, and these dies are so adorable that I had to start with those. There are even dies that cut out lots of little sprinkles! I mixed them with some of the Holiday Tiny Bears in the Christmas Tree Jar for some shaker fun. I debossed the jar dies into acetate for my shaker window so it has a little bit of that dimensional detail. I also found a stamp in the Candy Wrappers set that was perfect for a step and repeat pattern on the card front that ties in perfectly with the little dot sprinkles.
Products Used:
• Christmas Tree Candy Jar die set
• Candy Wrappers stamps
• Sweet Wishes Stamp & Cut bundle
• Tiny Bears Holiday Edition
Techniques:
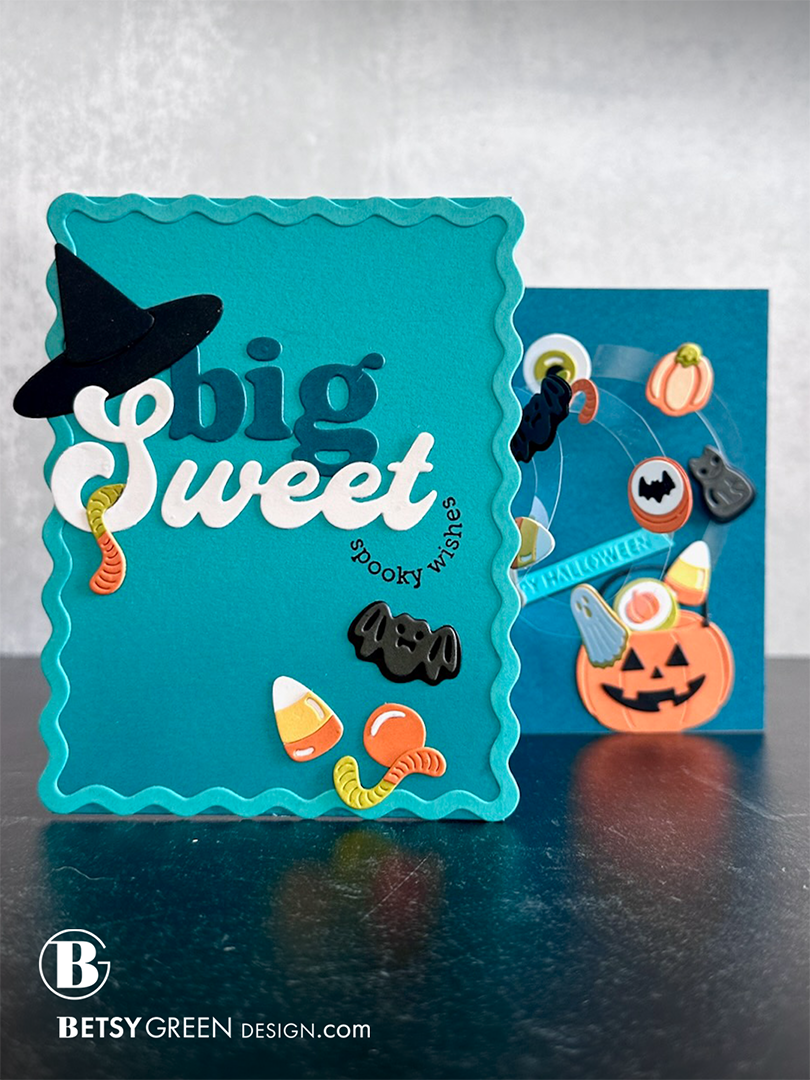
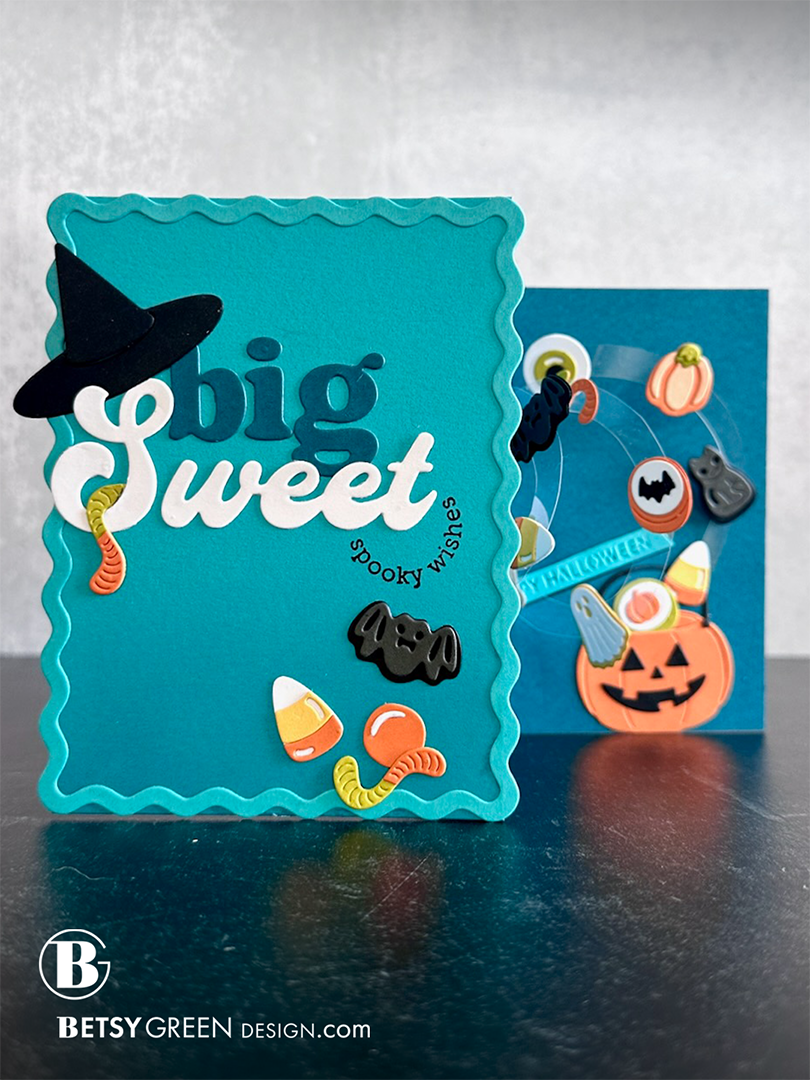
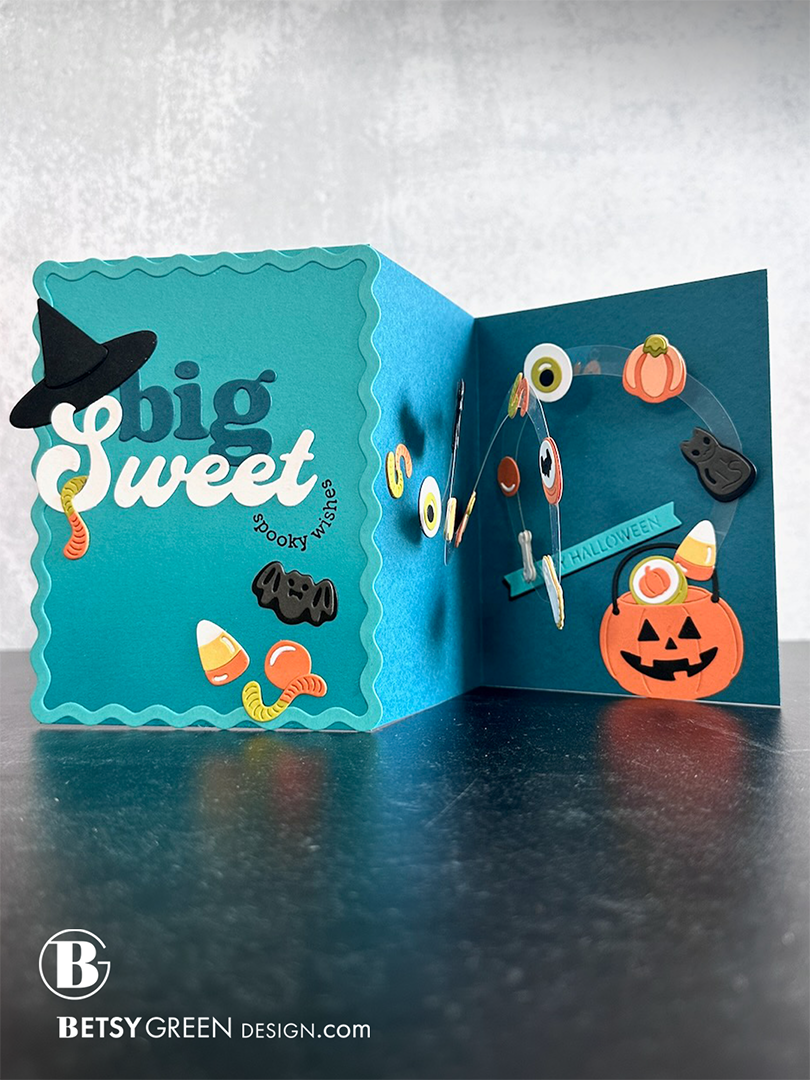
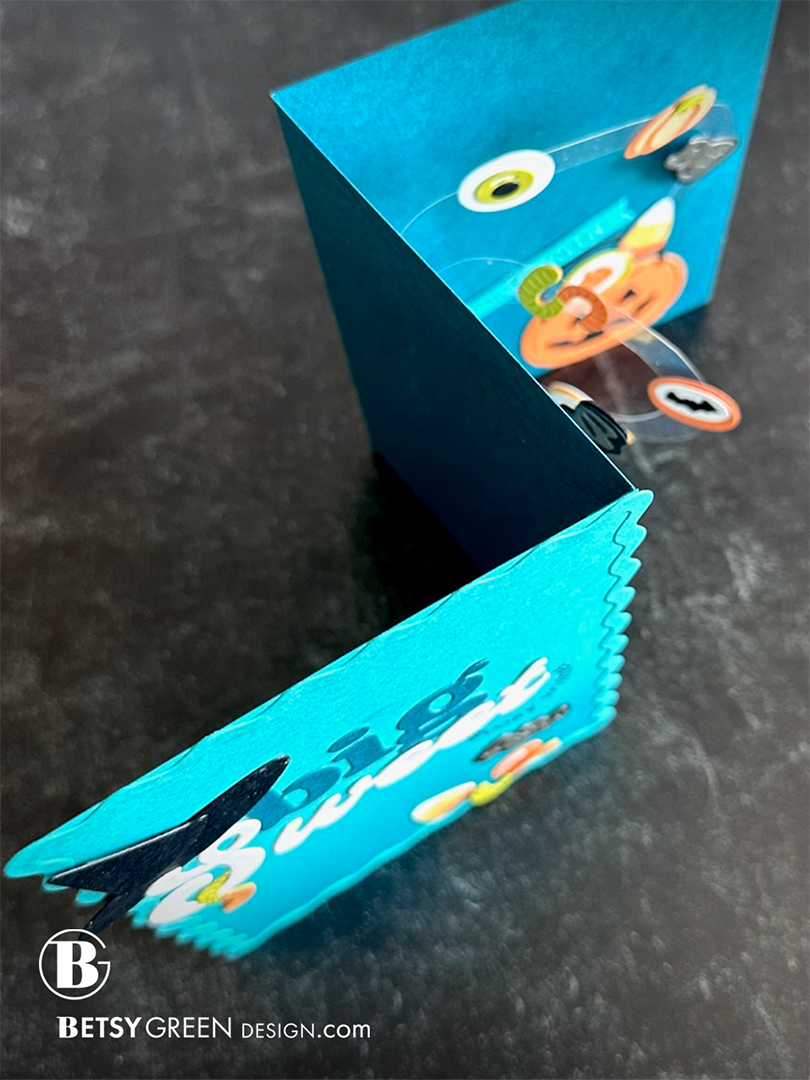
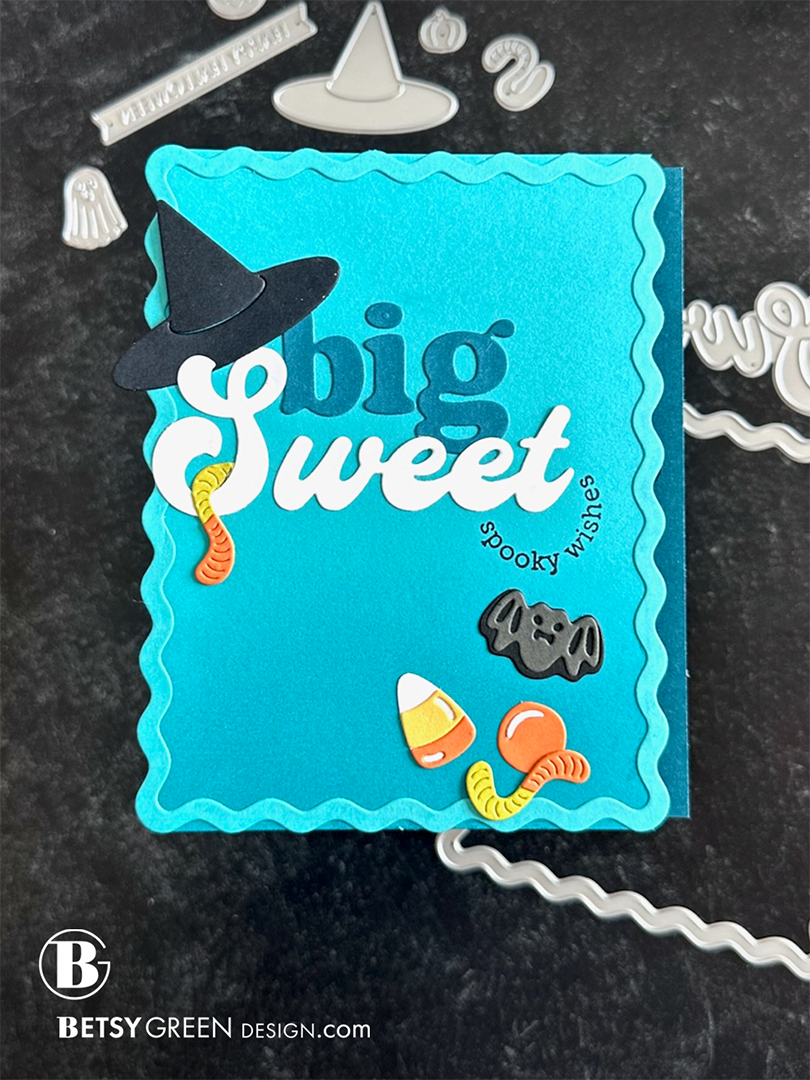
This is another interactive card, with a fun candy spiral surprise inside. I built it on a z-fold card base, which you can see in some of the pictures. Adding the fun squiggly frame at the top adds interest, and fits right in with the cute candy theme.
I added just a sprinkling of a few candies on the front to hint at what’s inside. (My favorite is the gummy worm hanging from the “S”.)
Inside is an acetate spiral that I attached to both inside panels and added the candies to. You can see videos from Carly and Jennifer for tips on making that.
Adding the little pumpkin treat bucket at the end gives it a feel of the candies flowing in. Especially when creating interactive cards, I often have a story in my head about what is happening and why, which gives it more meaning and adds to how fun and engaging it is for the recipient.
Products Used:
Sweet Wishes Stamp & Cut bundle
Bear Hugs Holiday Accessories die set
Candy Kebob die set
Candy Kebob Halloween Add-On die set
Big Hugs die set
Penny Candy Jar die set
Squiggly Rectangle Frames die set
Techniques:
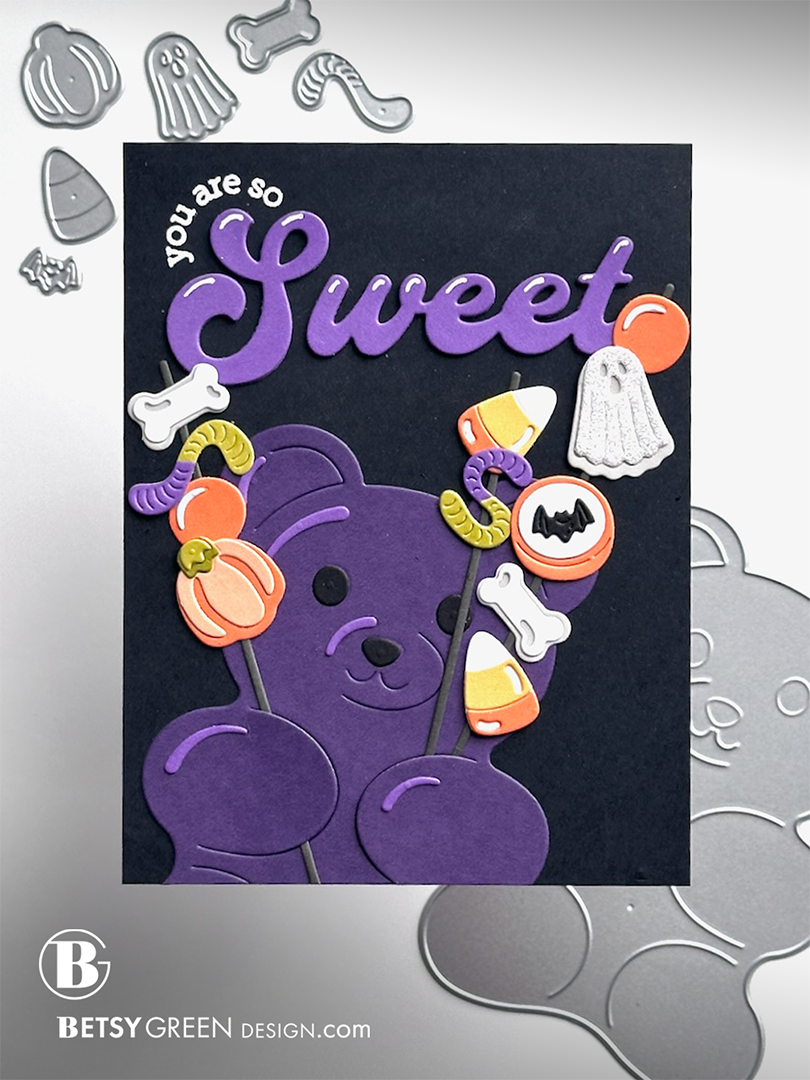
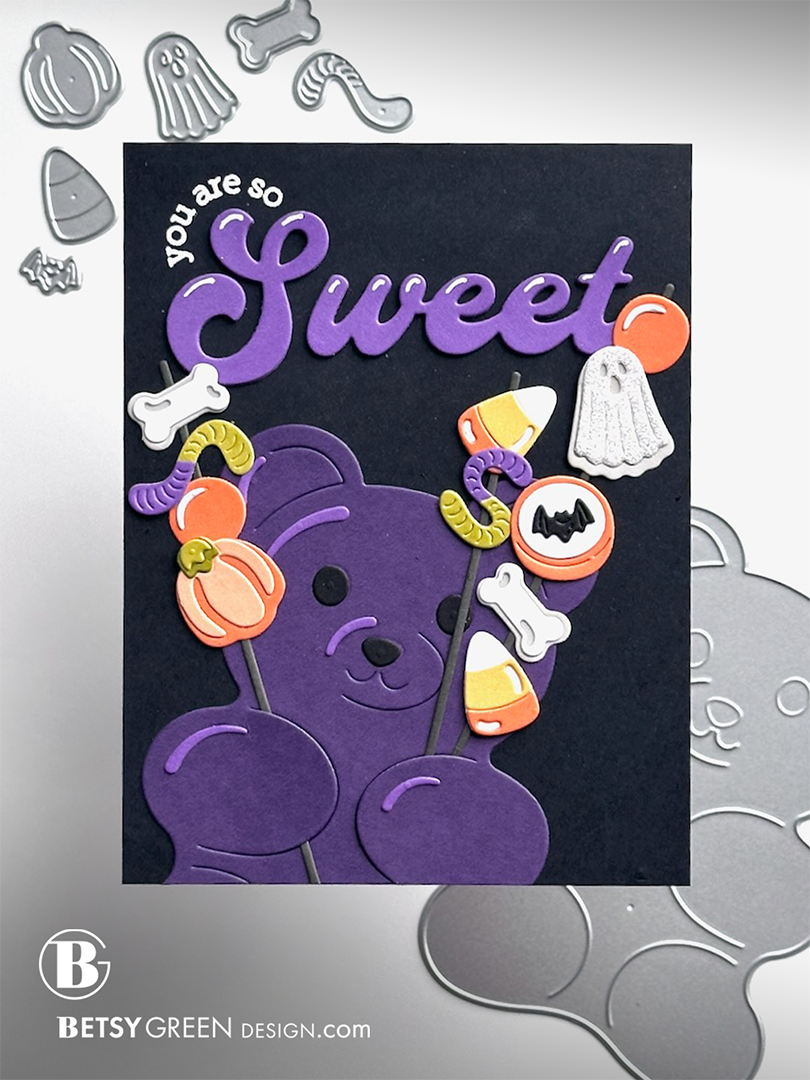
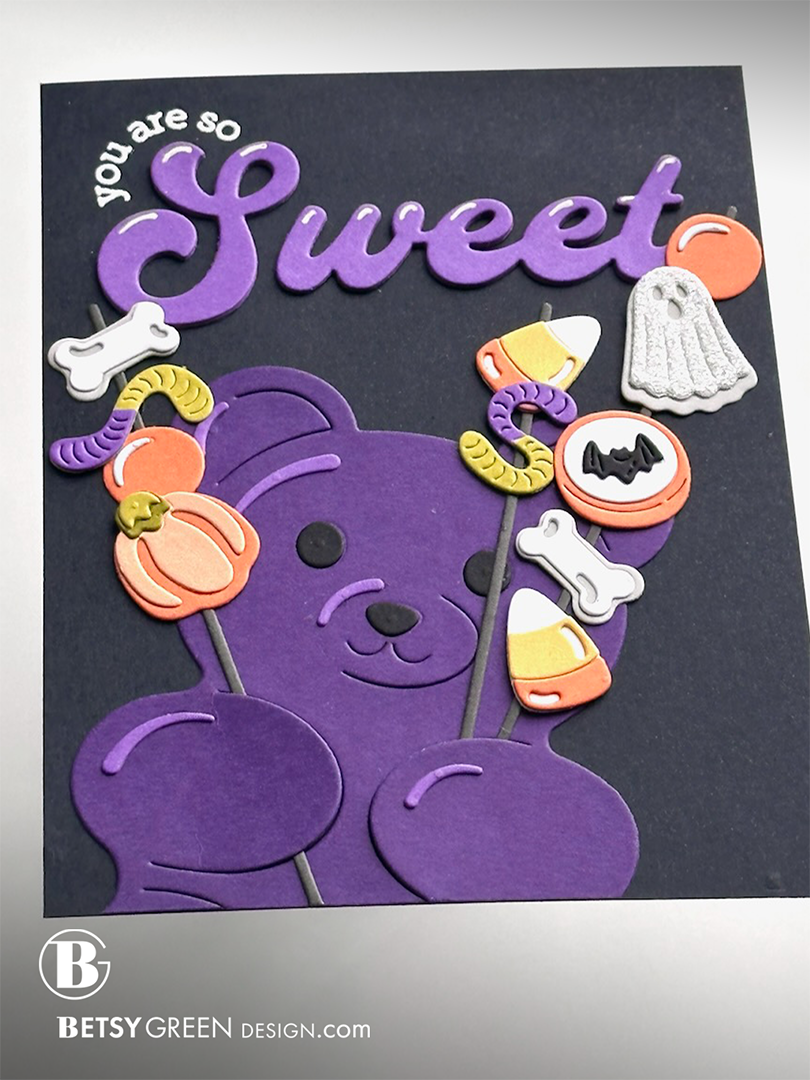
In contrast to the previous two cards shared on this post, this one is a more standard flat card. I wanted to use the big bear from Carly’s first release, so I brought him in at a fun angle and gave him some Halloween treat candy kebobs.
I used a limited color palette to lean in to the Halloween theme. It also helps with so many pieces and elements to have a smaller color palette like this to keep it from getting busy.
Keeping the bear out of a darker color with less contrast to the black background keeps the focus on the fun candies.
Products Used:
Sweet Wishes Stamp & Cut bundle
Bear Hugs die set
Candy Kebob die set
Candy Kebob Halloween Add-On die set
Penny Candy Jar die set
Techniques:
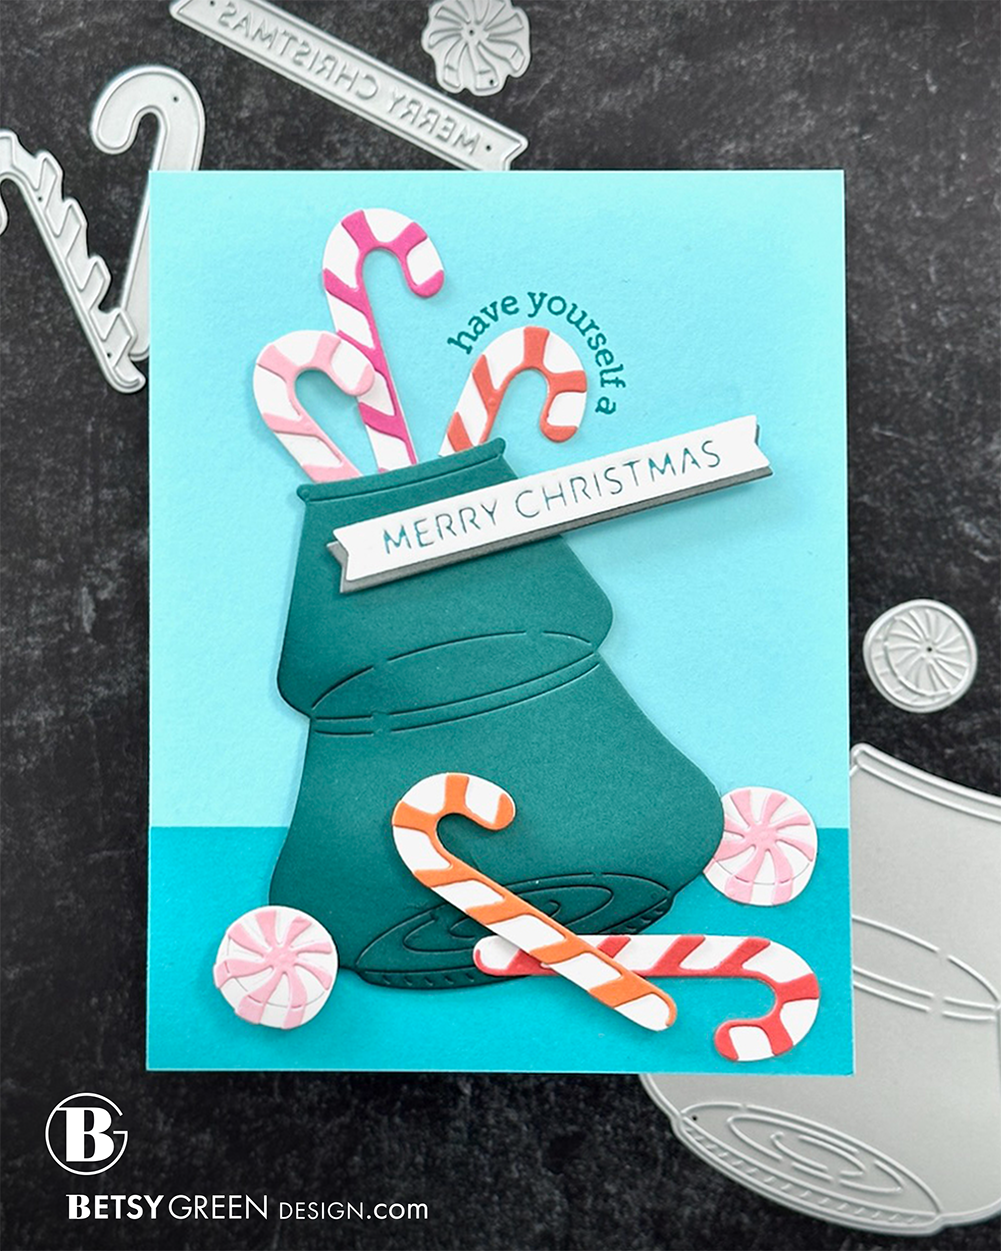
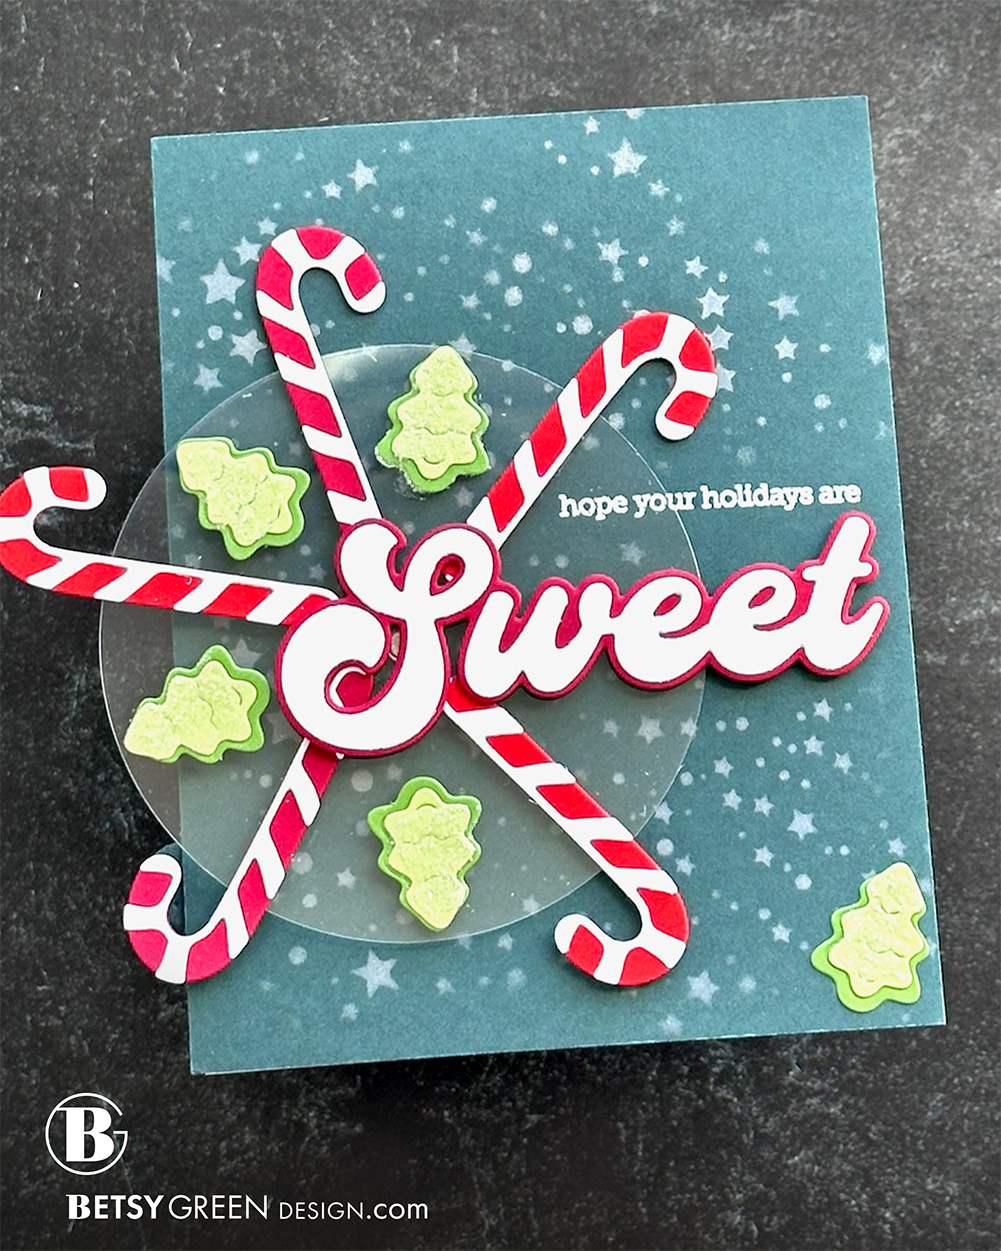
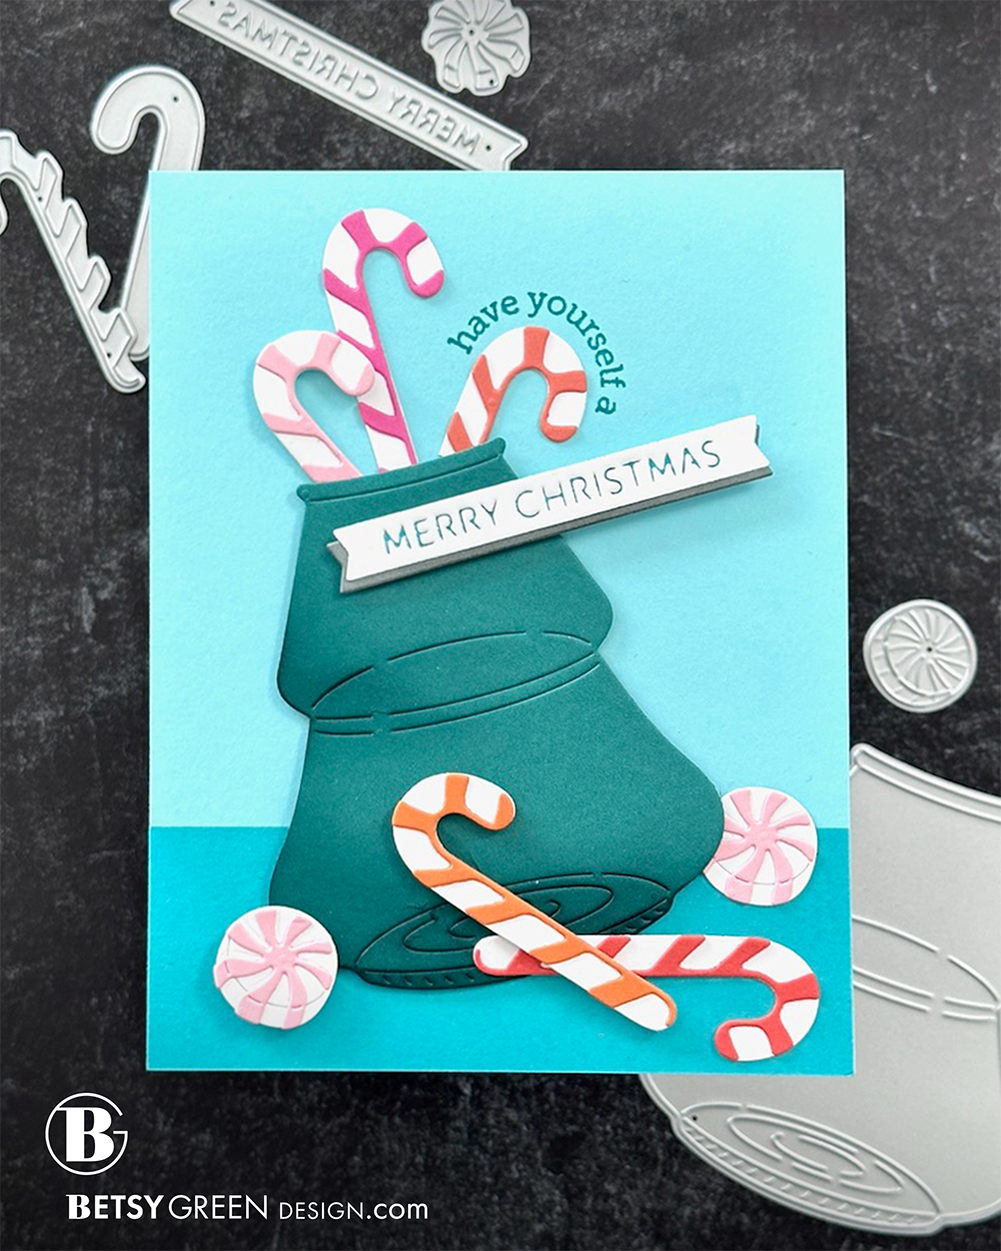
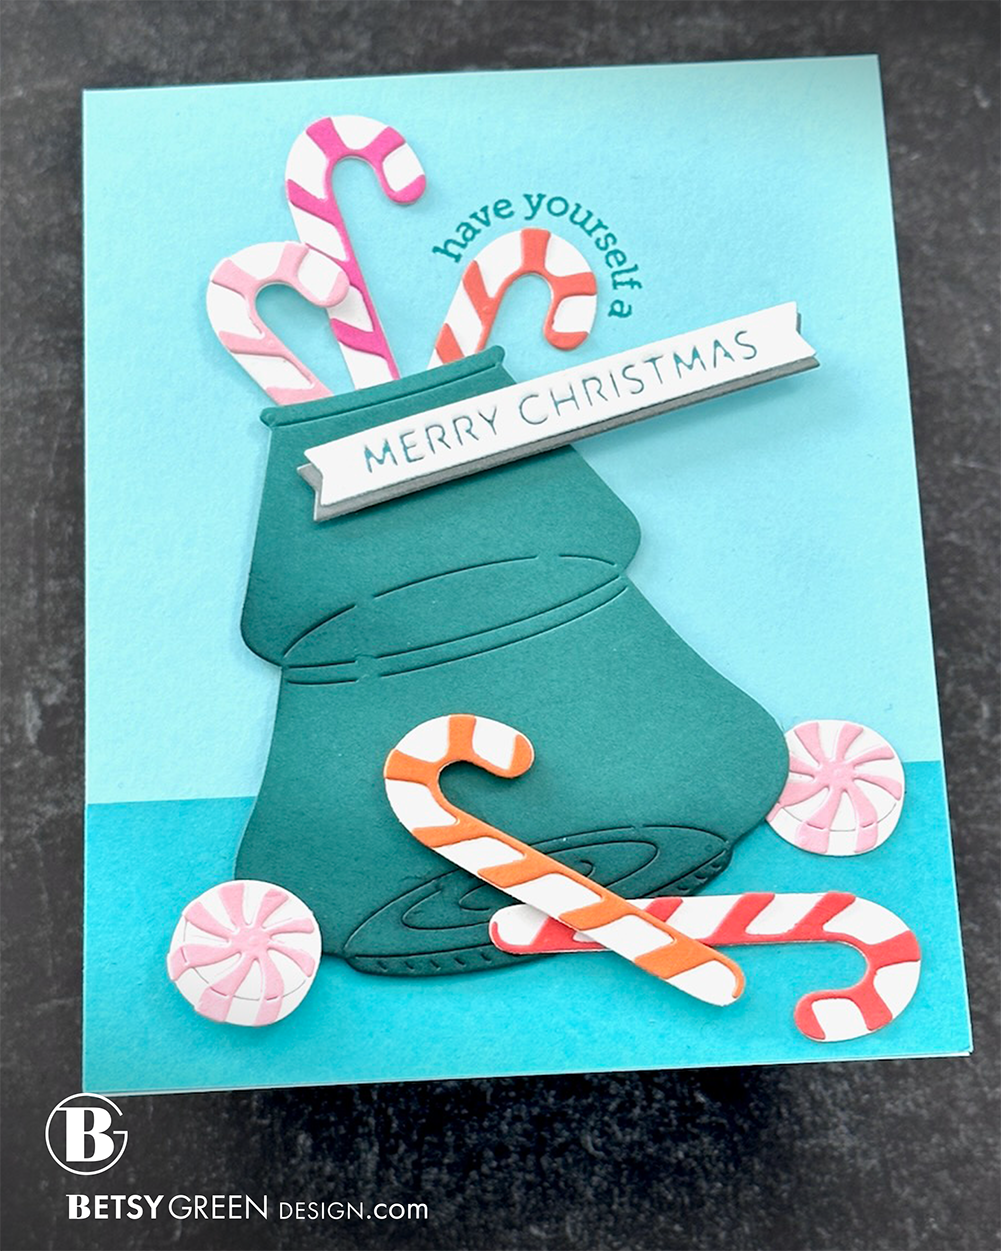
This vintage Christmas tree candy jar is filled to overflowing with colorful little candy canes. (In my mind they are a fun collection of fruity flavors to go with the colors, and I do wish they were real.) I picked a selection of warm bright colors for them to layer on the white base.
I love how the curved sentiment stamps are easy to wrap about the candies - or candy canes, so I did that with one of them.
After I die cut the Merry Christmas banner out of white, I inked up the words on the die with teal ink (as if it was a press plate or something) and re-ran it through again with the die. It added just enough color for some extra definition and contrast.
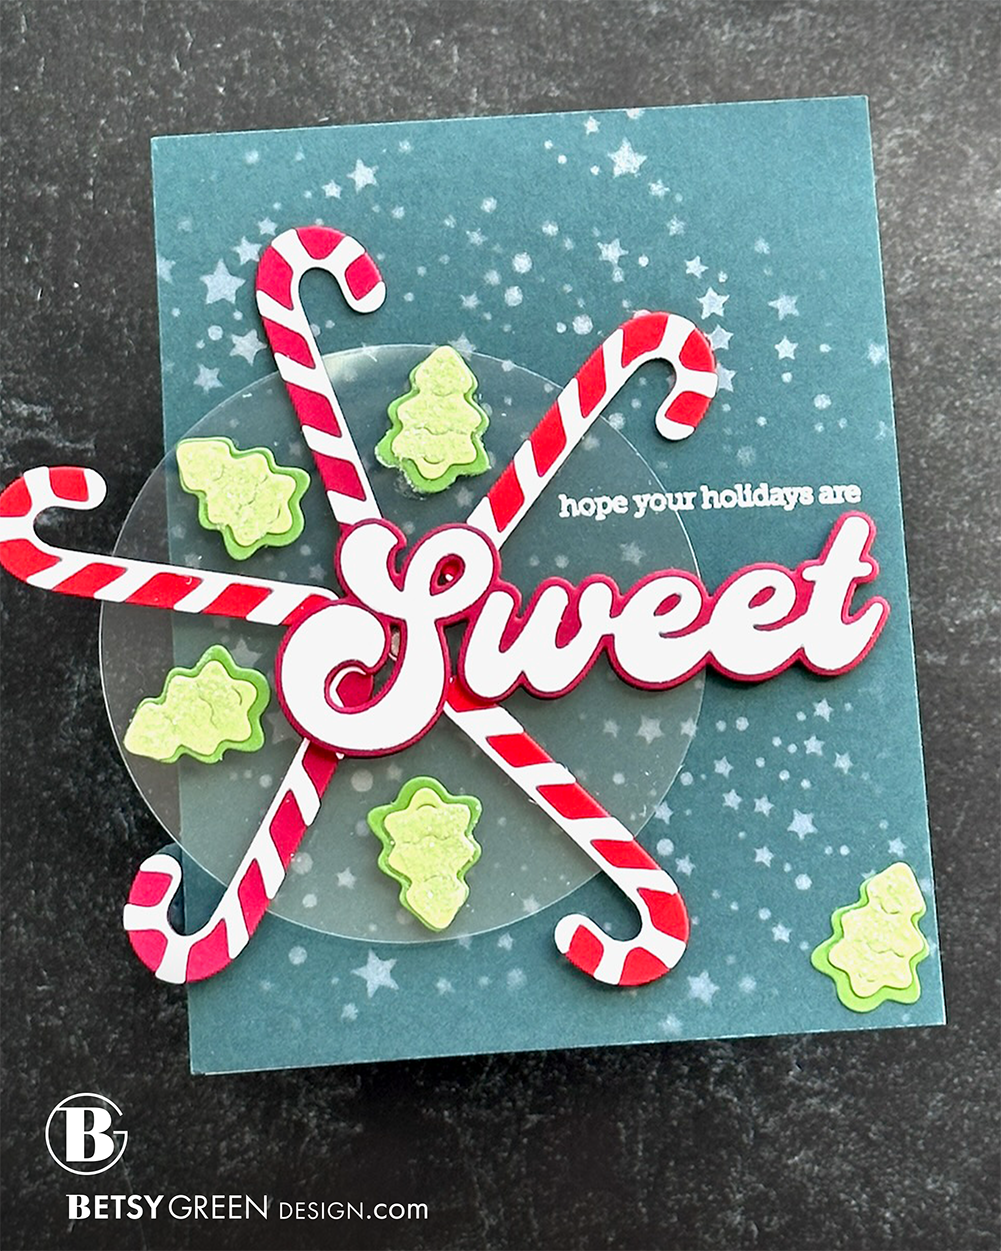
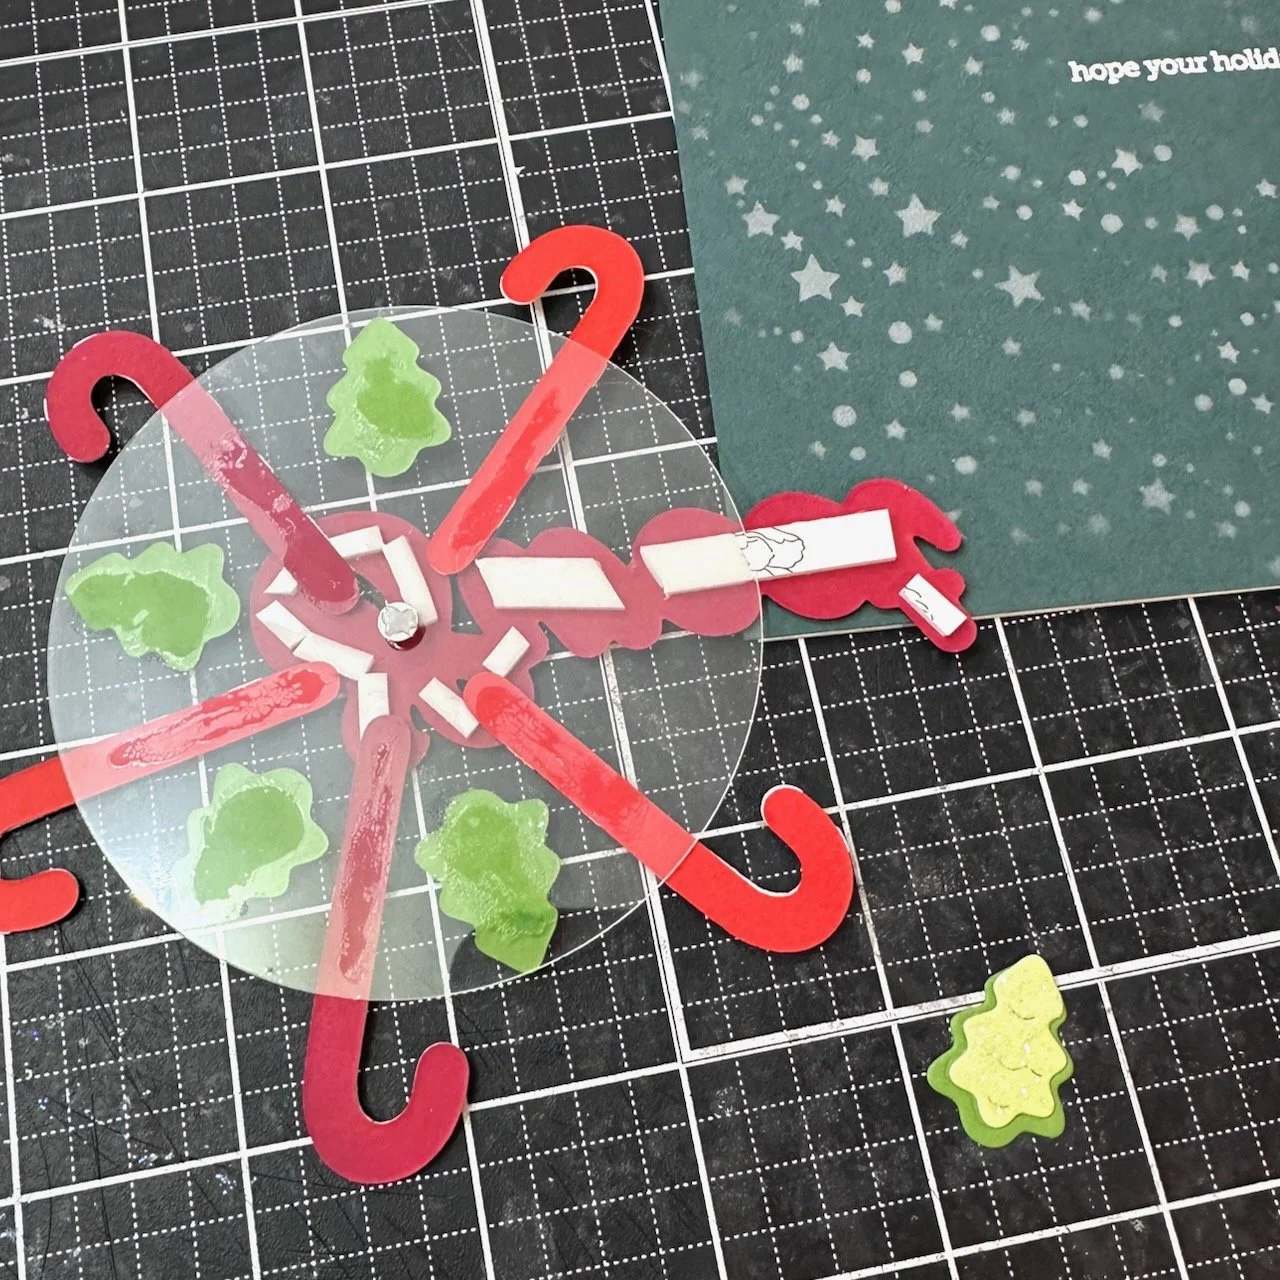
I thought that if I used multiple candies and mixed in the candy canes and trees I could make a fun snowflake, but then decided to turn it into a spinner.
I cut an acetate circle that fit most of the candy. (I wanted to let the candy canes hang off.) I glued the candy to the front and a little spinner to the back.
Since I had already put foam tape on the back of my sentiment before I decided to make it a spinner, I just left it and peeled off the adhesive backing only where it needed to stick to the acetate.
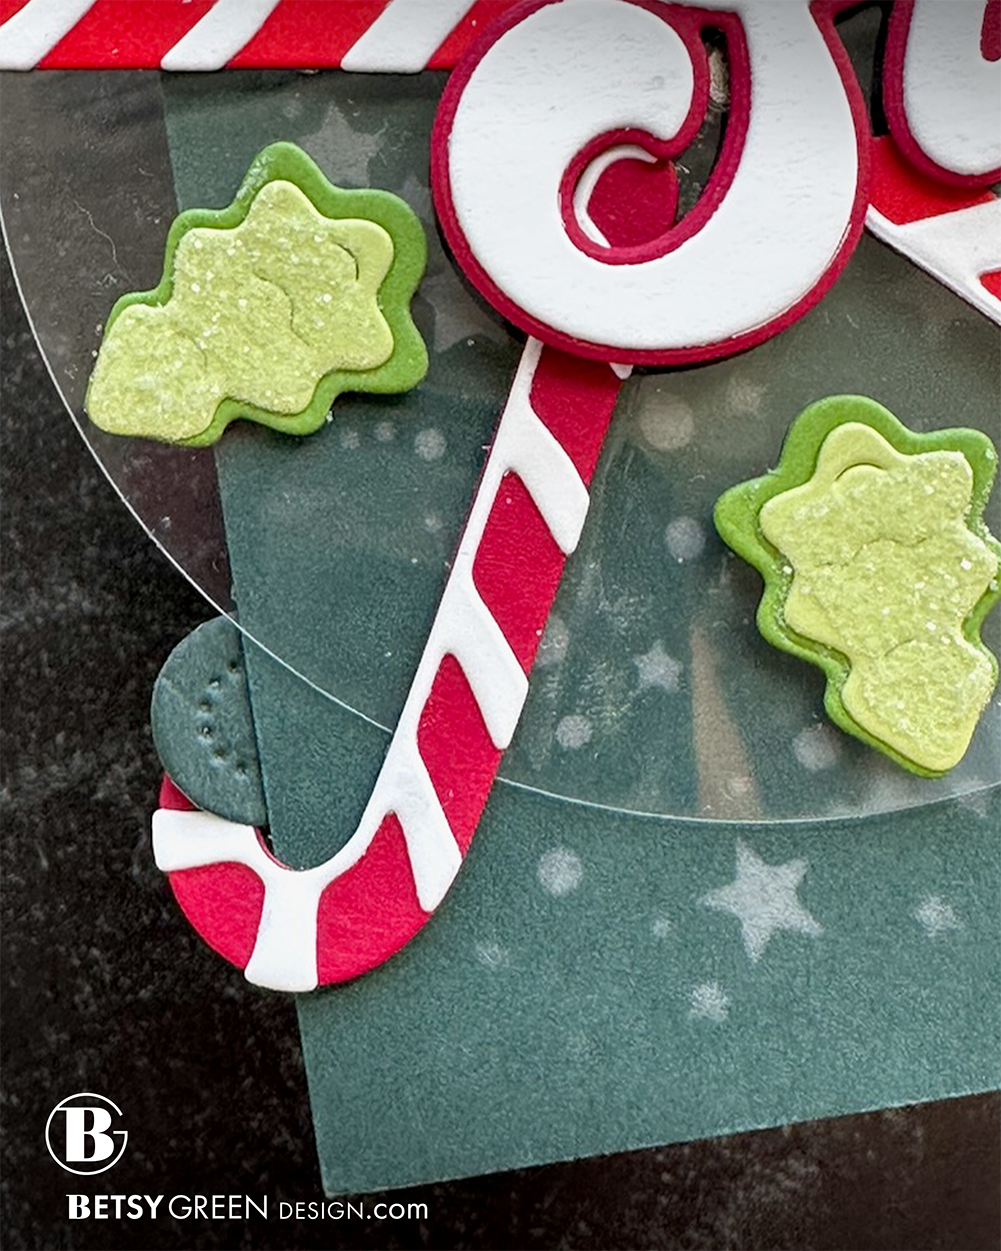
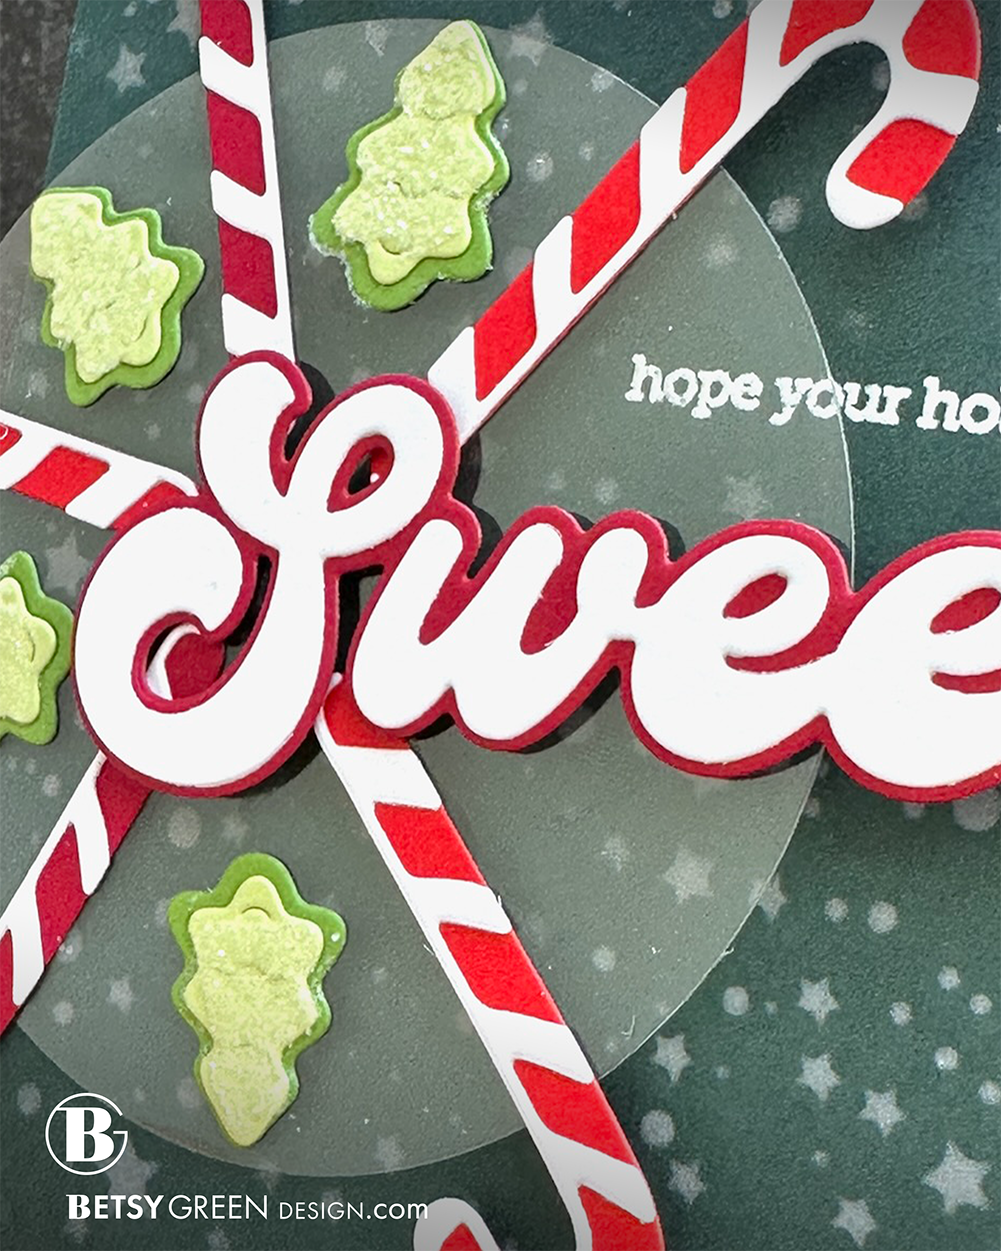
The tree candies look sugared, thanks to glue and Rock Candy glitter.
The secondary greeting is heat embossed on the background in white, and I stenciled a silver starry pattern on the background using the Star Cluster Stencil from Hero Arts.
I realized I wanted to control the placement of the spinning circle when the card was standing up, so I added a small tab on the side that’s the same cardstock as the background. One of the candy canes can hook on it to hold the position so the sentiments line up nicely. (See the first picture below.)
Thank you for visiting! I hope you get some time to create something soon.
Links are below if you’re interested in any of the products I used.

*Affiliate links do not cost you any more when you shop, but it is beneficial to creators when you use them, so thanks in advance!