Die Cuts + Fold Inspiration
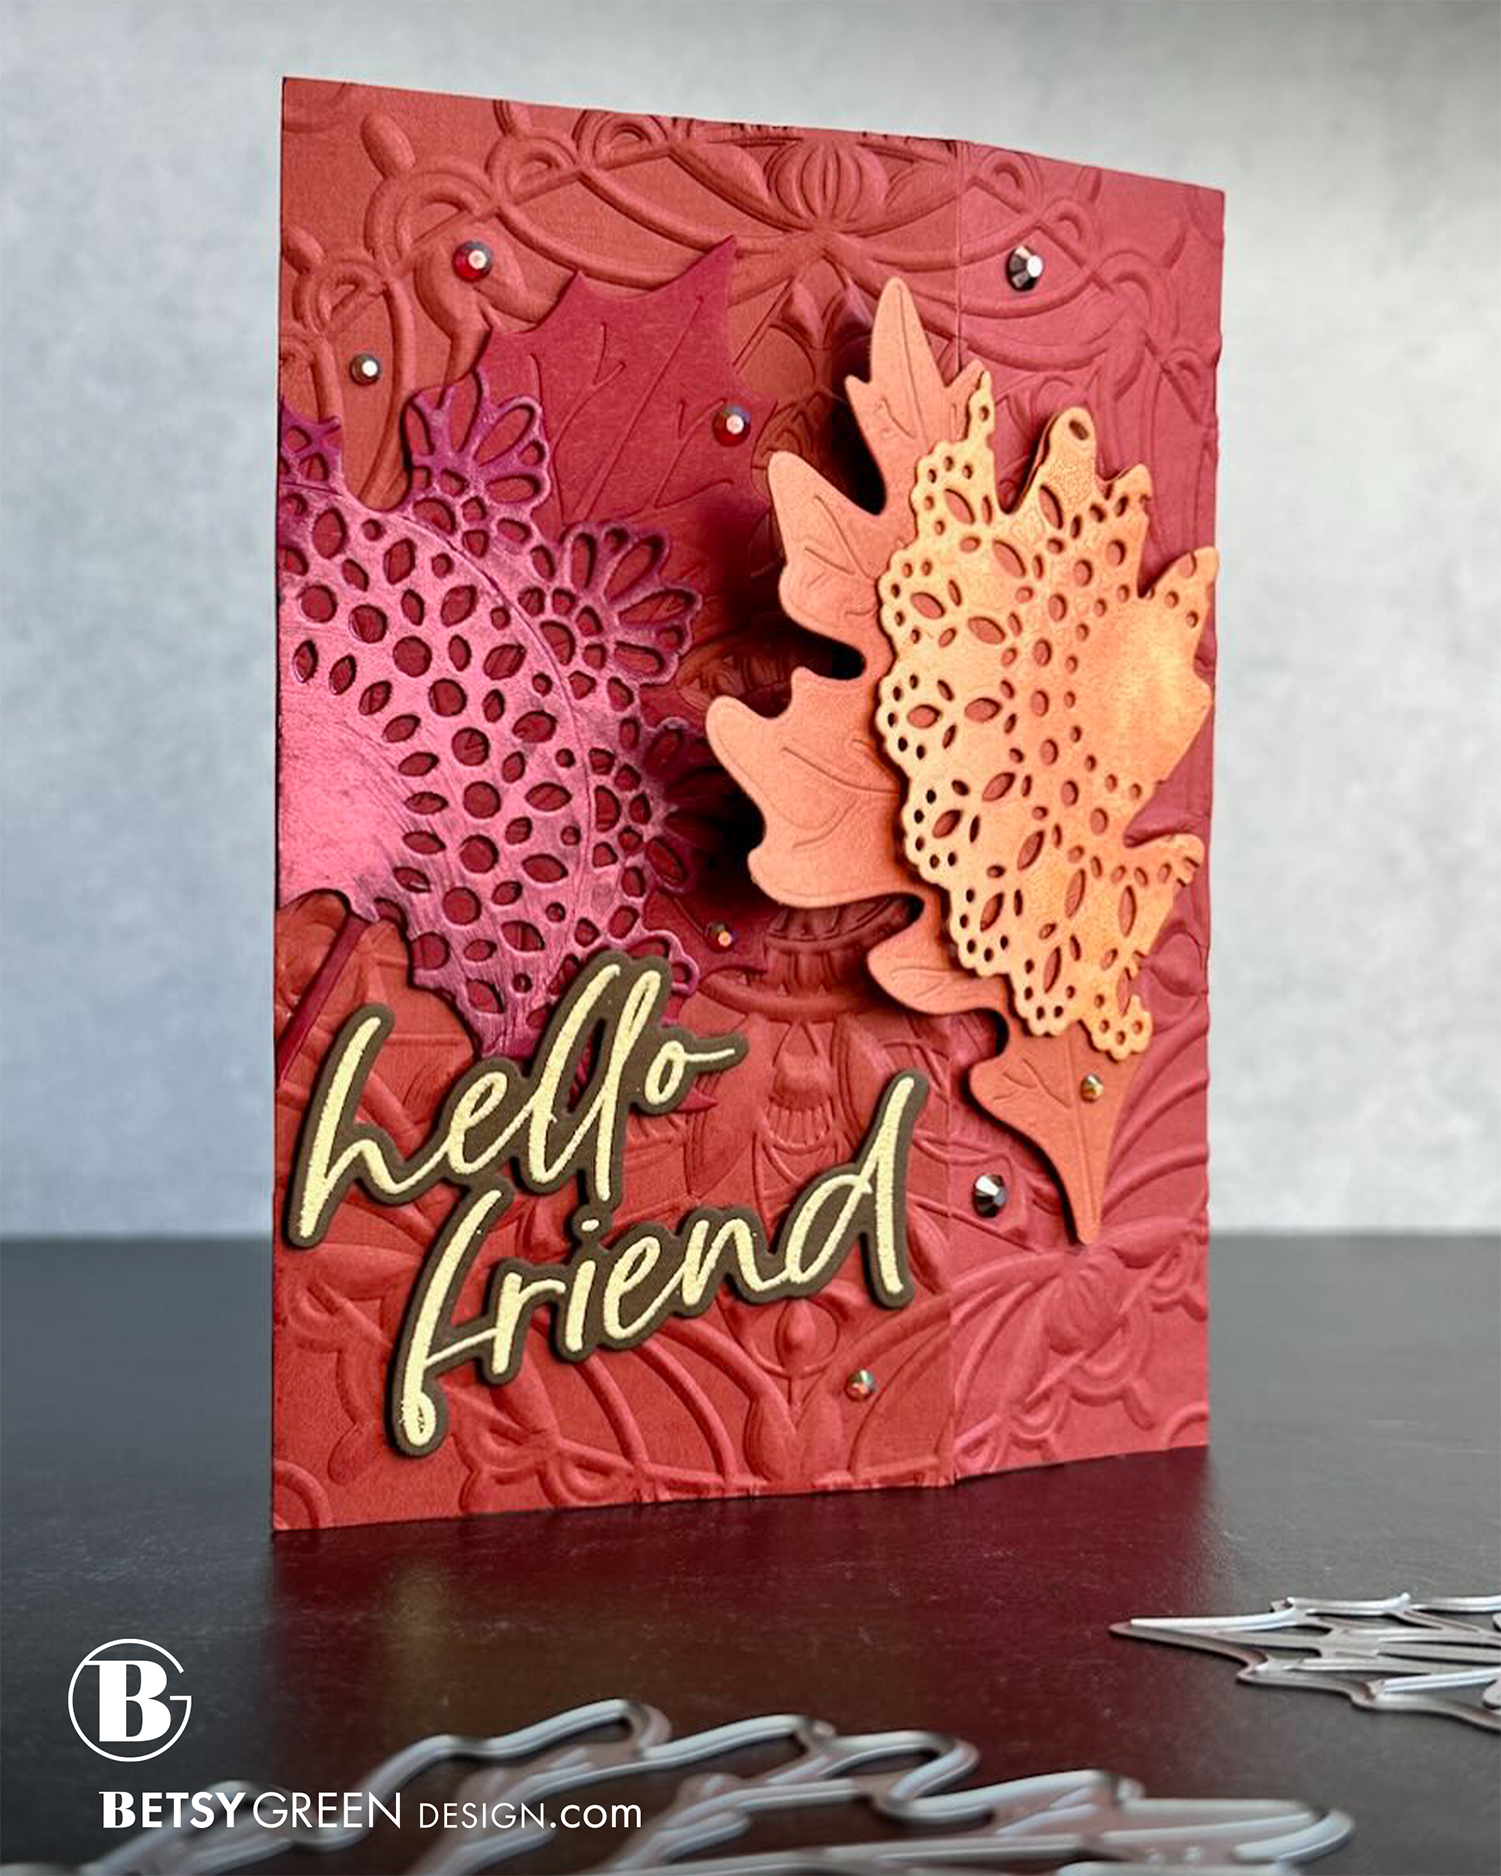
I was trying to decide how I wanted to use these fun Boho Leaves from the current Honey Bee Stamps Hello Harvest release, when I happened to see a video from Jennifer McGuire with a fold I hadn’t done before. If you know my or my cards, you know I like to do interesting things with them, so that worked out perfectly for me and gave me a chance to create a Hinged Fold card with these layered Boho Leaves.
To see my inspiration source from Jennifer, take a look at her blog post and video .

Techniques:
I chose two of the three leaf dies, and cut them out of Cranberry (maple leaf die) and Spiced Cider (oak leaf). I cut the coordinating detail pieces from an analogous color for each (Wildberry for the maple leaf, and Clementine for the oak.)
To add additional depth and interest, I did some ink blending on both the leave and the detail piece, using ink that was roughly the same color as the cardstock. (In some cases I was able to just use ink left on my brush from previous projects, and didn’t need to rein.)
I decided to step it up just a bit more, and added shine to the decorative pieces with a little spread of Lunar Paste in coordinating colors. I didn’t cover the whole die cut, but picked a starting point (the center of the doily image) and worked my way out from there with a palette knife or my finger.
To get a good impression from the 3D Embossing folder, I gave my Cayenne cardstok a light mist of water before embossing, and the turned out wonderfully!
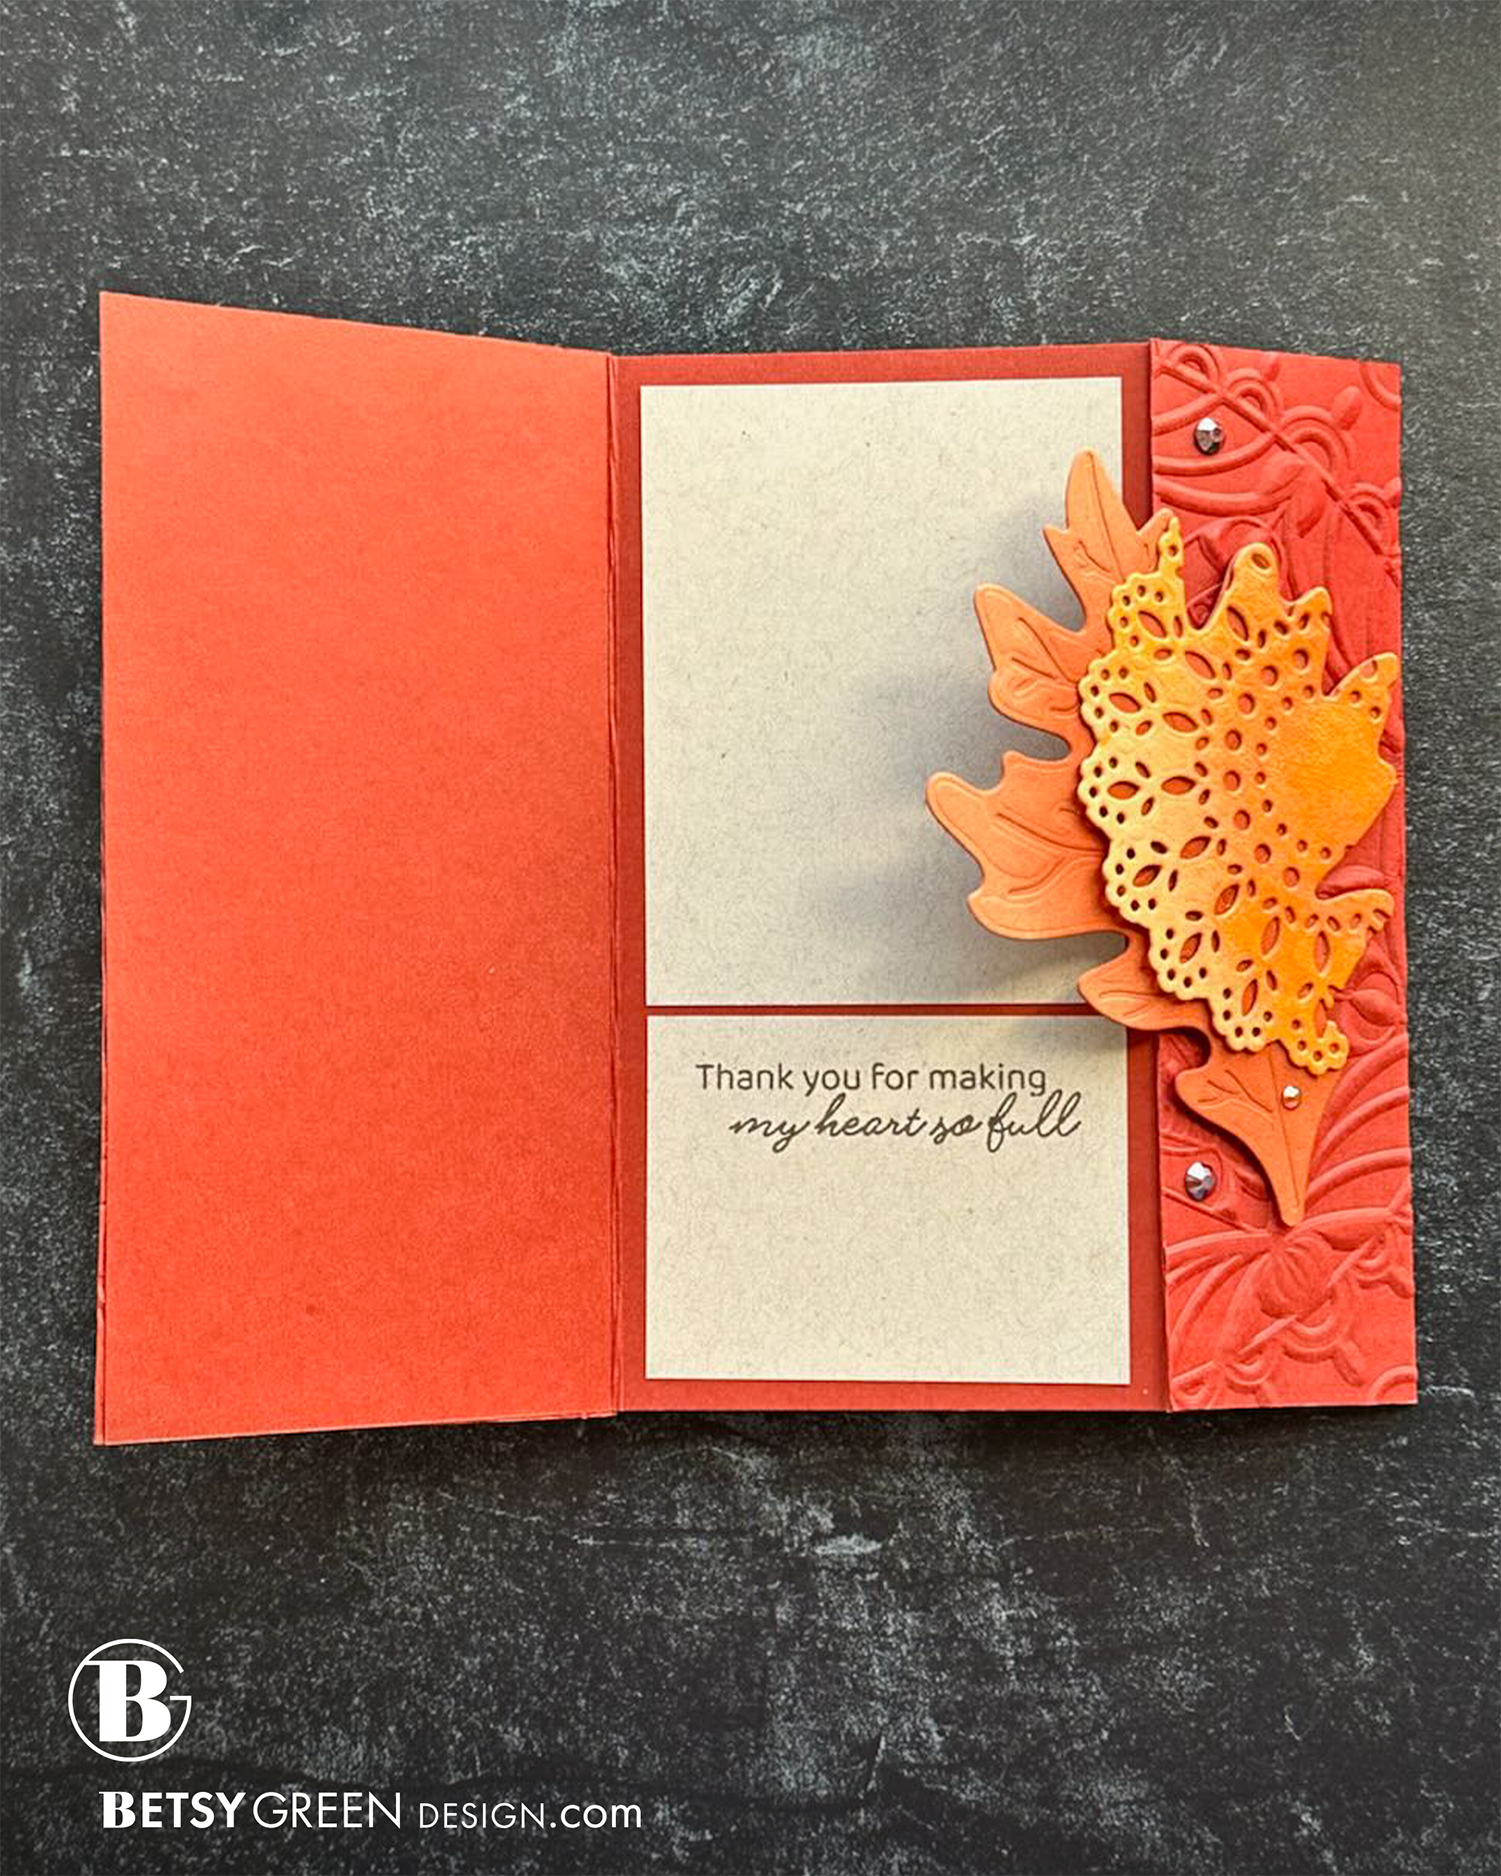
You can watch Jennifer’s video if you want exact technique for the fold, and the dimensions she used. I just watched for inspiration and did my own, which is very similar. On this card, I cut 1 1/2” off of my embossed panel for the hinged fold side, and the rest (2 3/4”) became the flap side.
Before gluing it onto the base, I did some ink blending with coordinating ink on the upper right and lower left corners for some added depth and interest.
The maple leaf is glued directly to the card front, but for the oak leaf I did as Jennifer did in her video, and attached it with foam tape - only on the side that attaches to the hinged fold portion.
I stamped and gold embossed the sentiment (I love these big words!). After doing so, I decided I wanted the brown a little darker so I ink blending over the embossing with Nutmeg ink and that deepened the color just enough.
I wanted that greeting to have some depth, but not interfere with the oak leaf that is popped up, so I die cut two more of the greetings of the same brown cardstock and stacked them for an “enough, but not too much” dimension.
To finish off the card, I sprinkled in some of the Homestad Hues gems throughout.
Colors:
cardstock: Concord & 9th Wildberry, Cranberry, Cayenne, Spiced Cider, Clementine, Wheat, Nutmeg.
ink: Concord & 9th Wildberry, Cranberry, Spiced Cider, Nutmeg.


Thank you for visiting! I hope you get some time to create something soon.
Links are below if you’re interested in any of the products I used.
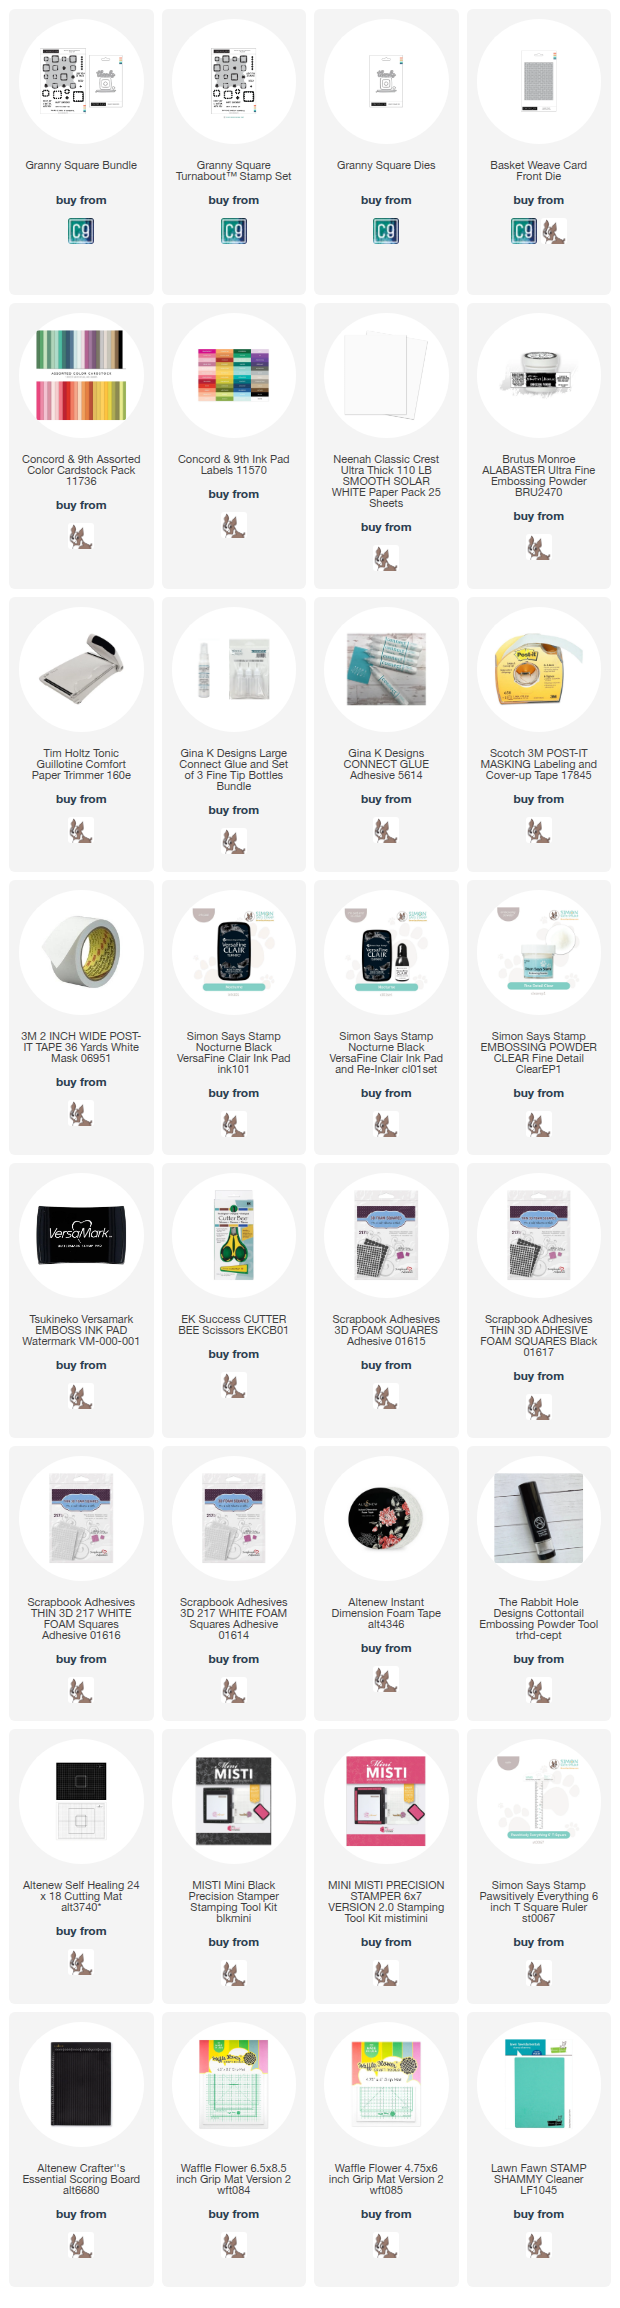
*Affiliate links do not cost you any more when you shop, but it is beneficial to creators when you use them, so thanks in advance!