Creative Tags
with Honey Bee Stamps
Welcome to Tag Week! Honey Bee Stamps has been celebrating all week with great inspiration for creating tags — for your holiday gift giving and all year. I decided to take a couple of products from the current Honey Bee Stamps Merry Moments release to use to create tags, and to find a way to step them up with a little something extra in the process.

Techniques:
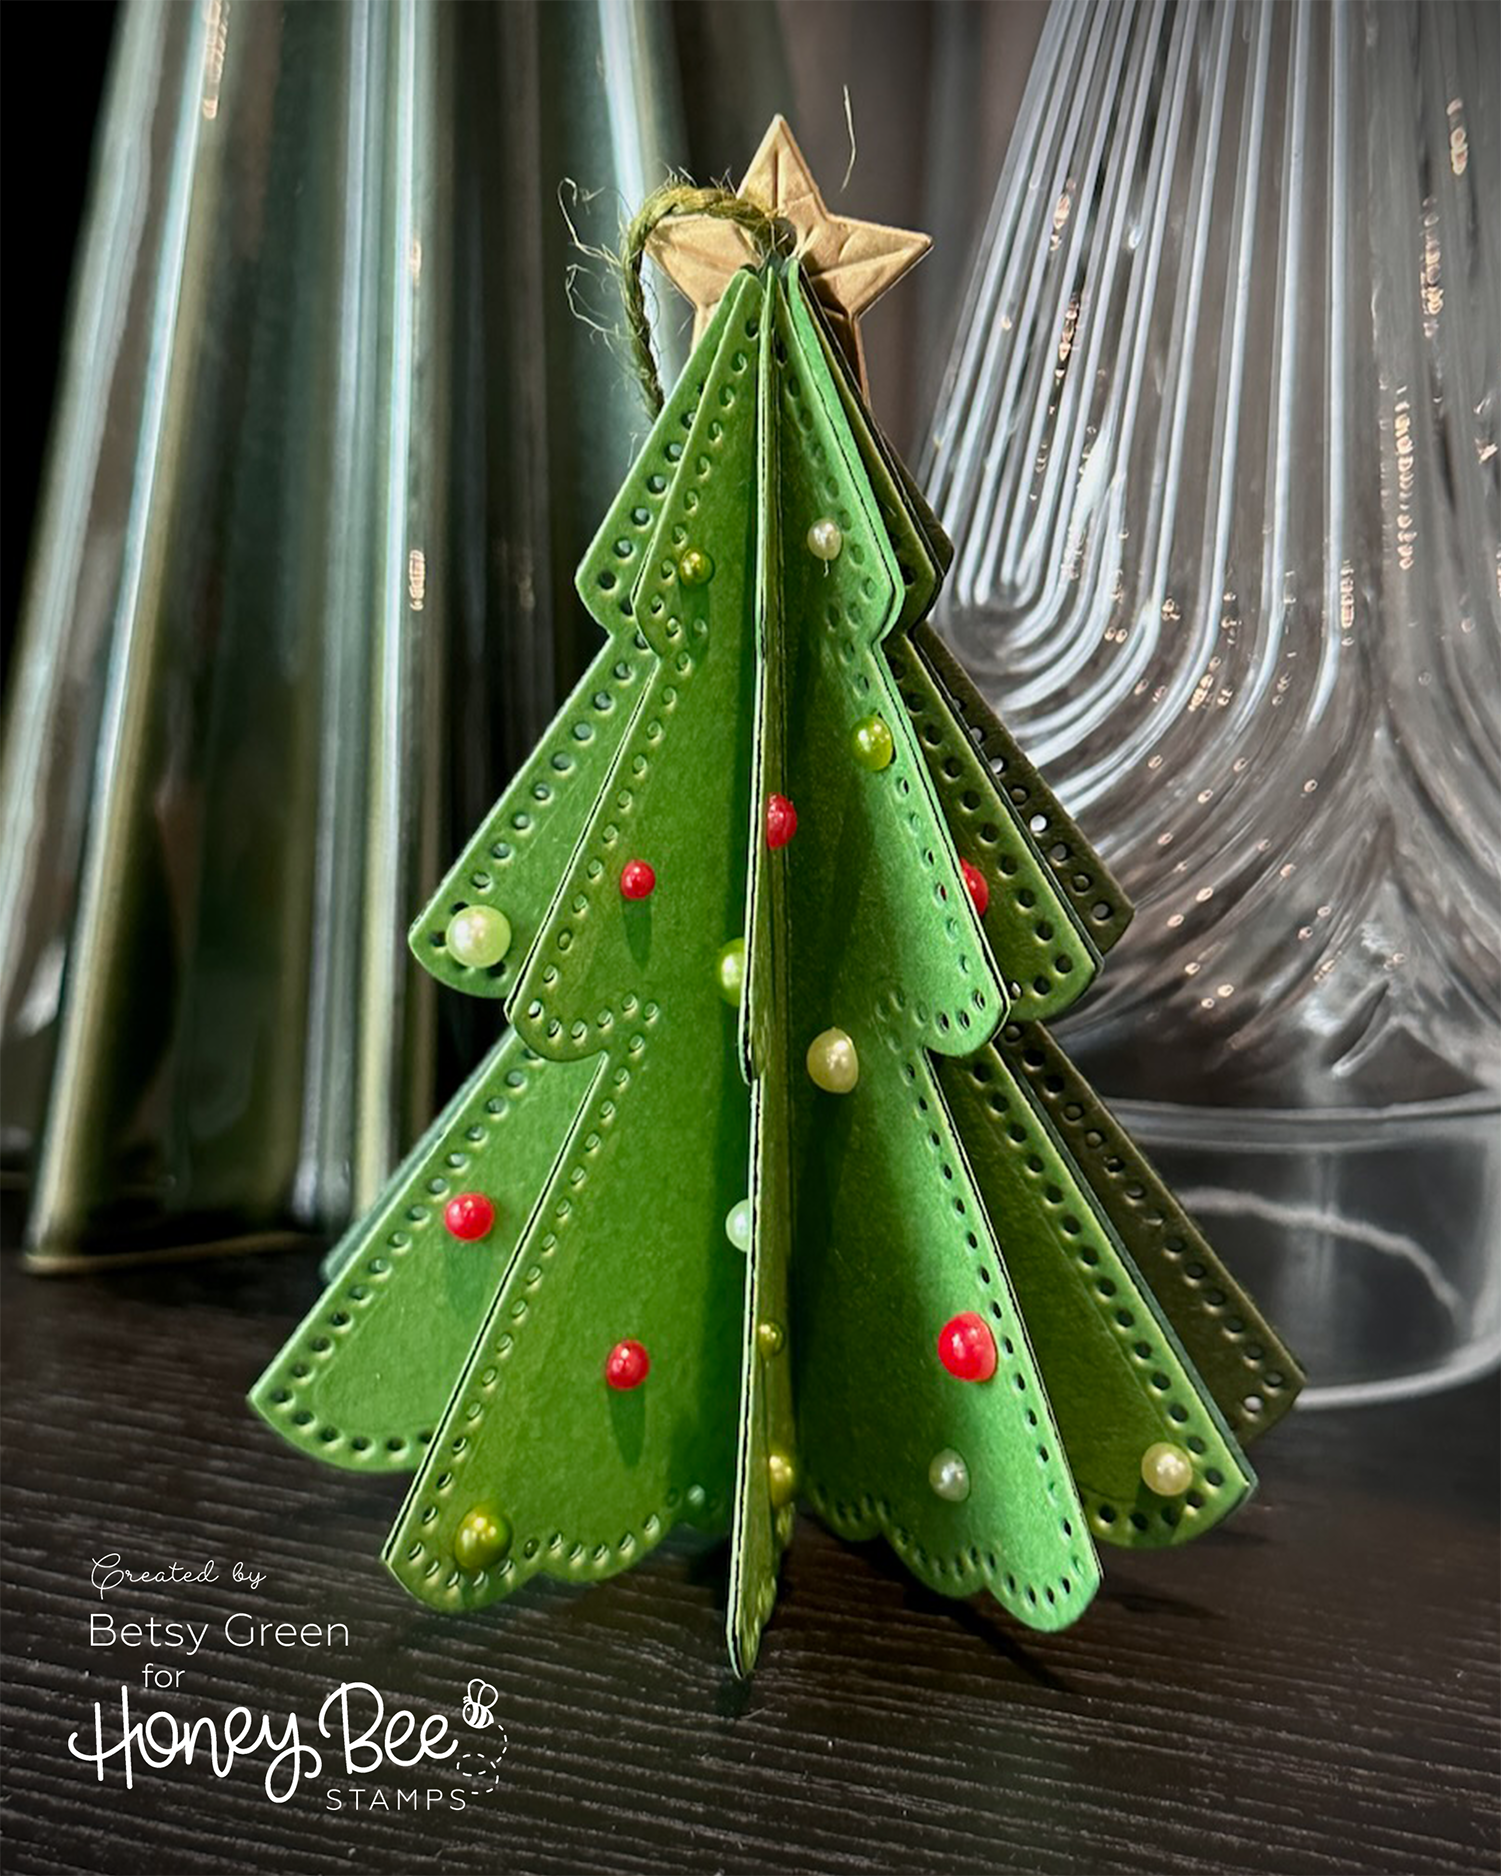
I chose two of the In Stitches dies, and started with the In Stitches: Christmas Tree.
I wanted to make a folded 3D tree with the die. This is a technique that works best with a fairly simple shaped die, so I just used the larger (back layer) tree die from the set. I cut it out multiple times from green cardstock to create the layers.
I actually cut 3 trees from a darker shade to be the back layer, and the two folds just to the front of that.
Once I had a stack of trees, I scored each one vertically, making sure it was centered. This tree was actually easy to do that with. The scalloped edge at the bottom is symmetrical with a notch in the center, and I lined up the point at the top in the same score track of my score board.
I scored them all, then went through and folded each, pressing each fold with my bone folder for a good crease.
Make sure that you fold in toward the front or “good” side of the die cut. That is the side that will show, and the back side is what gets glued.
Once those folded trees were ready, I started gluing them together one at a time, taking two folded trees, applying glue on one of the folded “back” sides, and attaching them together, making sure that the cut and folded edges all line up. I continued this until I used all my trees, and had enough that gave the tree some dimension.
Next, I glued the one flat back layer to the outer two tree pieces, to give it a base and back side, and to hold it all together.
Once it was all dry, I added some pearls in a few colors on the layers of the tree so they’d look like ornaments. (I’ve added a few sets with holiday colors in the links, below. I used colors from a couple of sets, but they are available in almost every color.)
I realized I needed a way to anchor a string to tie the tag on, so I used the star die that comes in the die set, and cut that twice from metallic gold cardstock. I glued those back to back, and then punched a hole just above the center of the star. (That gave me space to glue it to the top of the back flat layer of the tree.)
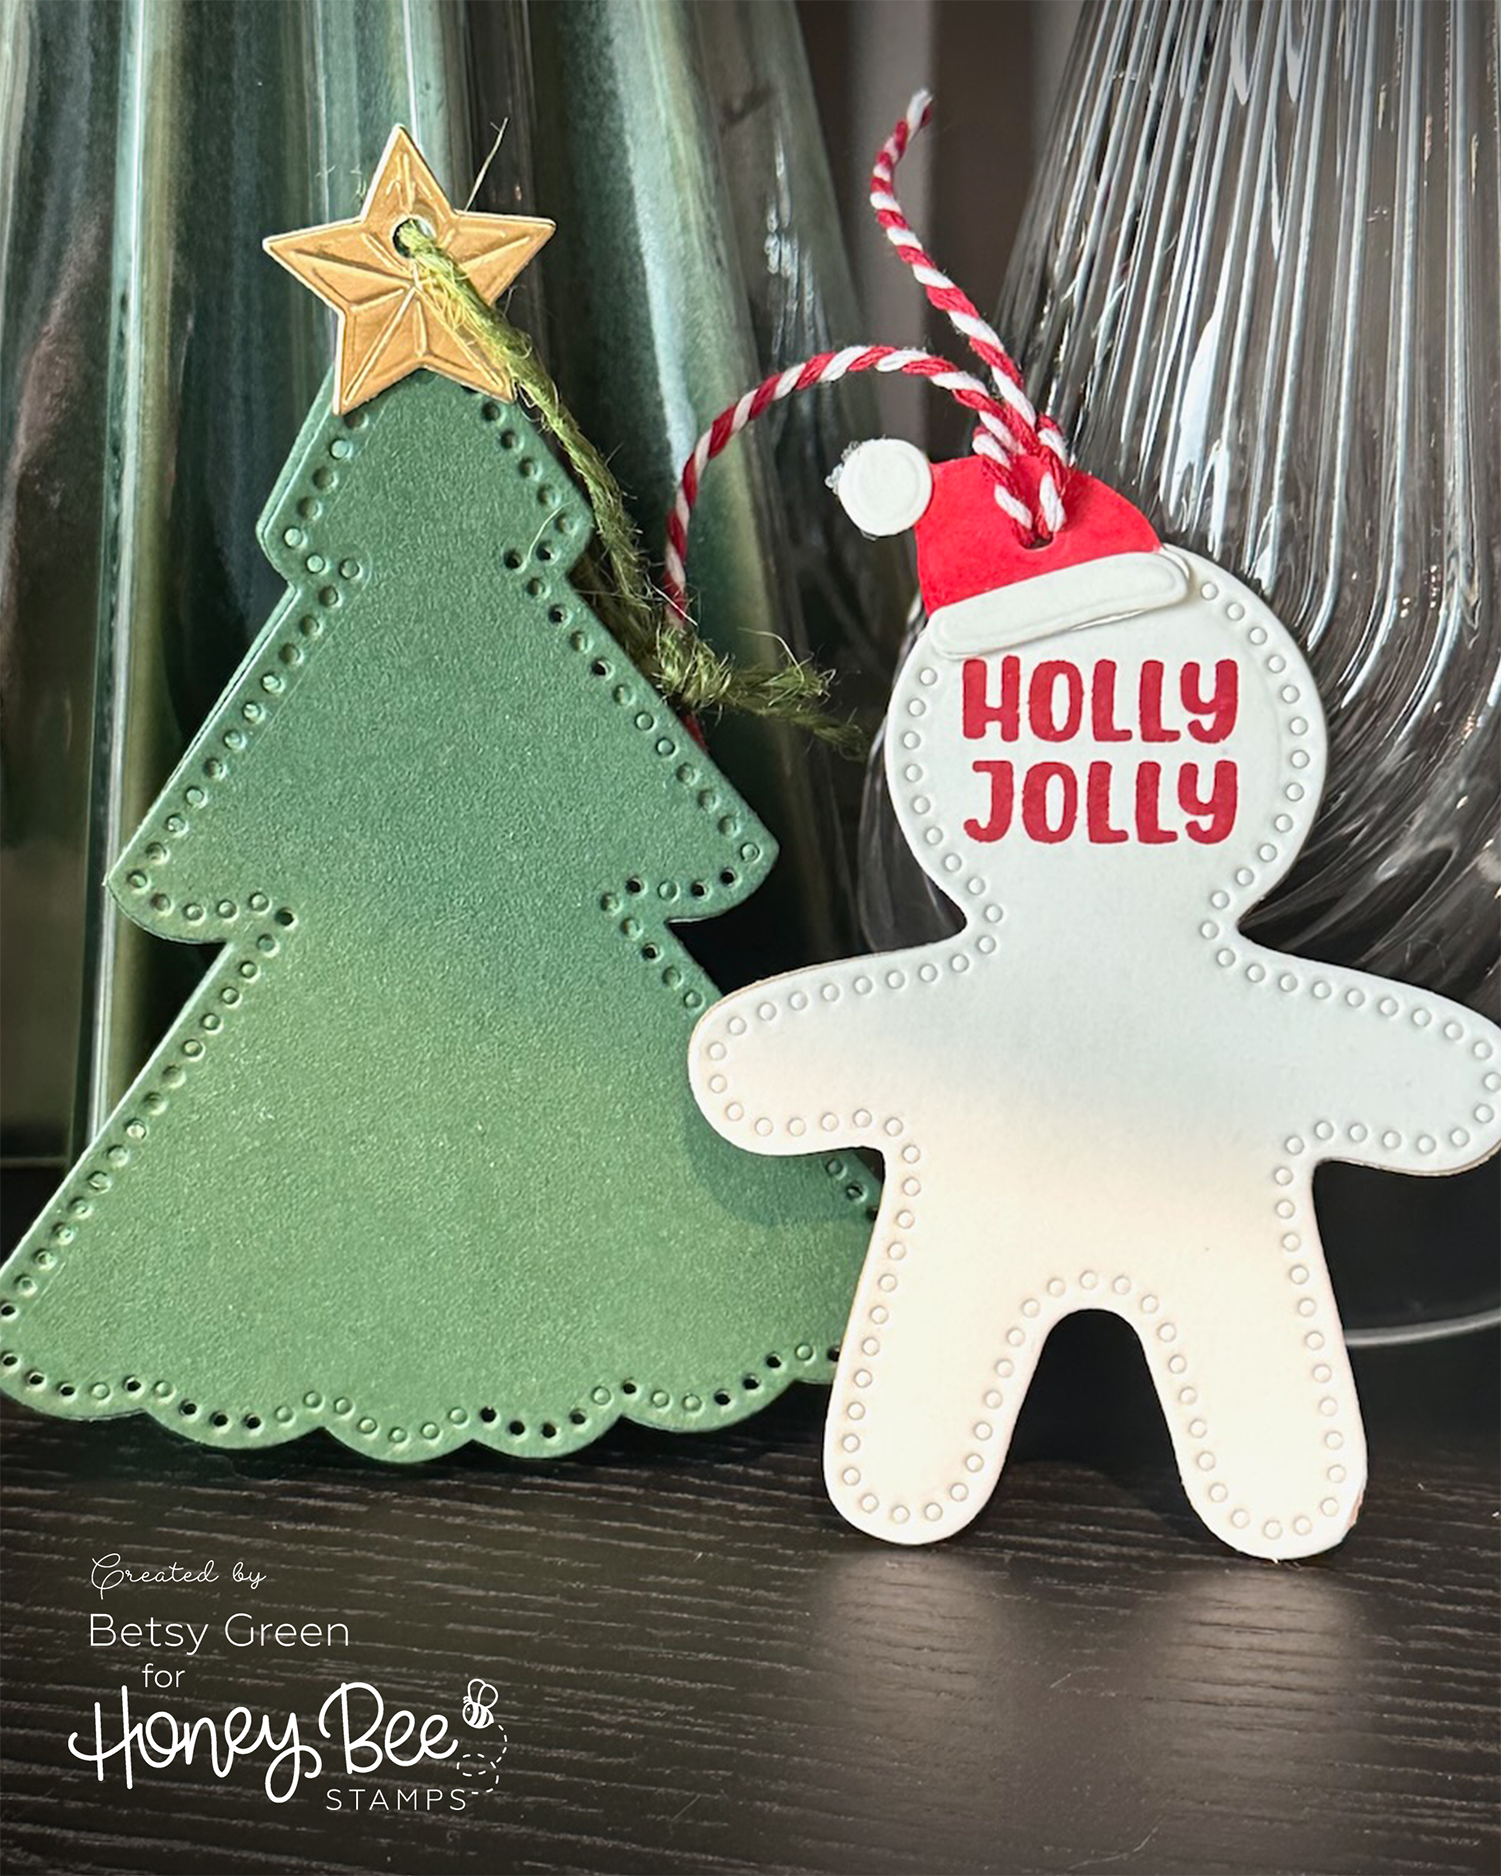
Reverse side of the tags:
Techniques:
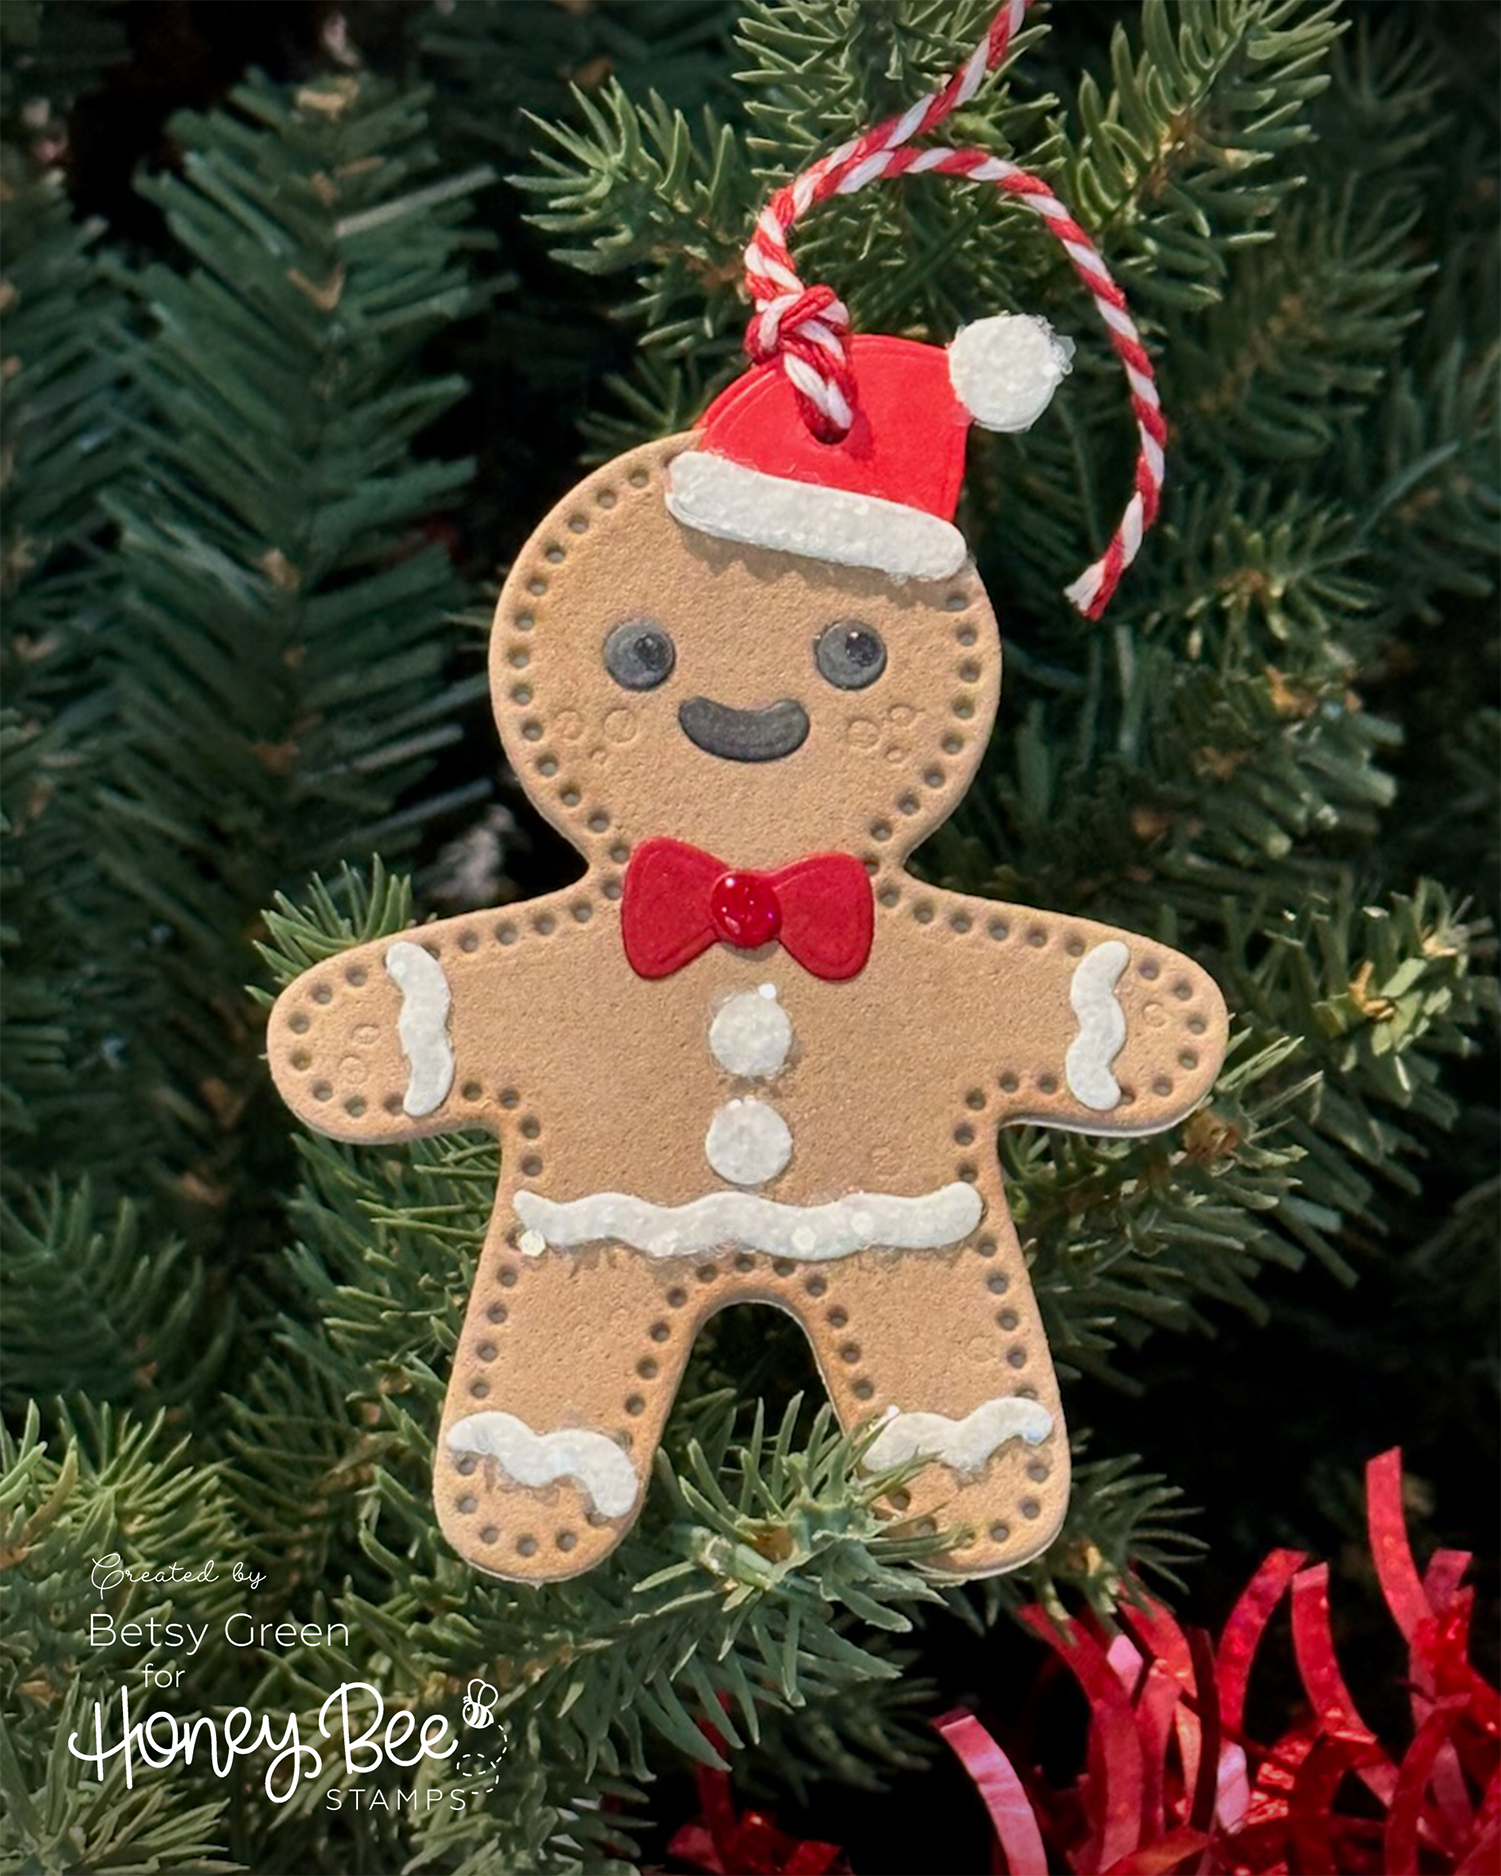
For this tag, I used the In Stitches: Gingerbread.
To give it a little extra (and cookie-like) dimension, I used the front die to cut the gingerbread shape from craft foam.
The frosting detail shapes (and the furry parts of the hat) I cut from white cardstock, and then added the extra touch of applying liquid glue to those and sprinkling them with Distress Rock Candy Chunky Glitter. Be sure to give those time to dry if you do that.
The other details (eyes, mouth, hat, and bow) I’d also cut from white, but colored those with alcohol markers. After gluing them onto the gingerbread, I added a touch of glossy accents to the eyes and bow for additional detail.
For the back of the tag, I cut the outline gingerbread die out of white. I stamped the “Holly Jolly” stamp (from Simply Stated: Holiday) in red ink before gluing it to the back of the foam.
A hole through the hat and a loop of red and white bakers twine finished off this tag.
Thank you for visiting! I hope you get some time to create something soon.
Links are below if you’re interested in any of the products I used.
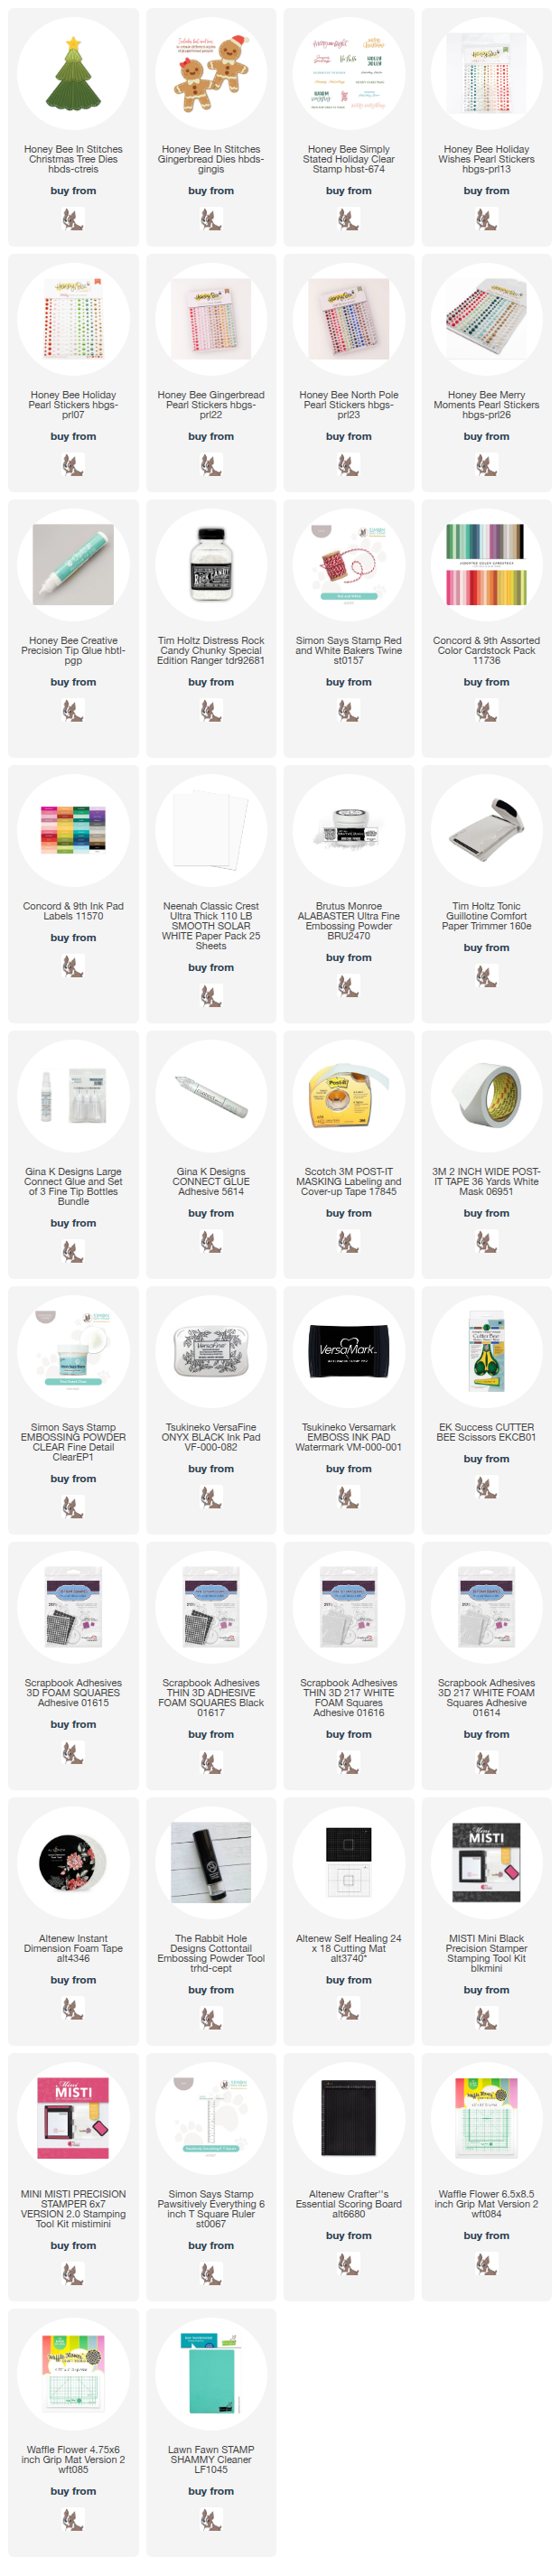
*Affiliate links do not cost you any more when you shop, but it is beneficial to creators when you use them, so thanks in advance!